How to Enable the Stripe Integration on Your Website and Clover Hospitality by BentoBox Account
Follow the steps below to accept payments on your website using Stripe.
Log in to the backend and click on Integrations in the left hand navigation.
Under the Payments section, click the “Connect” button next to Stripe.
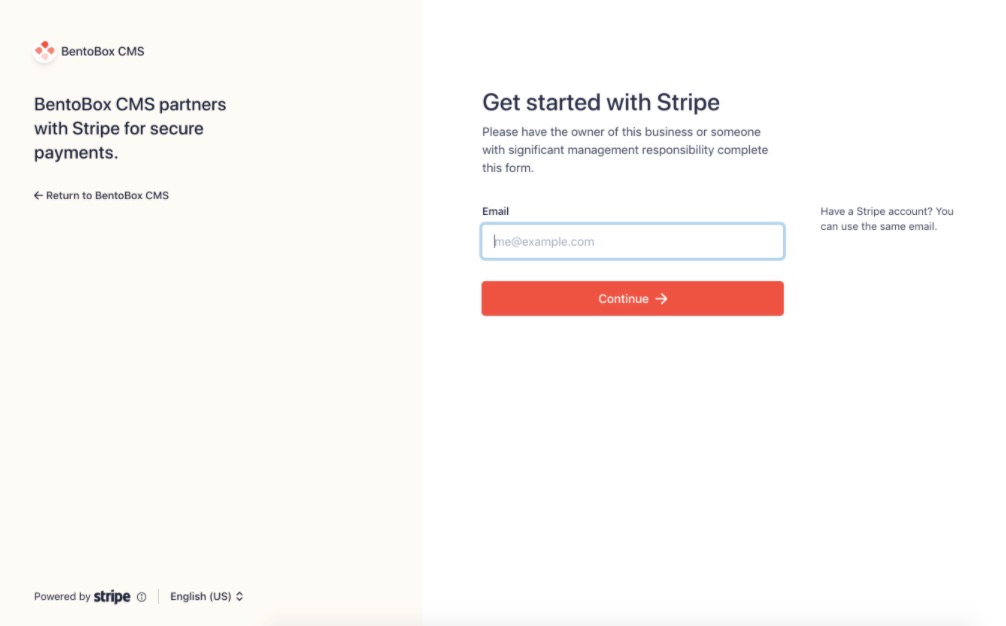
You’ll be taken to the authorization page. If you already have a Stripe account, you may continue with the same email.
If you do not already have a Stripe account, you can create one on this page by entering your email, filling out the form and clicking the “Authorize access to this account” button. You'll be taken back to the backend.
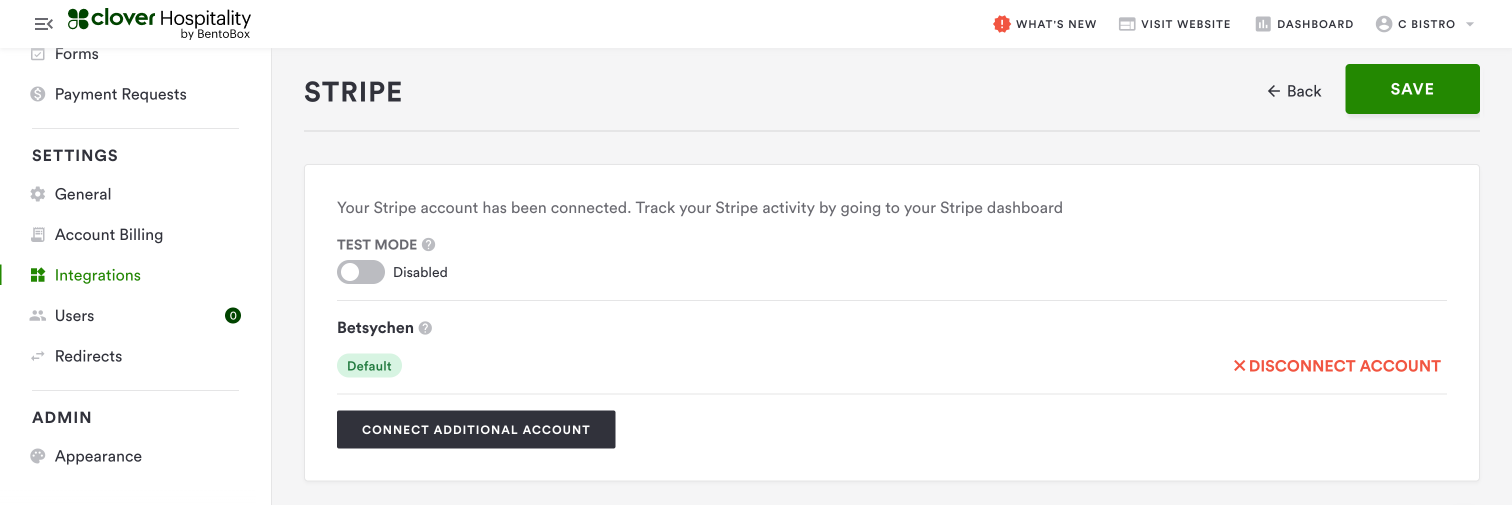
Click “Save” and you’re all set to accept payments using Stripe.
If you have more than one payment service connected and want to use Stripe as the default, click the grey “Make Default” button.
To update the Stripe settings, return to the Integrations page and click on Stripe to re-open the settings.
Adding Multiple Payment Processors
(Online Catering, Online Ordering, & Events Management only)
You can connect more than one Stripe account and segment payments to your different locations.
If you choose to add multiple Stripe accounts, you will need to select a default account. This default account will be the primary payment account for your eCommerce payments (i.e. gift cards, event tickets, sales in your merchandise store).
To add another account, first click "Connect Additional Account" on your Stripe integration to control where you want each payment from Online Catering or Online Ordering to be sent.
If you are logged into Stripe, you will be directed automatically to the Stripe Interface page where you can select your various Stripe Accounts for integration. Once you select an account and click “connect my Stripe Account”, you will be directed back to the Stripe integration page. Here, you can assign Stripe Accounts to your individual store locations. Use the drop-down to select the location, click the plus sign, then click the save button top right.


