How to Enable the Square integration on Your Website and Clover Hospitality by BentoBox Account
Follow the steps below to accept payments on your website using Square.
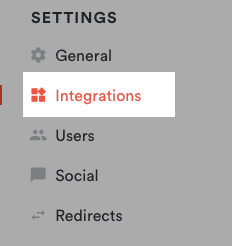
Log in to the backend and click on Integrations in the left hand navigation.
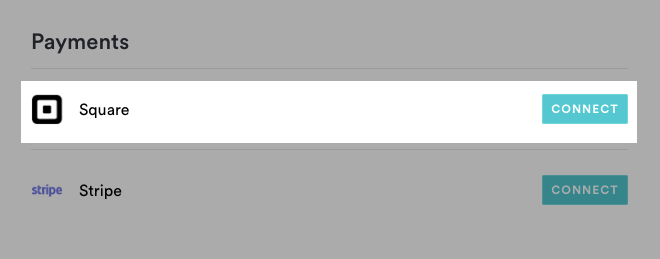
Under the Payments section, click the “Connect” button next to Square.
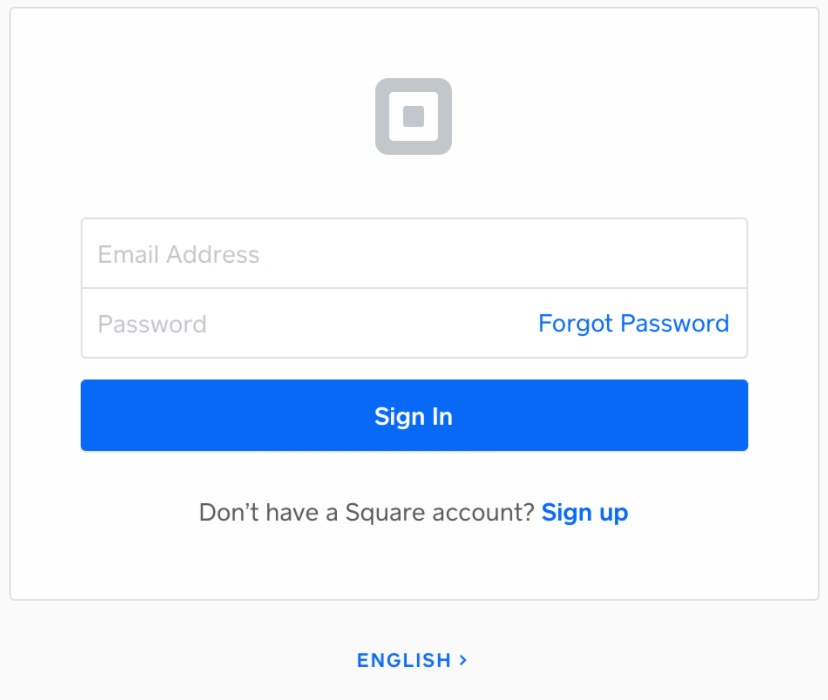
You’ll be taken to Square’s login screen. If you already have a Square account, enter your email address and password and click “Sign In.” If you do not already have a Square account, you can click “Sign Up” and follow the directions to create one.
On the Permissions page, click the blue “Allow” button.
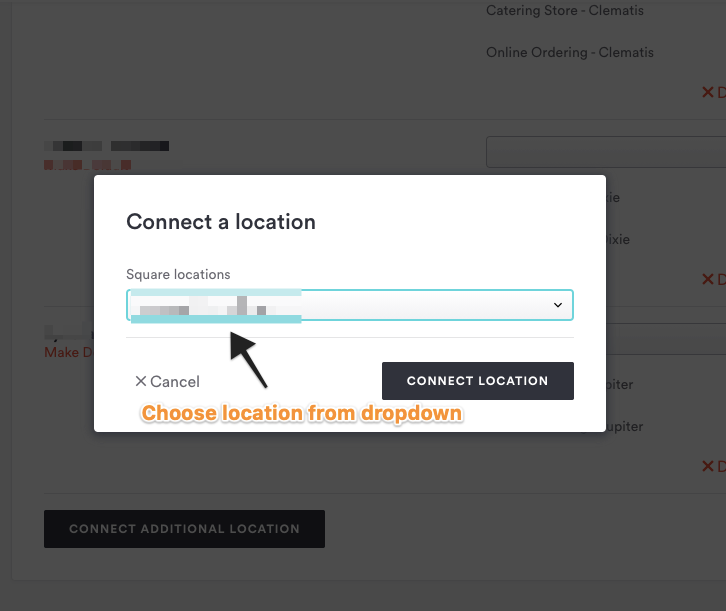
You'll be taken back to the backend. Select which Square Location you’d like linked from the dropdown.
Click “Save” and you’re all set to accept payments using Square.
If you have more than one payment service connected and want to use Square as the default, click the "Make Default" button.
Adding Multiple Payment Processors
(Online Catering, Online Ordering, and Events Management only)
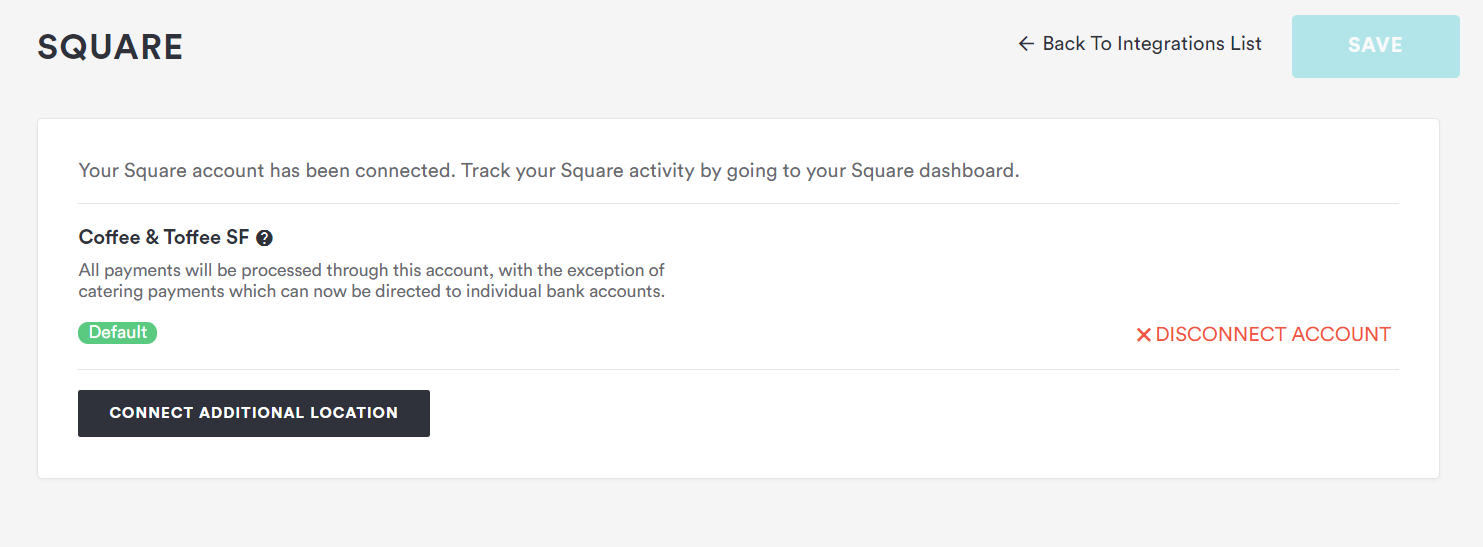
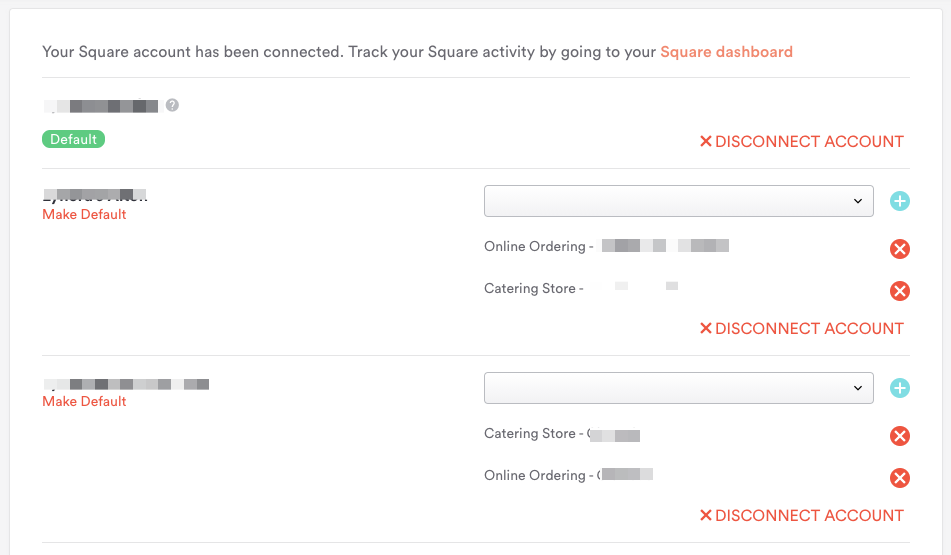
You can connect more than one Square location and segment payments to your different online catering or online ordering locations.
The default account will be the primary payment account to accept eCommerce payments from guests for gift cards, event tickets, and items in your merchandise store, as well as transactions for private events and payment requests.
Click "Connect Additional Location" on your Square integration to control where you want each payment from your catering store or online ordering to be sent.

