
How to create an overlay
Overlay Alerts are a feature which allows you to promote a specific event, email promo codes, announce news, and more. We have created three alert types for you, Promotions, Announcements, and Custom alerts.
Promotion Overlay: This overlay generates a popup on your website, enabling you to provide customers with a promotional code in exchange for their email submission to your diner database. Optional phone number and birthday fields available.
Announcement Overlay: With this overlay, a popup appears on your website, allowing you to communicate announcements directly to your customers. Option diner information collection available.
Custom Overlay: Design a popup from scratch that will appear on your website based on your configurations.
Create a promotion
To create a new overlay, log in to the backend, click on Alerts, and choose Overlay.
From your dashboard, in the 'Website' section, expand 'Alerts' and select 'Overlays.'
Click 'Create' in the upper right-hand corner.
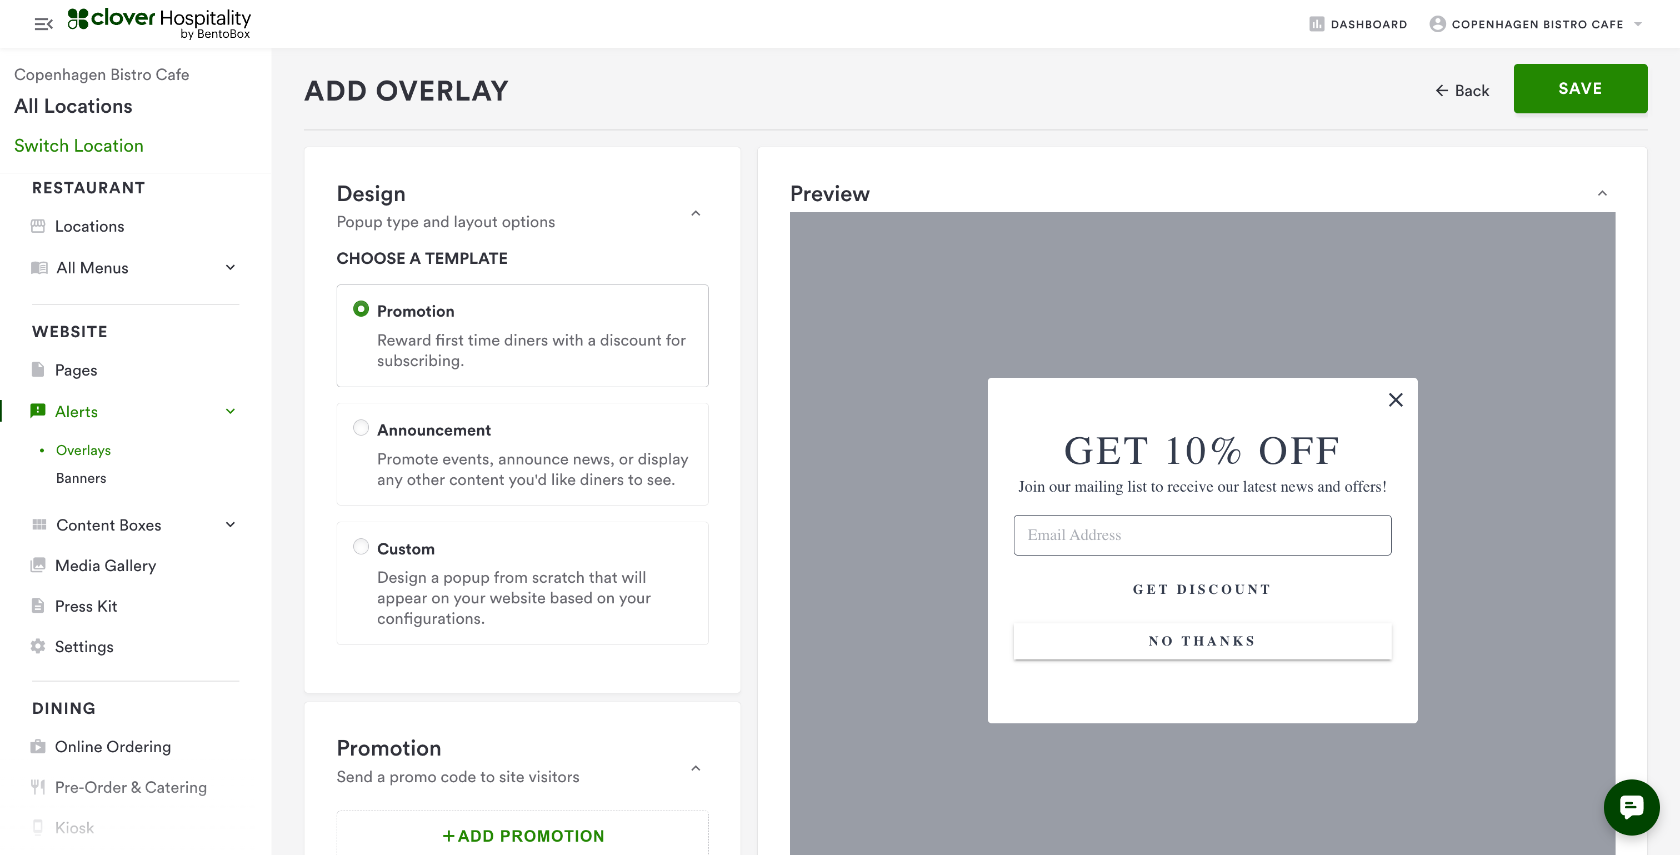
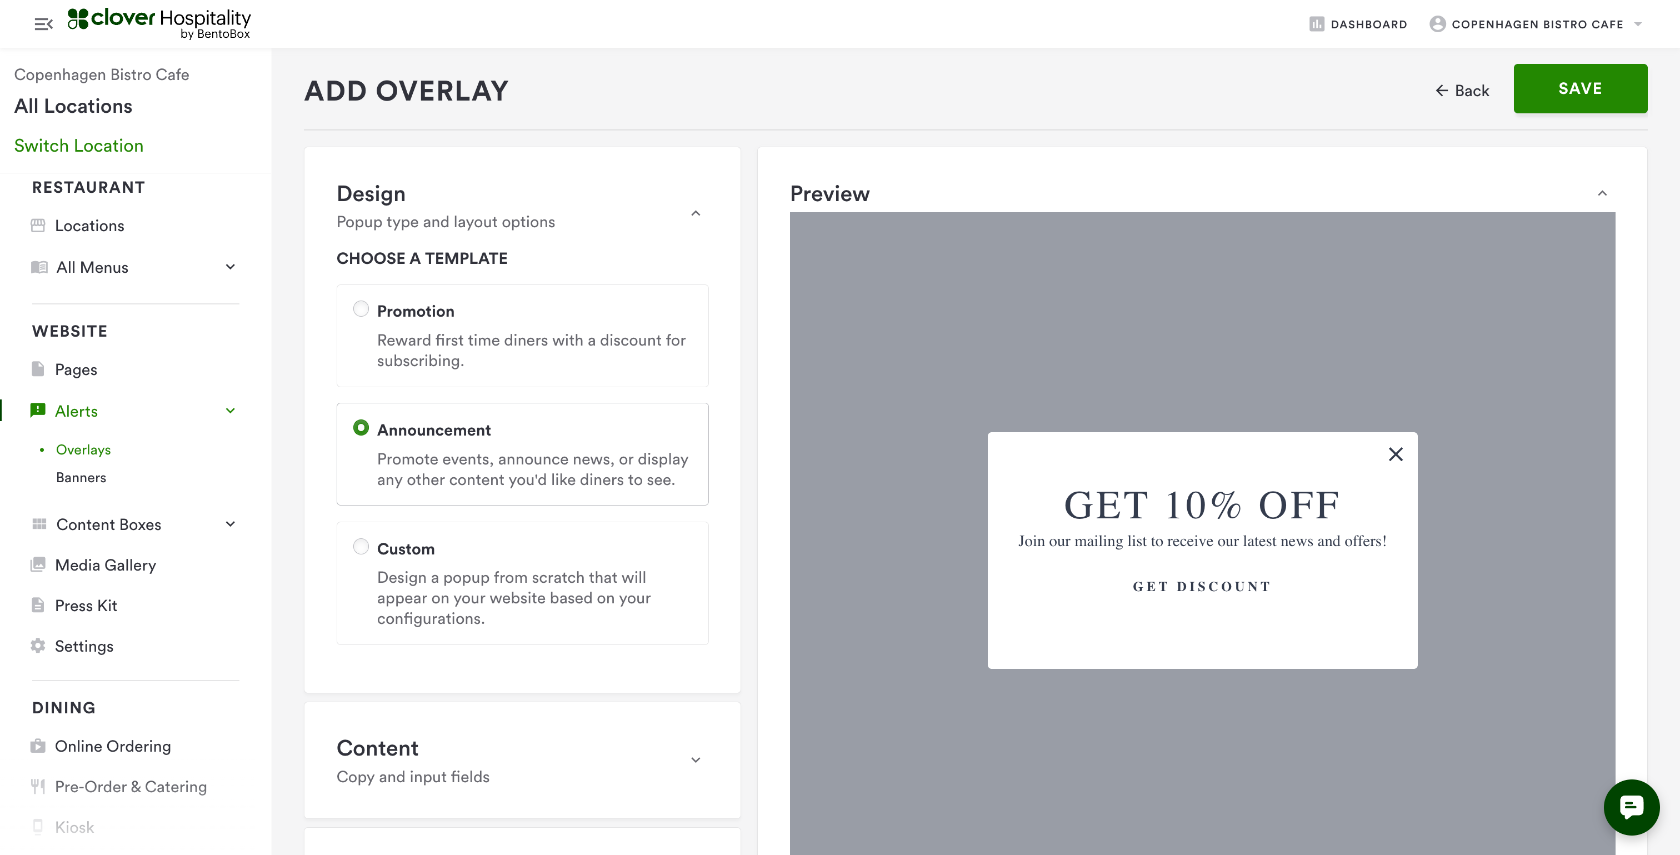
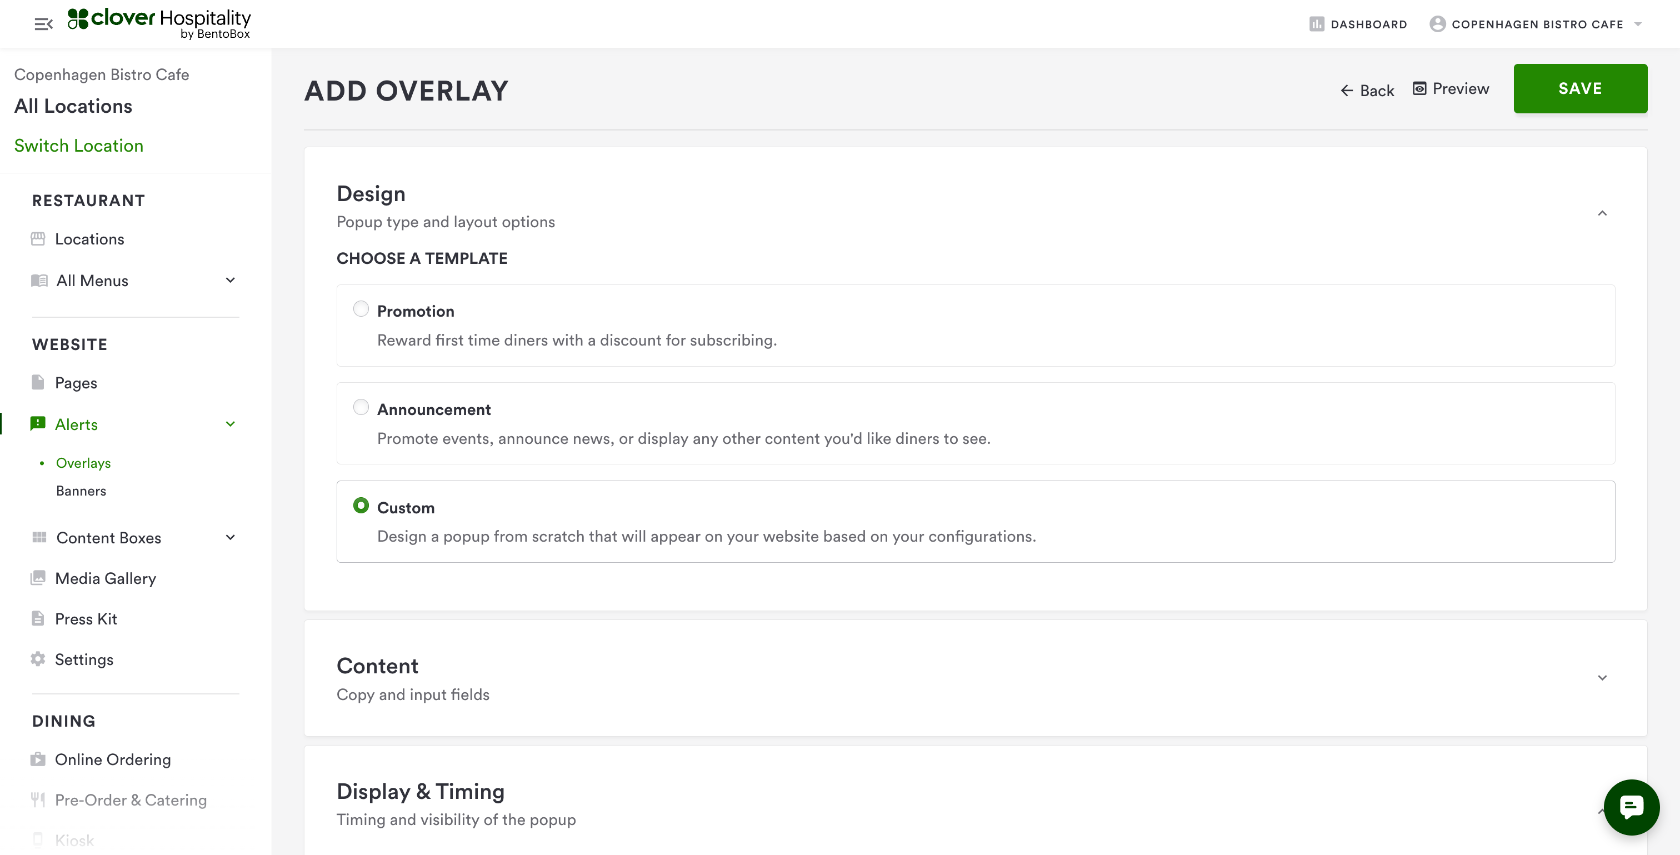
Expand the 'Design' section and select 'Promotion'. Expand the 'Promotion' section and click 'Create Promotion'.
If you are using e-commerce with Clover Hospitality by BentoBox, this will open a section on the right side of the screen to create your custom promo code. If you are not using e-commerce, you will be prompted to add your promo code below. Any promo codes are for use on your website. You will need to enable all promo codes in your POS if you wish to use them in person.
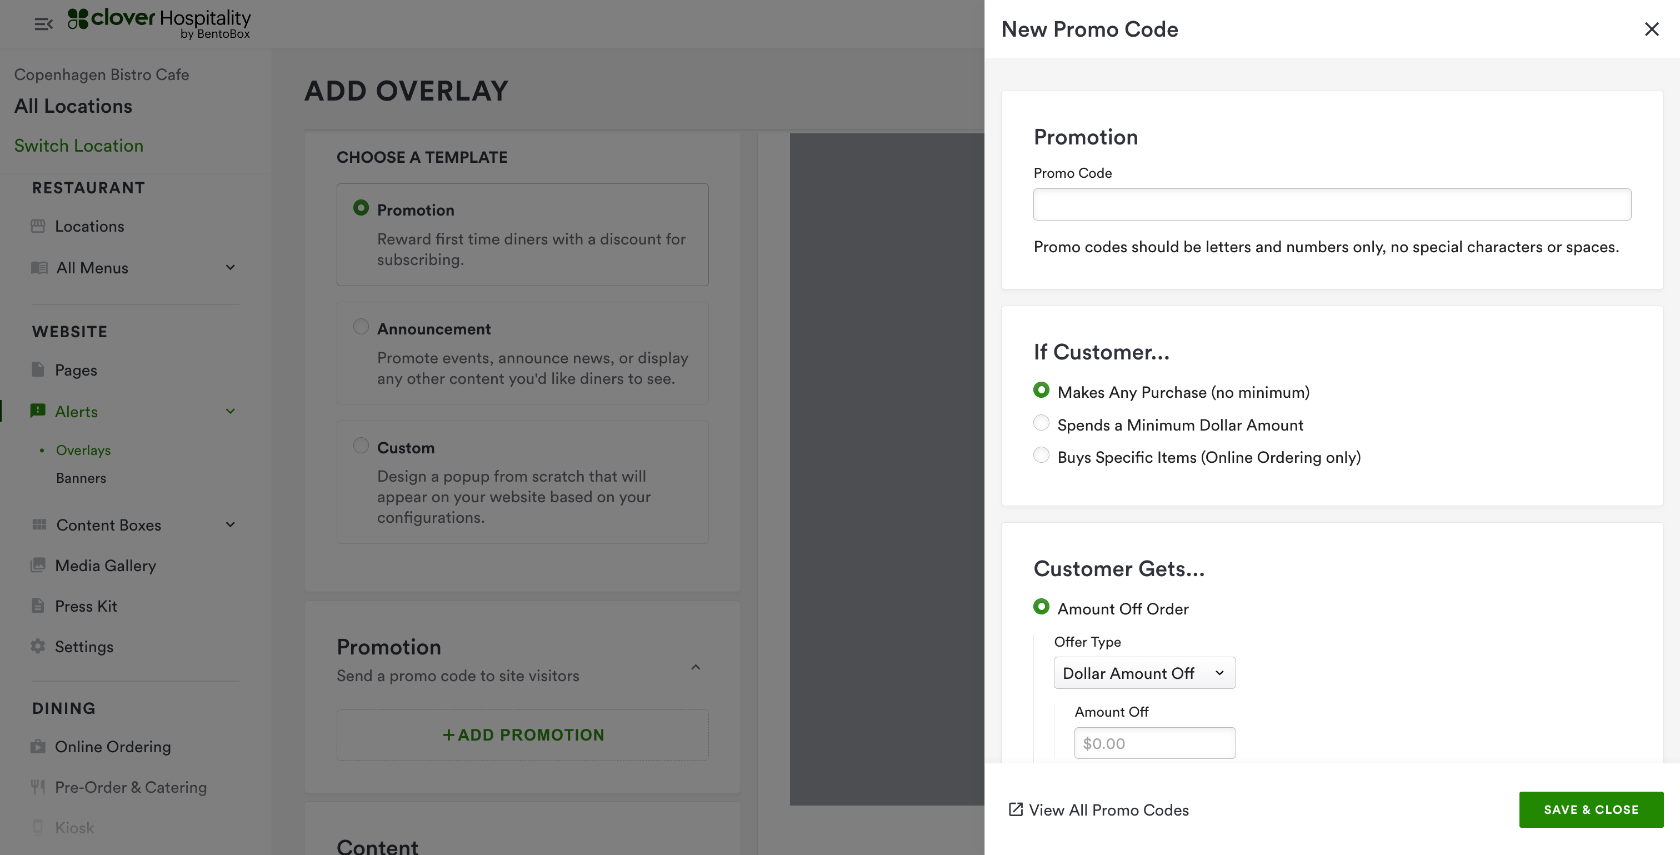
Create your promo code. For diner sign-up overlays, your promo code must be specific to this overlay alert.
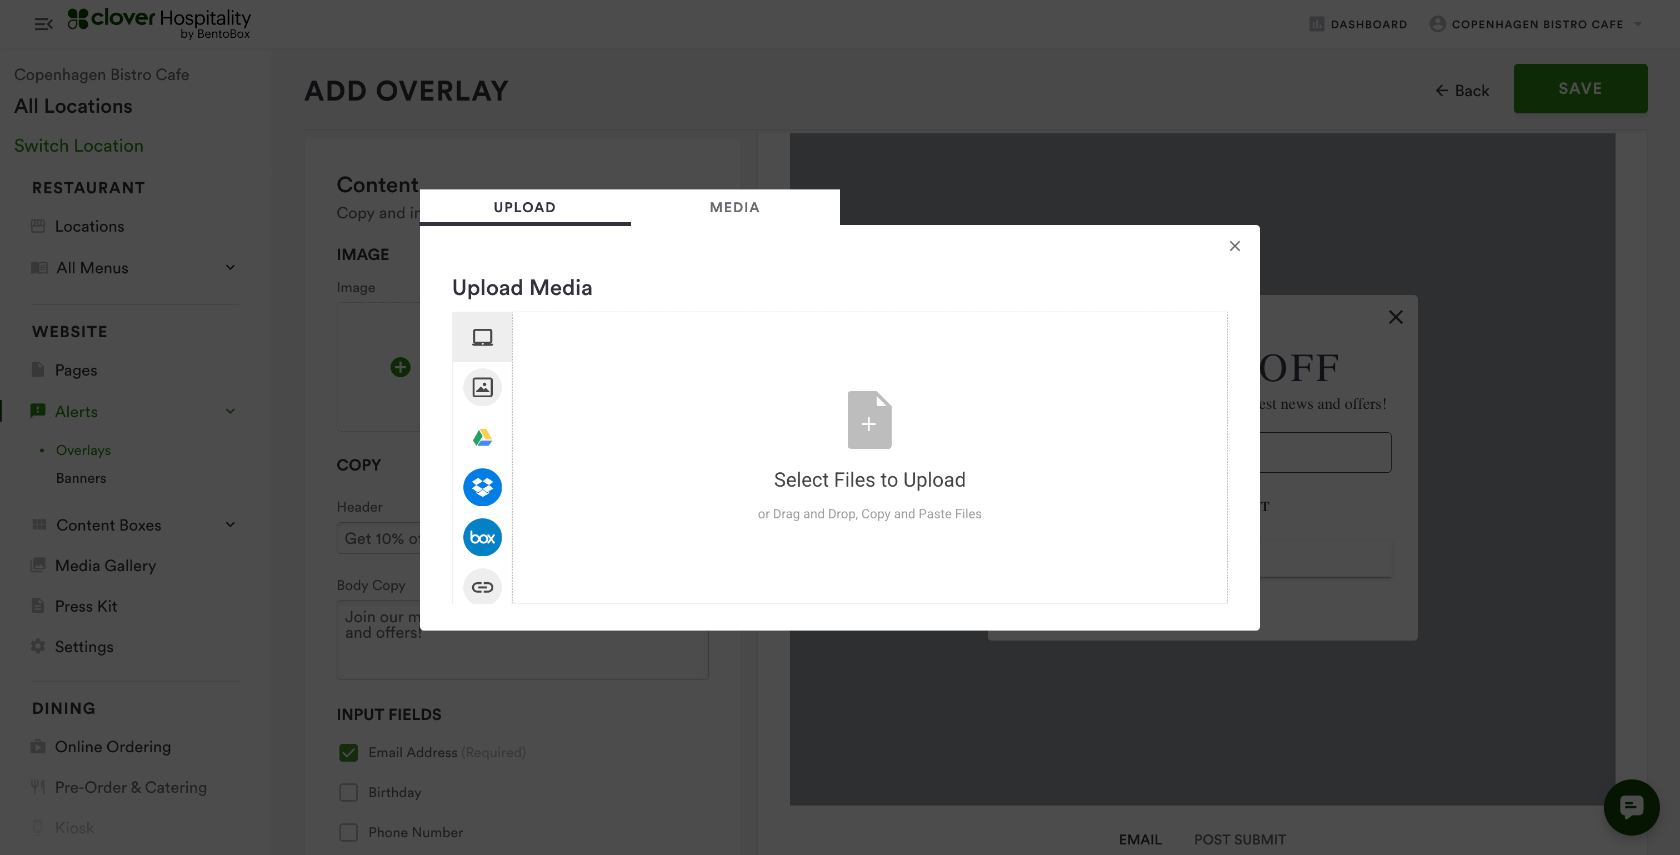
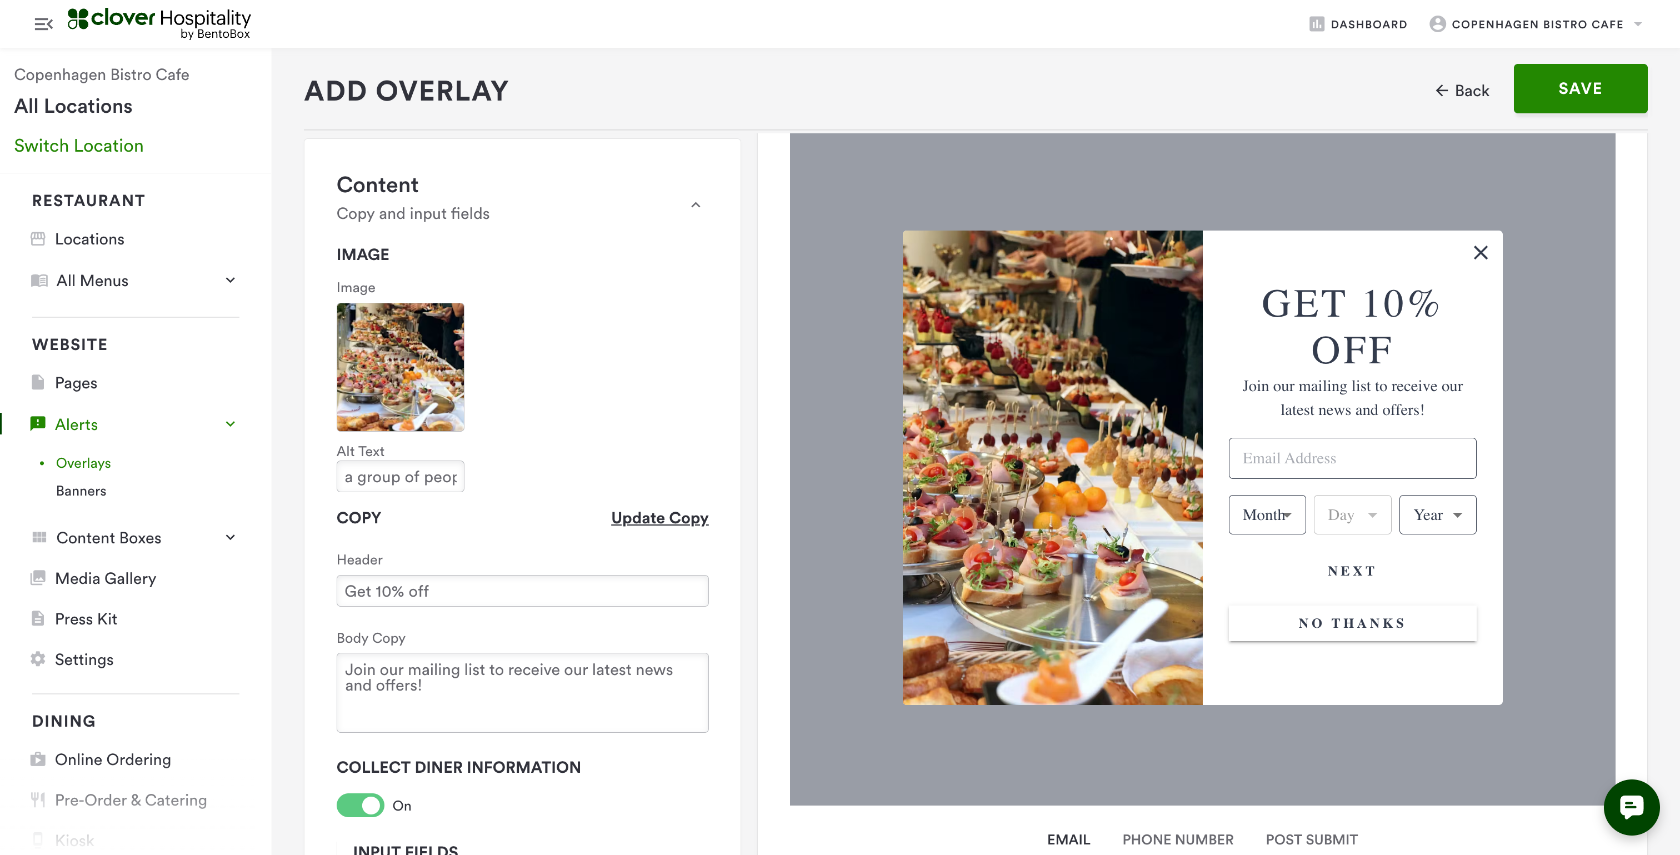
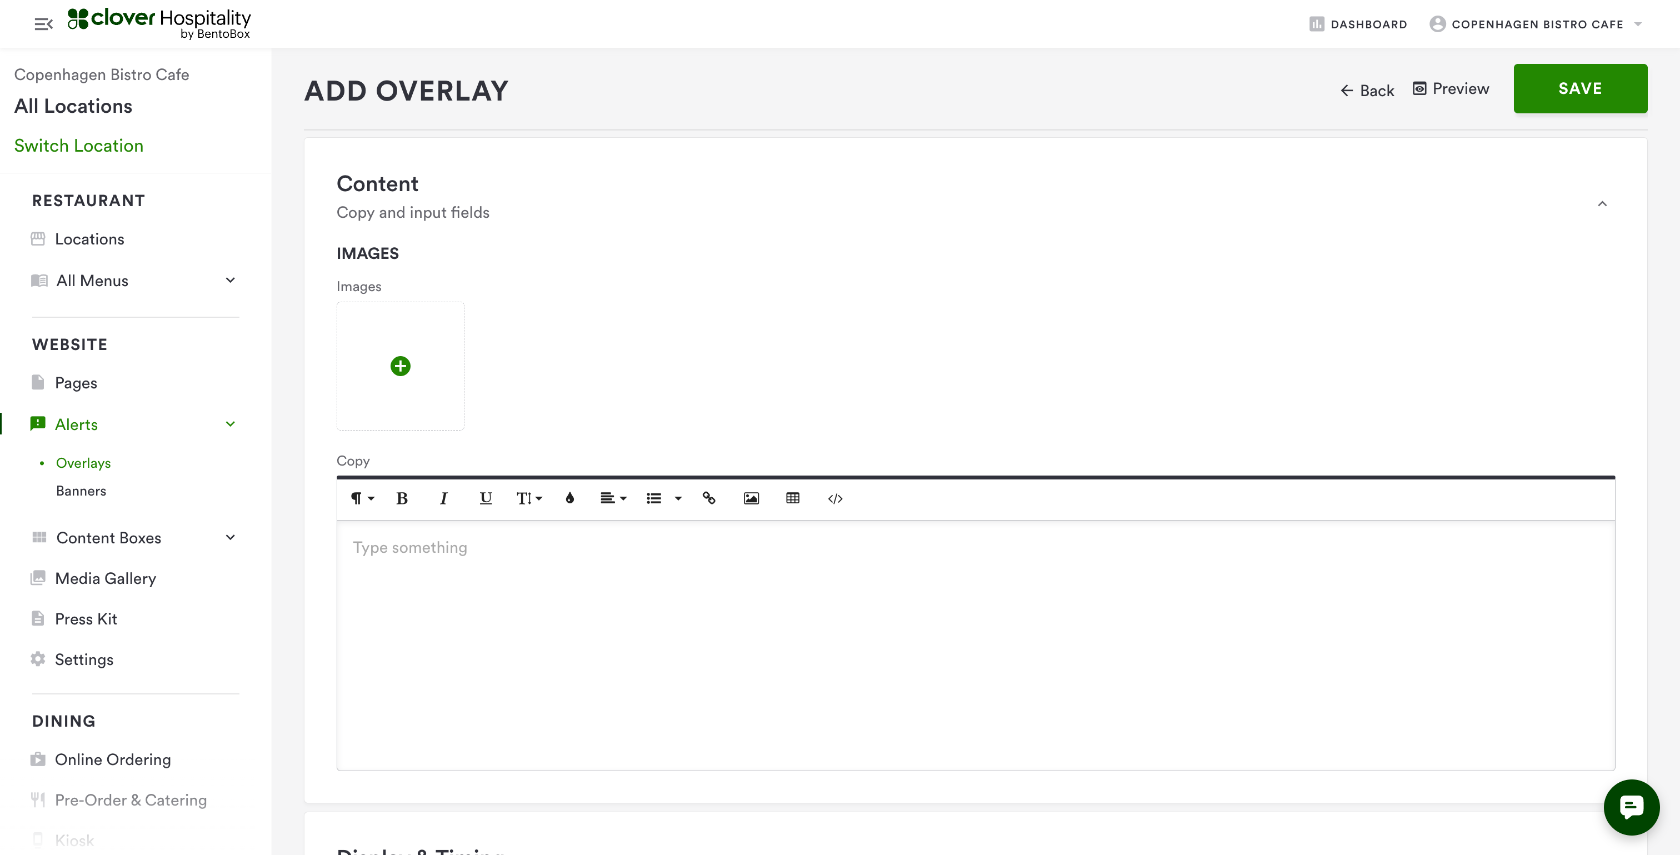
Expand the 'Content' section. Add any desired images to your pop-up, edit any copy or button text, and select desired fields to be collected - email is required, phone number and birthday are optional.
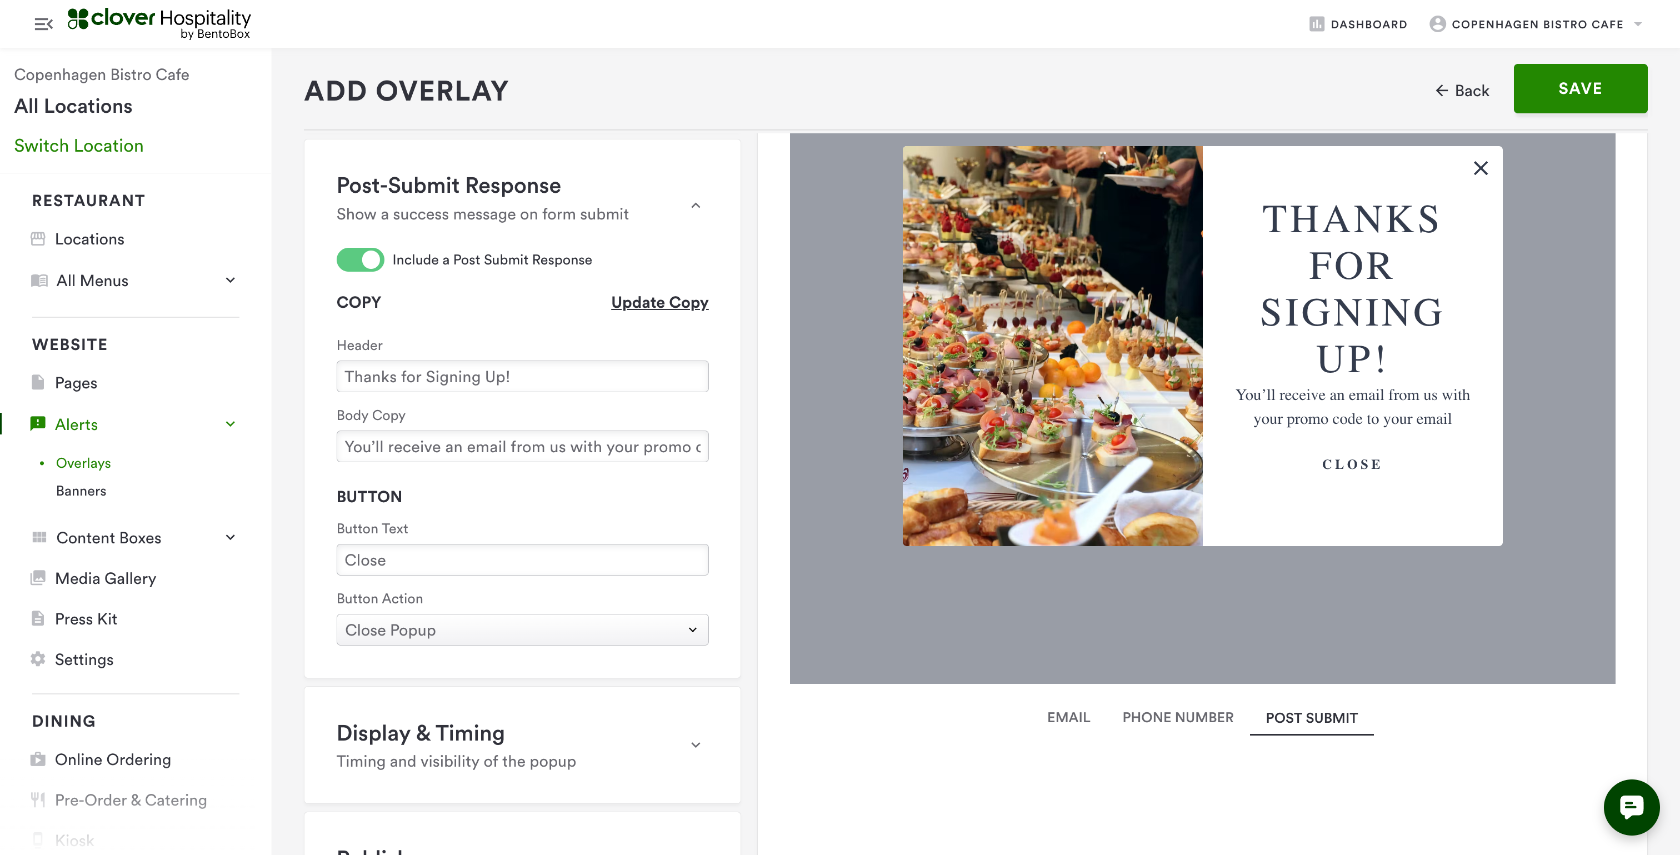
Expand the 'Post-Submit Response' section. Decide whether or not you'd like to include a Post-Submit Response, edit any copy or button text, and add button actions to decide where that button will take your customer. The Post-Submit response will pop up immediately after the diner submits their email address. This is a good place to include a thank you response and direct your diner to a page specific to what you are promoting.

Expand the 'Email Response' section. Decide whether or not you'd like to include an Email Response, edit any copy or button text, and add button actions to decide where that button will take your customer. The Email response will email the diner the promo code you choose to include immediately after the diner submits their email address. This is a good place to include a thank you response and direct your diner to a page specific to what you are promoting.
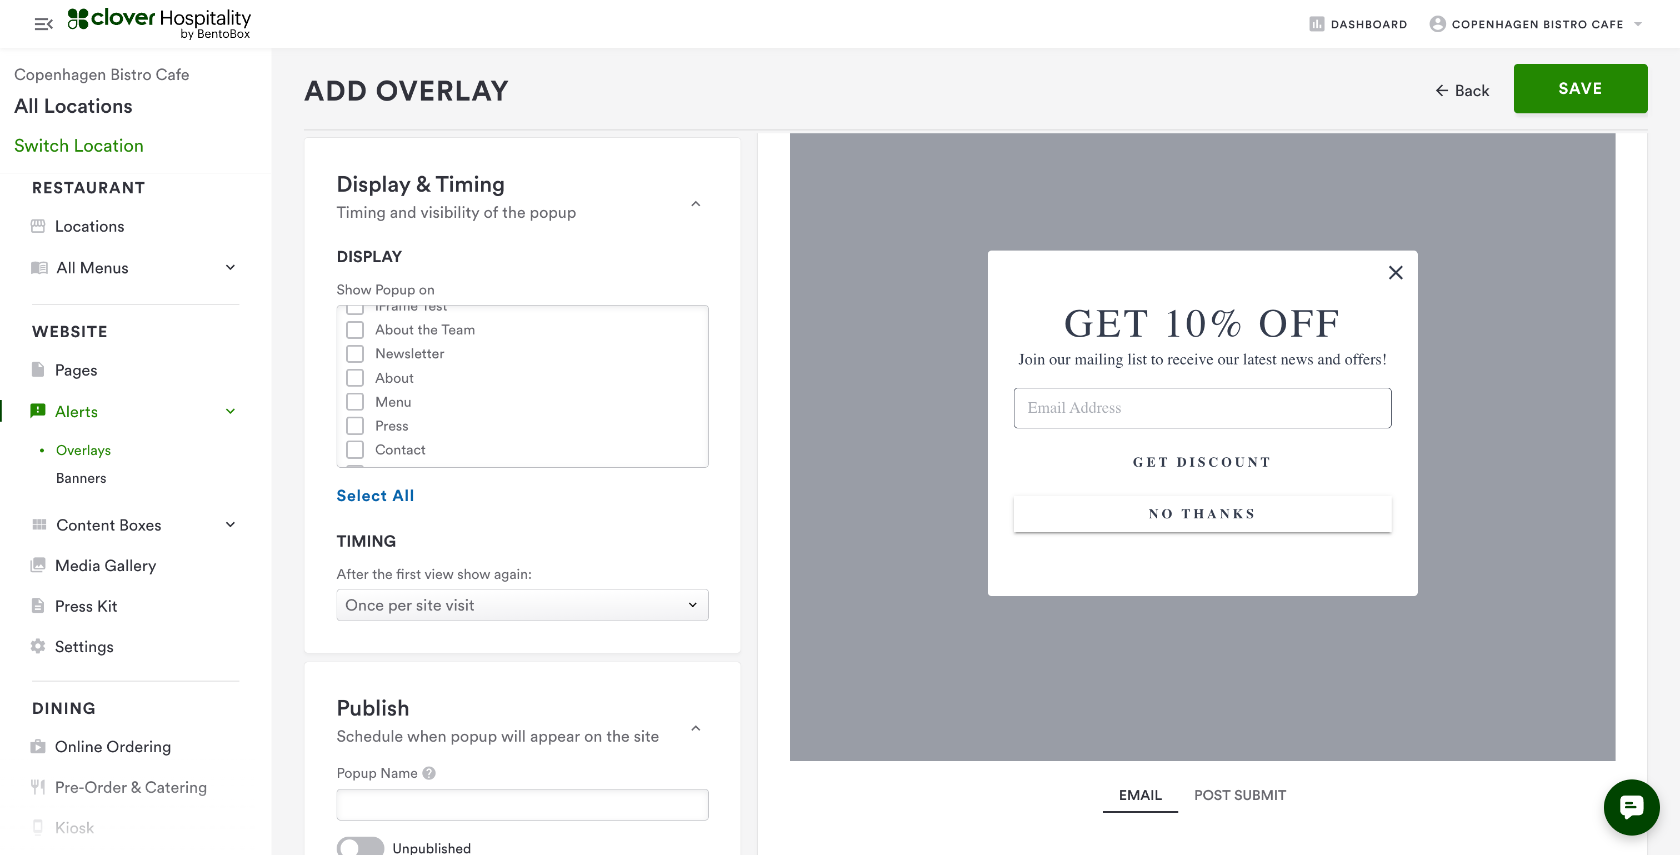
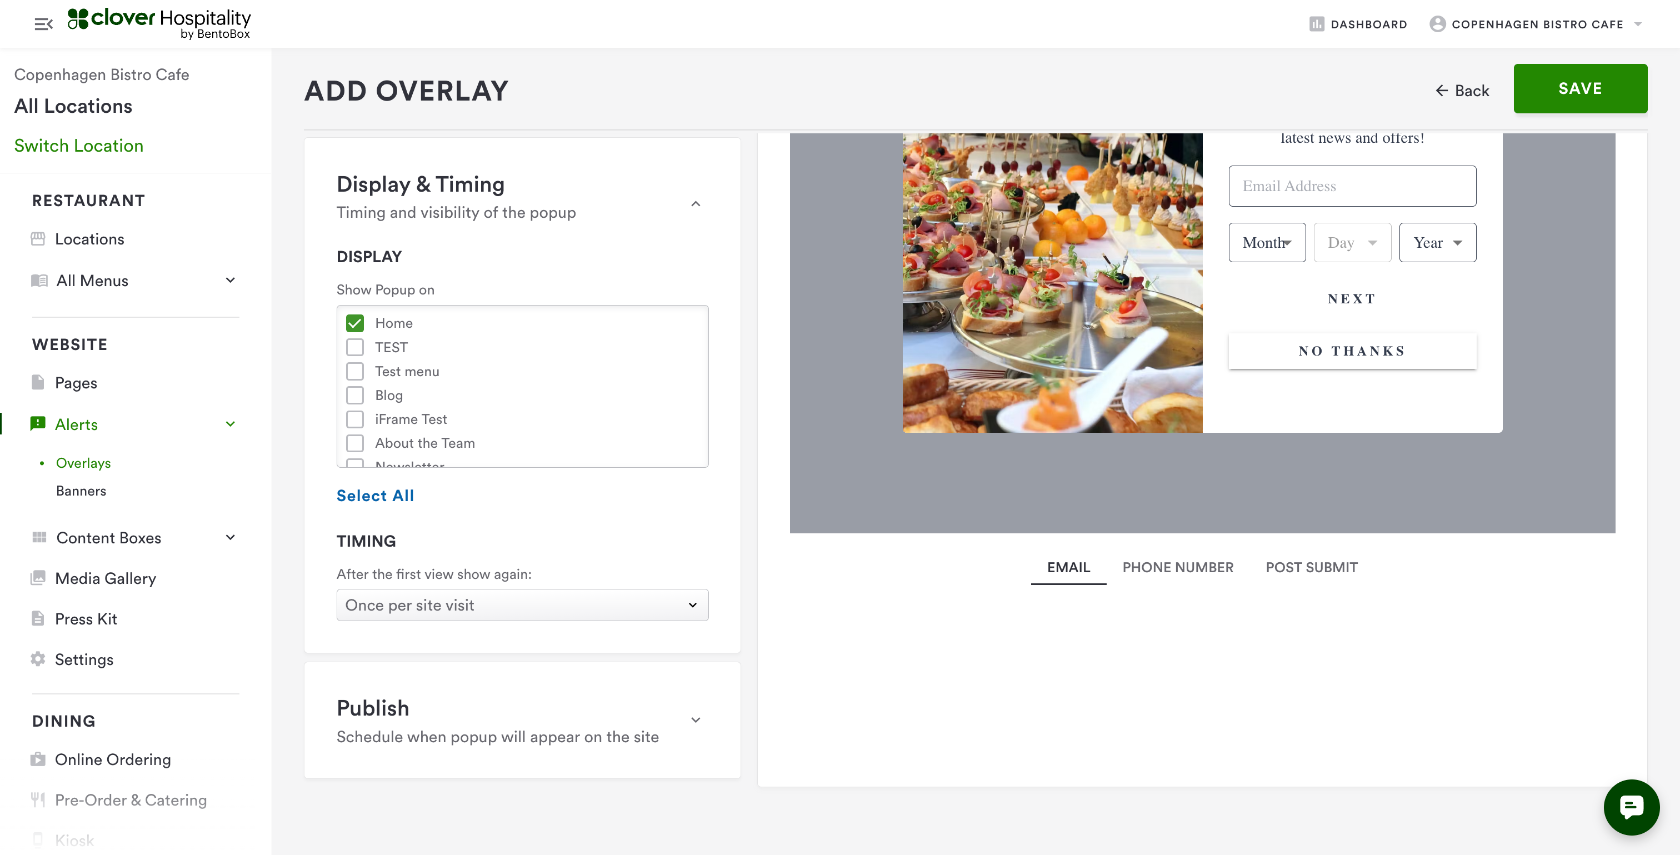
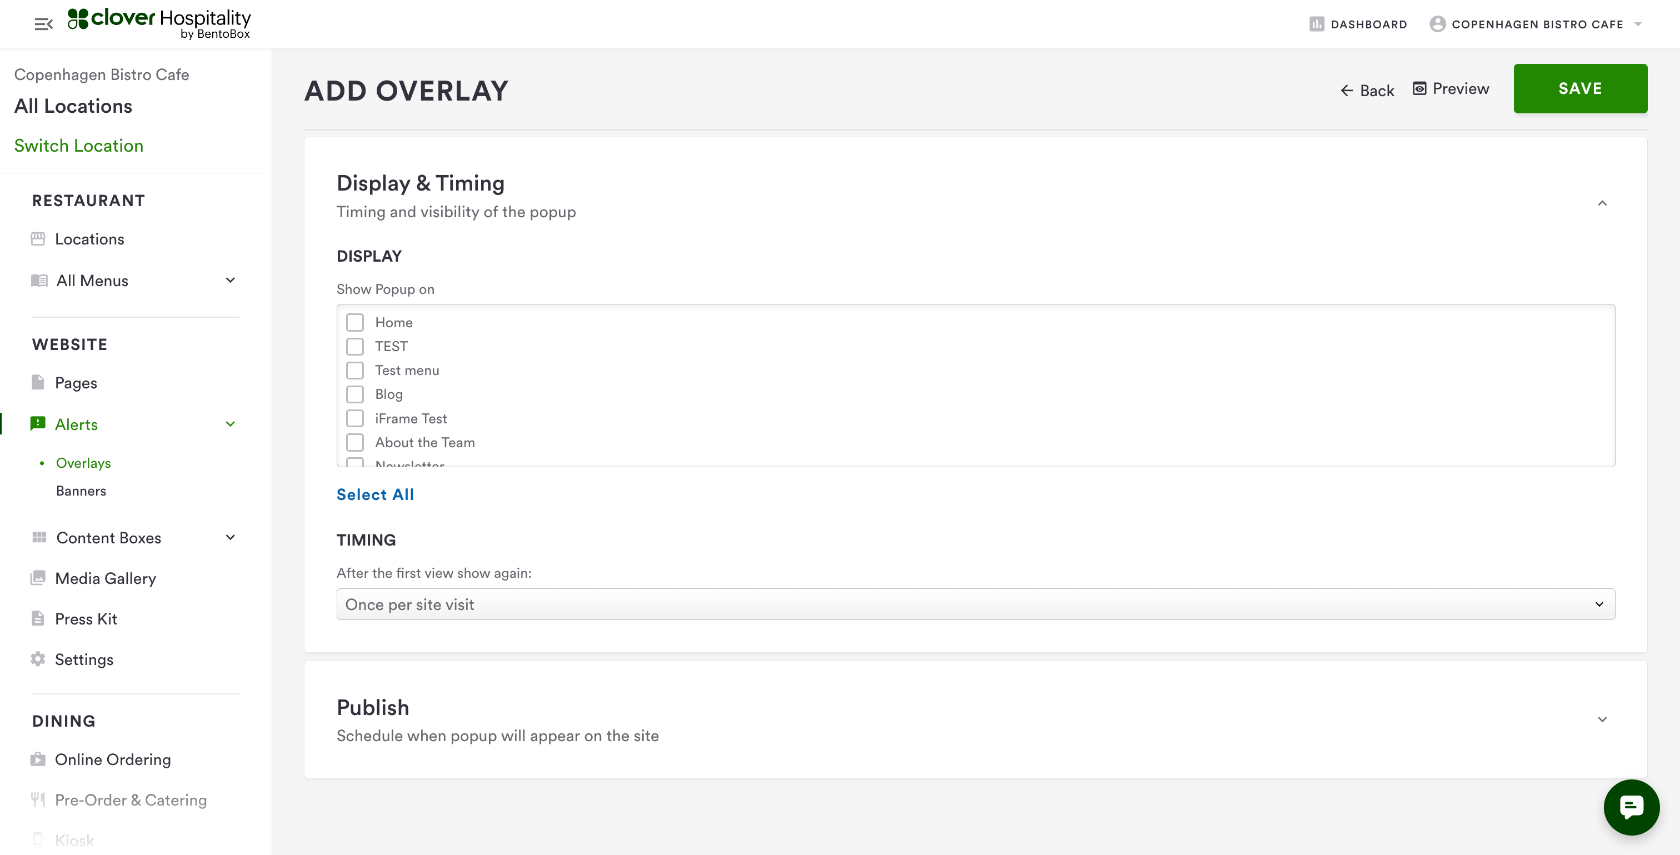
Expand the 'Display & Timing' section and select which pages you'd want the popup to appear on and how often.
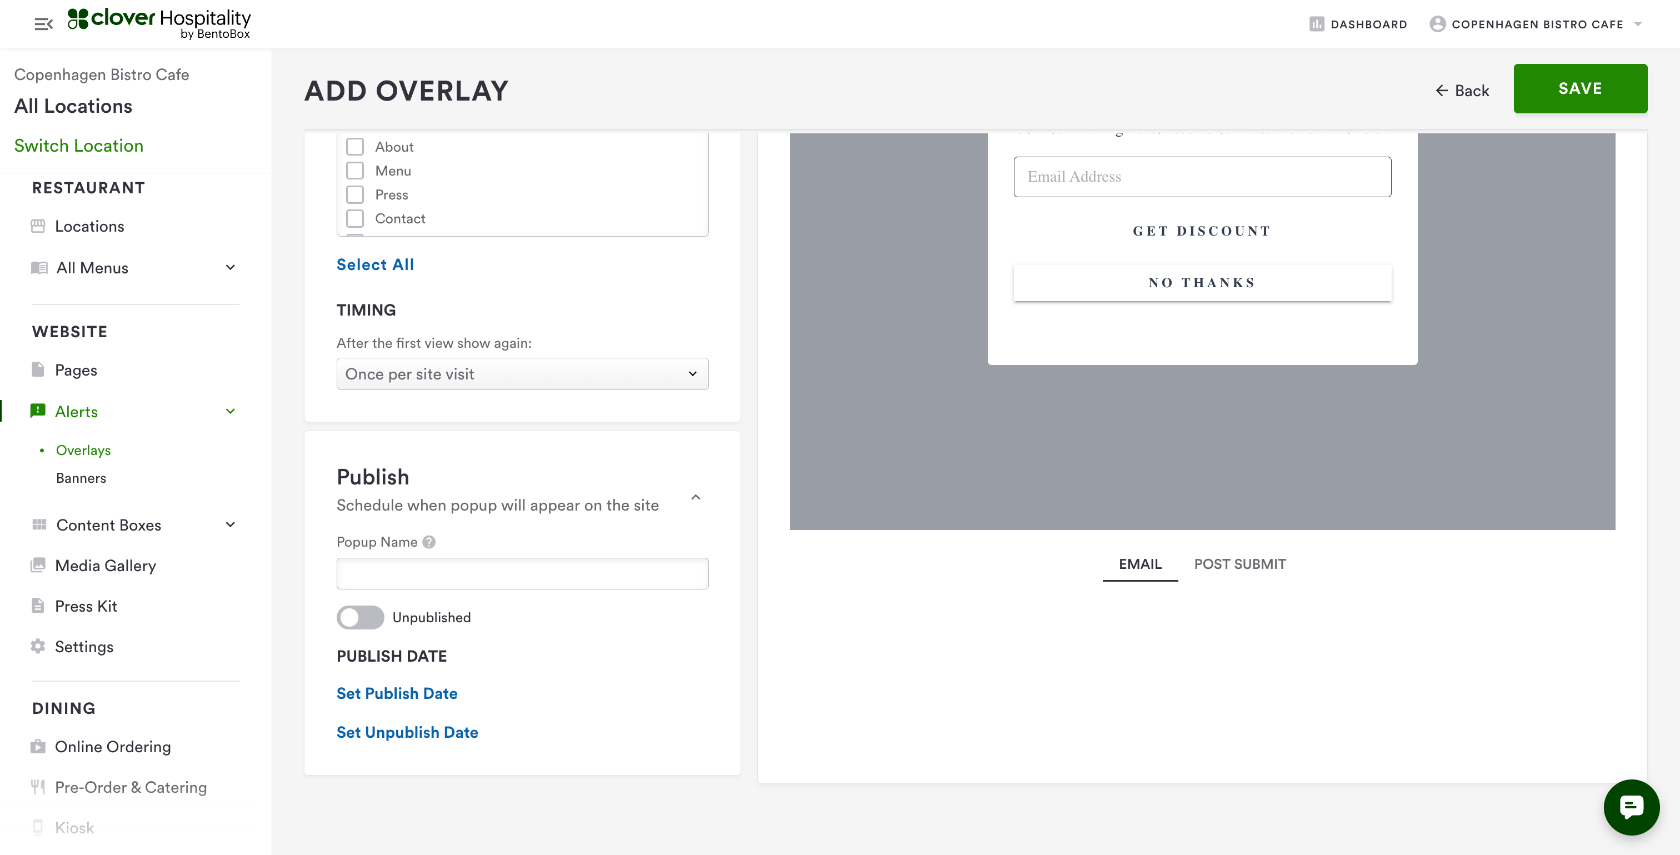
Expand the 'Publish' section and name the popup, set it to publish, and control publish and unpublish dates.
Confirm on the 'Overlays' landing page that your new popup is there!
Create an announcement
From your dashboard, in the 'Website' section, expand 'Alerts' and select 'Overlays.'
Click 'Create' in the upper right-hand corner.
Expand the 'Design' section and select 'Announcement'.
Expand the 'Content' section. Add any desired images to your pop-up, edit any copy or button text, toggle diner information, and add desired fields to be collected - email is required, phone number and birthday are optional.
Expand the Post-Submit Response field to setup the message that will appear once a guest has submitted their information.
Expand the 'Display & Timing' section and select which pages you'd want the popup to appear on and how often.
Expand the 'Publish' section and name the popup, set it to publish, and control publish and unpublish dates.
Confirm on the 'Overlays' landing page that your new popup is there!
Create a Custom Overlay
From your dashboard, in the 'Website' section, expand 'Alerts' and select 'Overlays.'
Click 'Create' in the upper right-hand corner.
Expand the Content section, and add copy and images. Click here for more details on using the WYSIWYG text editor.
Expand the 'Display & Timing' section and select which pages you'd want the popup to appear on and how often.
Expand the 'Publish' section and name the popup, set it to publish, and control publish and unpublish dates.
Confirm on the 'Overlays' landing page that your new popup is there!