How to add and edit press
Press pages are a great way to share with visitors all the good buzz that your restaurant is receiving.
Adding press with a URL
Adding press to your site is as easy as copying an article’s URL and pasting it into the backend. We recommend this method--it’s easier to add, easier for users to access the original article, and it’s great for your site’s SEO.
Copy the URL of the article you want to add to your press page.
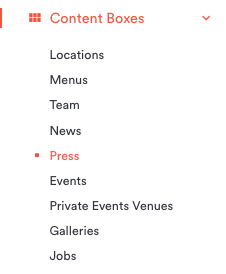
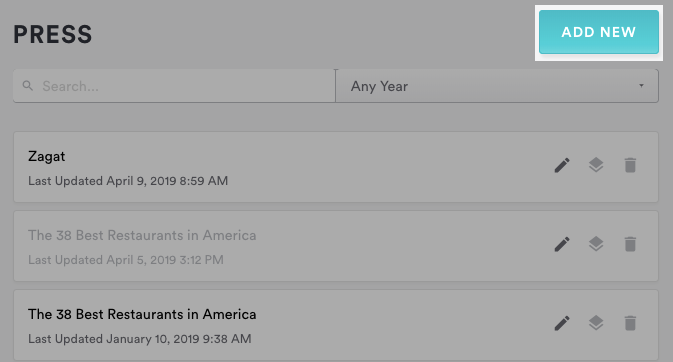
Log in to the backend and click on Content Boxes, then select “Press” from the list that appears.
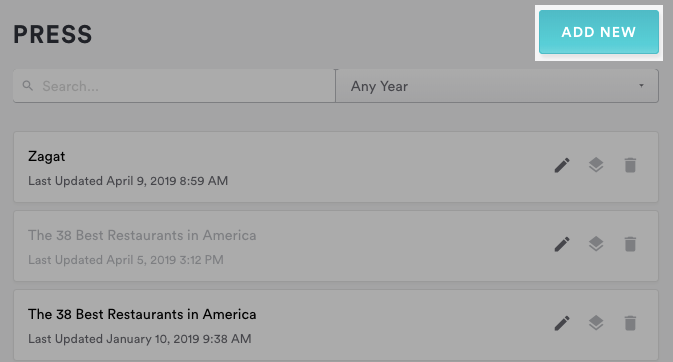
To add press, click on the blue “Add New” button at the top right corner of the page.
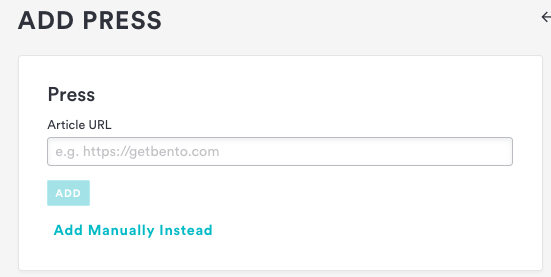
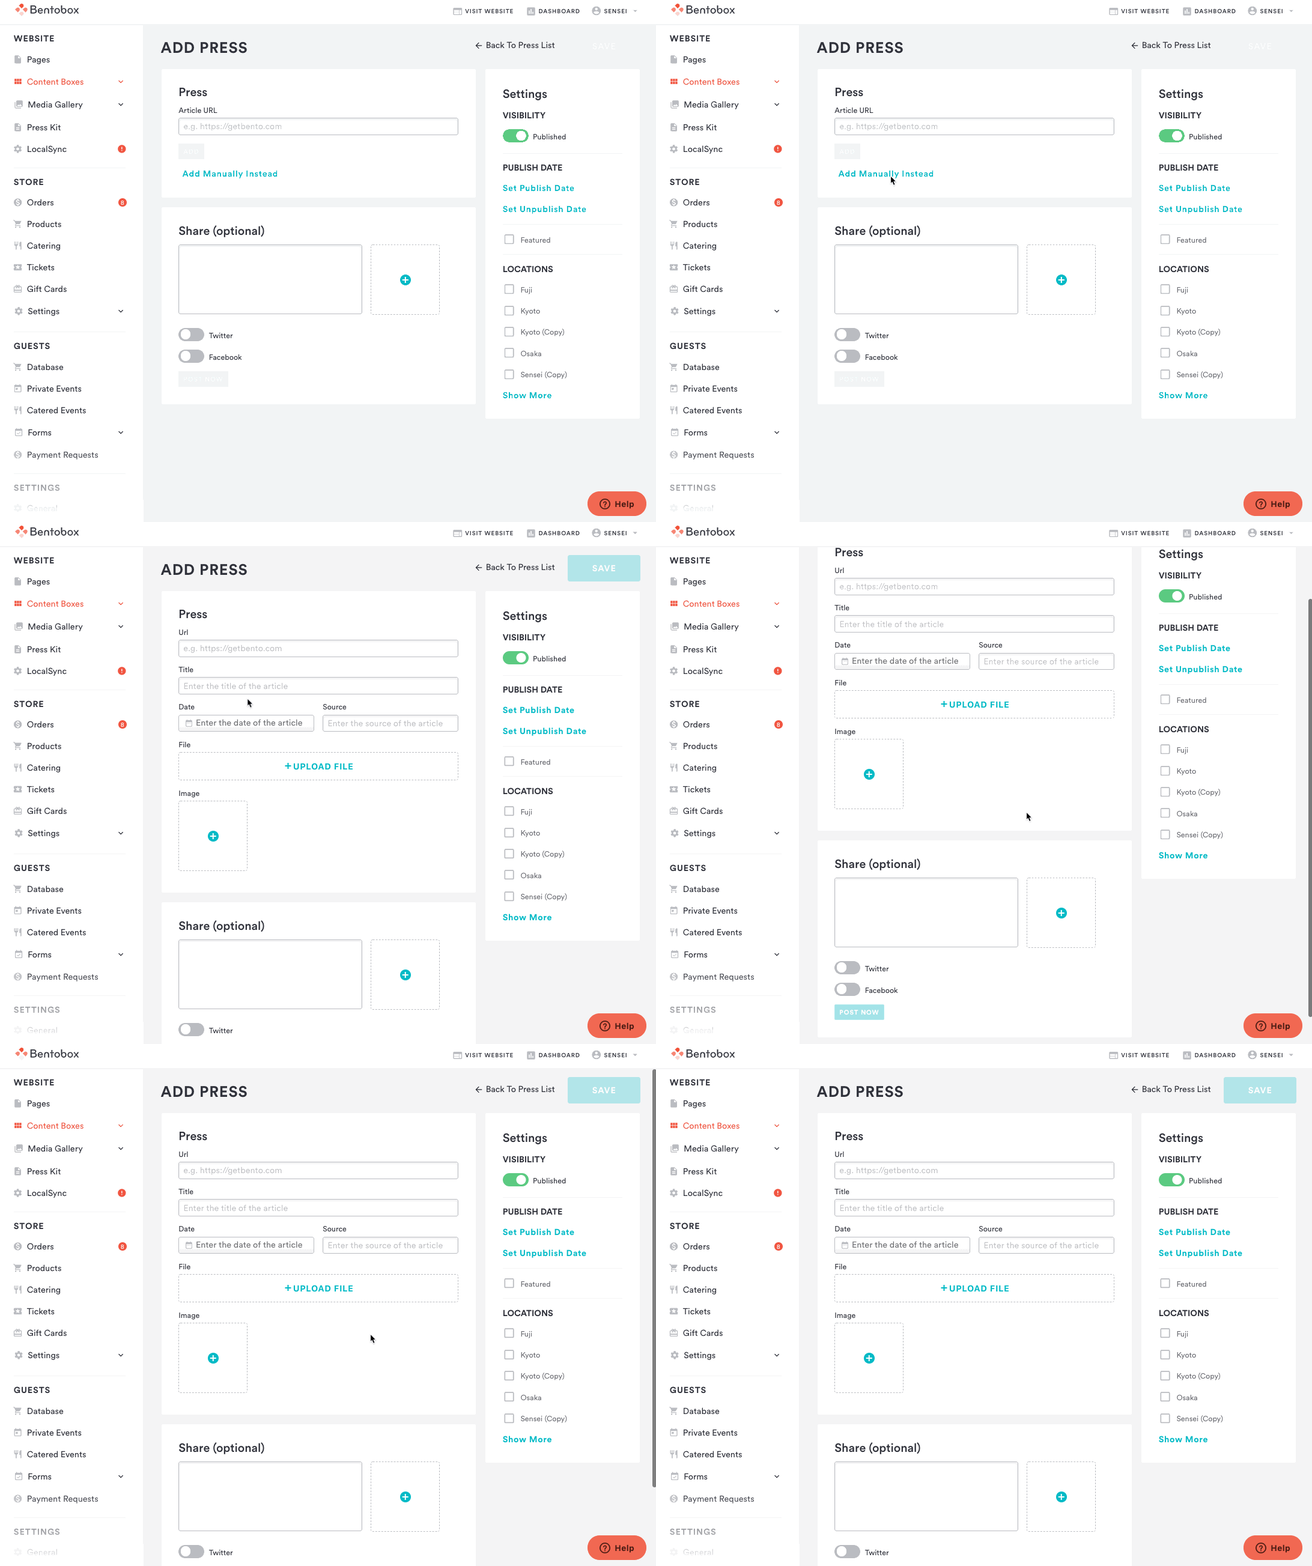
In the “Add Press” dialog that appears, paste the article URL that you copied in step one into the URL field. Then click the blue “Add” button.
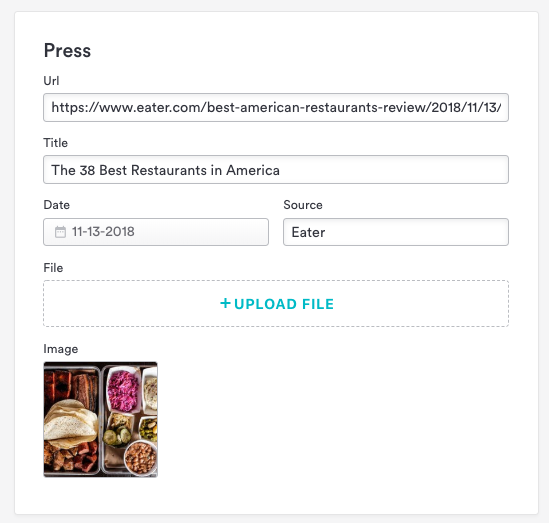
Clover Hospitality by BentoBox does some magic behind the scenes and will automatically pull the Title, Date, and Source of the article and fill them in below the URL. Sometimes the tool isn’t able to fill these in correctly, so you may need to enter them or make some edits to these fields, which will all appear on the press page.
If your business has multiple locations, click the Settings column to check any locations that correspond to the press you are adding.
Check the “Featured” box if you want this post to appear at the top of your press page. Otherwise, press will be listed chronologically by date.
The image will also be automatically pulled in from the source URL. If you want to change it, hover over the thumbnail under the “Image” section and delete the image to add a new one from the image uploader.
Click the “Save” button.
Now if you click the “Visit Website” link at the top of the screen, you will be able to view your changes.
Adding press with a PDF
You can also manually add press in the form of a PDF. This is only recommended for press that is print-only and can’t be found online.
Log in to the backend and click on Content Boxes, then select “Press” from the list that appears.
To add press, click on the blue “Add New” button at the top right corner of the page.
In the “Add Press” dialog that appears, click the “Add manually instead.”
If your business has multiple locations, check the “Location” box in the right settings panel to choose any locations that correspond to the press you are adding.
Check the “Featured” box if you want this post to appear at the top of your press page. Otherwise, press will be listed chronologically by date.
Under “Press,” enter the title, date, and source for the press you are adding.
Click on “Upload file” under the “File” section, and upload the PDF using the dialog that appears.
Click the blue “Add” button under the “Image” section.
Use the Add Media dialog that appears to upload a new image or choose an existing one from the gallery.Click the “Save” button.
Now if you click the “Visit Website” link at the top of the screen, you will be able to view your changes.
Deleting press
To delete press, log in to the backend and click on Content Boxes, then select “Press” from the list that appears. Hover over the item you’d like to delete and click the delete icon that appears, then click “Confirm Delete.” Note that this cannot be undone. To temporarily remove a press item from your website, you can publish, unpublish, and schedule posts. Click here for detailed instructions.

