
Epson TM-m30II-NT: Updating Your Printer's Settings
In this article, we’ll walk you through how to configure your printer with your online ordering store. If your printer was purchased form ShopPOSportal, then it is already preconfigured and you can skip to connecting your printer to Clover Hospitality by BentoBox.
1. Make sure your computer and the printer are on the same network.
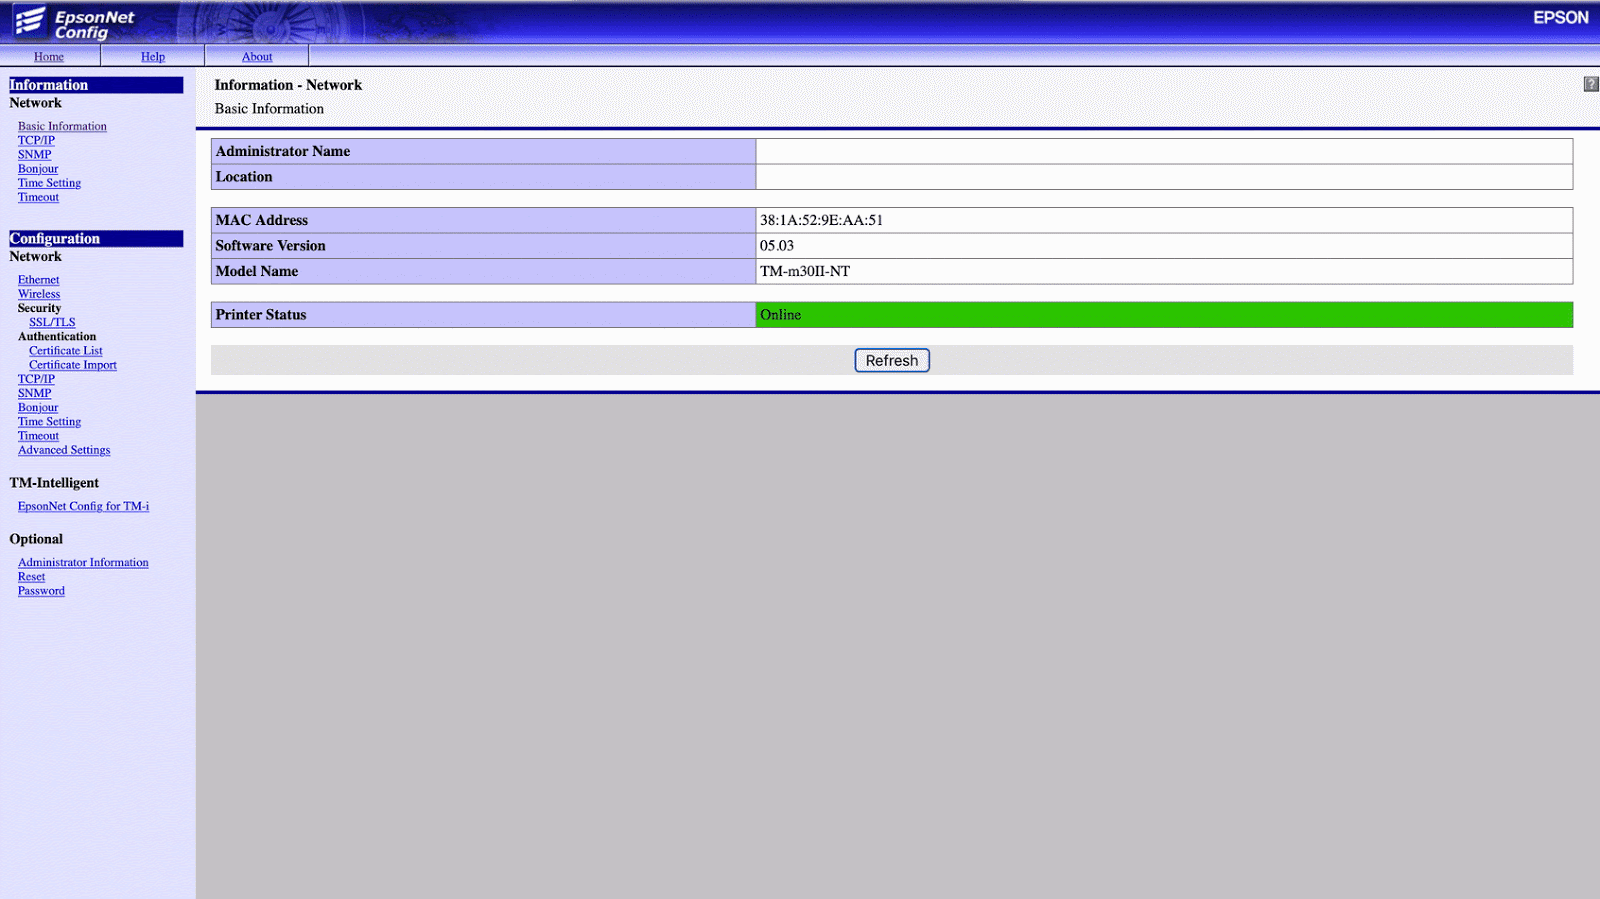
2. Start up your Web browser and input the printer's IP address into the search bar.

The “Subnet mask” and “IP address should have the same networks addresses, but different host addresses.
Troubleshooting Tip:
When setting up using the EpsonNet Config (Web version), you need to set the network settings for the device to the same network segment as the printer you want to connect to.
The initial setting uses an IP address for the printer provided by a DHCP server. Since you cannot complete setup if there are conflicting IP addresses on the network, make sure that there are no other devices on the network that conflict with the IP address provided by the DHCP server. If a DHCP server is not available, a fixed IP address (192.168.192.168) is set approximately one minute after turning on the printer. Also, if the Ethernet cable is not connected, connect the Ethernet cable and then run this process.
When DHCP is enabled, the provided IP address is printed automatically. However, if the Ethernet cable is not connected, and the Wireless LAN unit is not installed, printing is not performed.
3. Input your user name and password on the authentication window.
Input "epson" for the username (all lower case)
Input the printer’s serial number as the password (case sensitive).
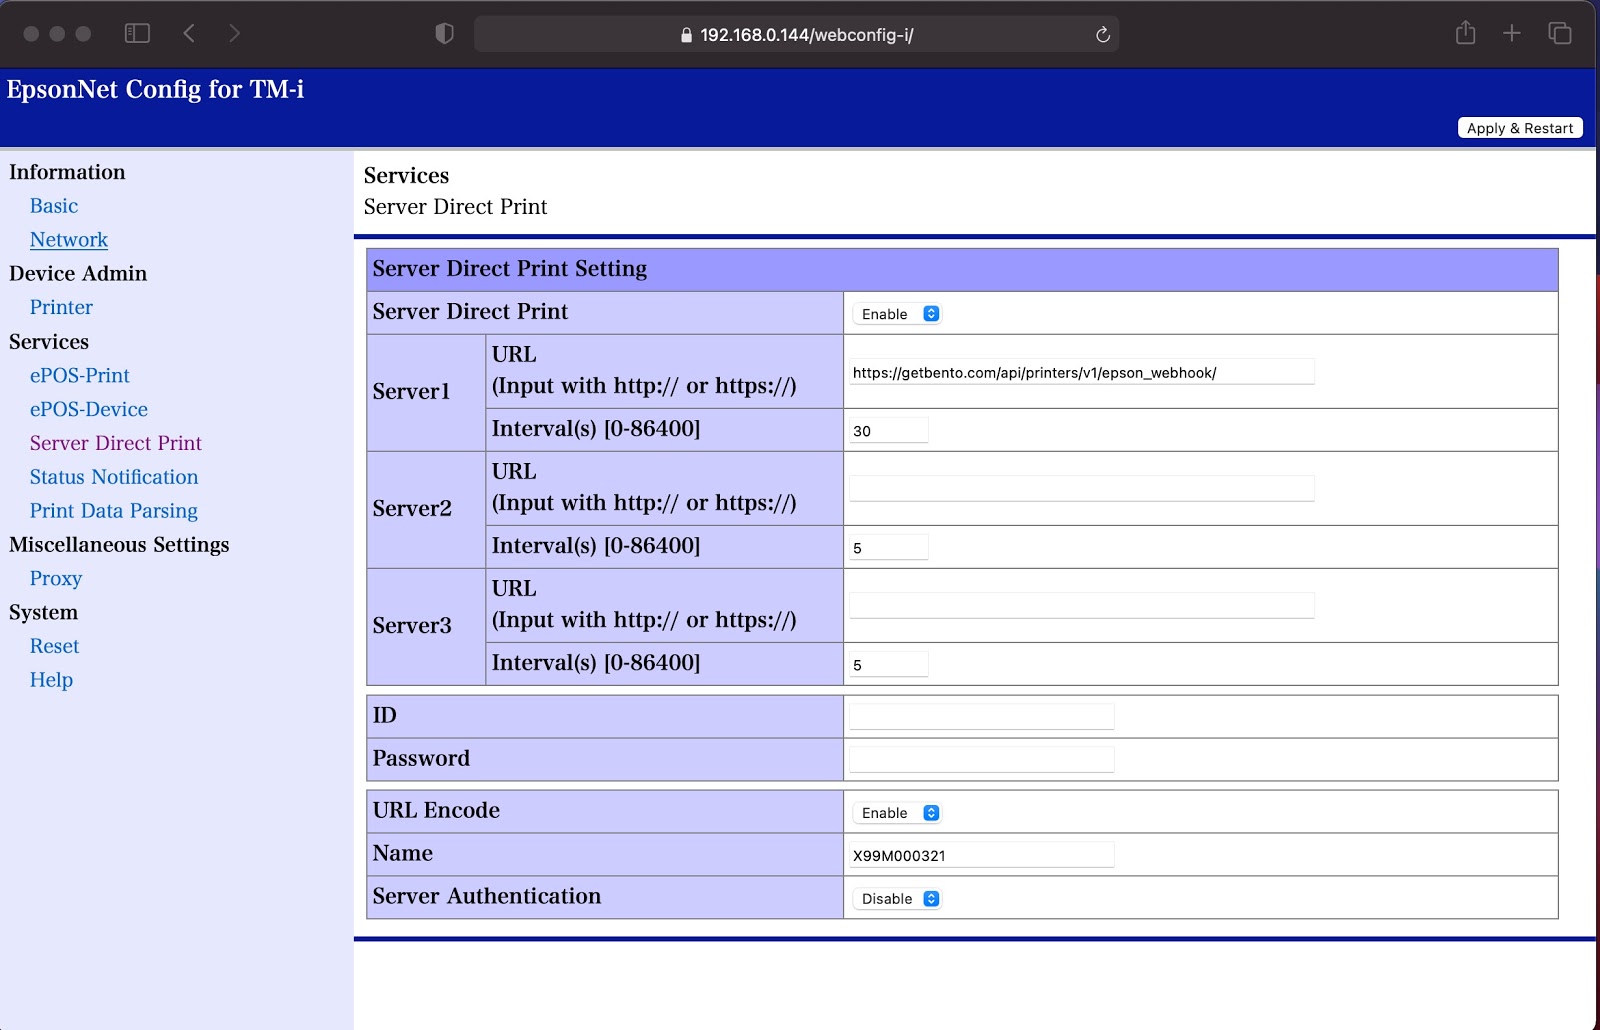
4. Navigate to EpsonNet Config for TM-i in left navigation menu
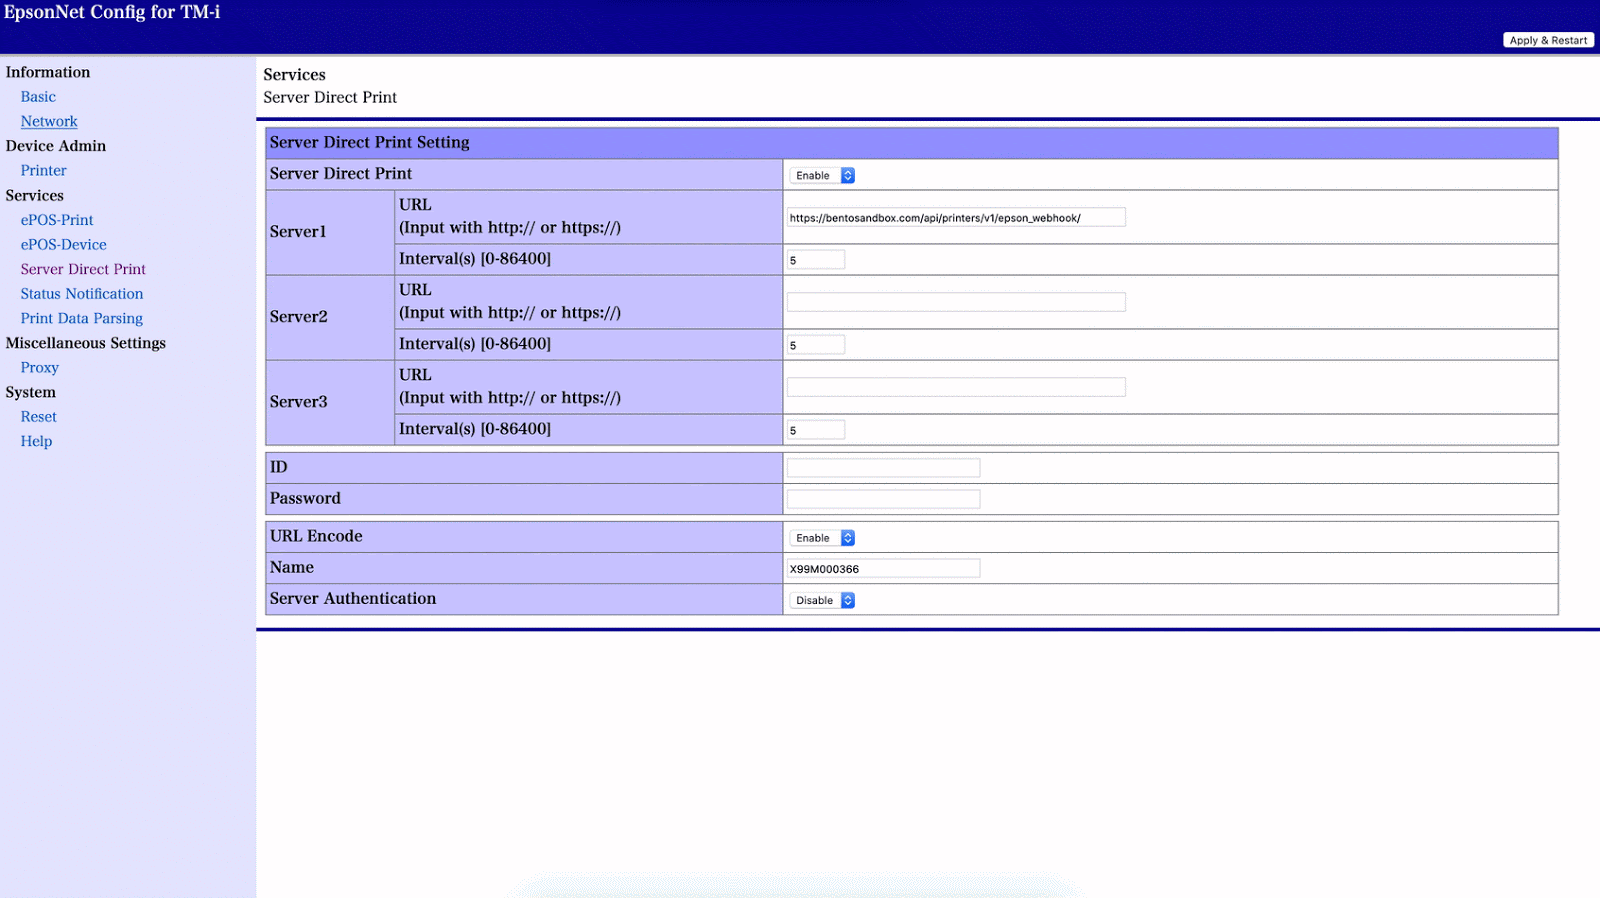
5. Configure the Server Direct Print settings
Under Services >>Server Direct Print
Select the enable dropdown for Server Direct Print
Add this URL https://getbento.com/api/printers/v1/epson_webhook/
Update the interval to 30 seconds.
6. Configure the Status Notification settings
Under Services >> Status Notification:
Update the "Status Notification" dropdown to enable
Add this URL https://getbento.com/api/printers/v1/epson_webhook/
Update the interval to 30 seconds.

7. Save the changes by selecting “Apply & Restart”
Saving process may take up to a minute to finish. Once saved, the printer will print a new ticket out.
Revisit the "Server Direct Print" and "Status Notification" pages to make sure the settings did save.
Next: