
Star Micronics: Updating Your Printer's Settings
Activating Your Star Micronics Printer Integration
In this article, we’ll walk you through how to configure your printer with your online ordering store.
Retrieve your Printer's IP Address
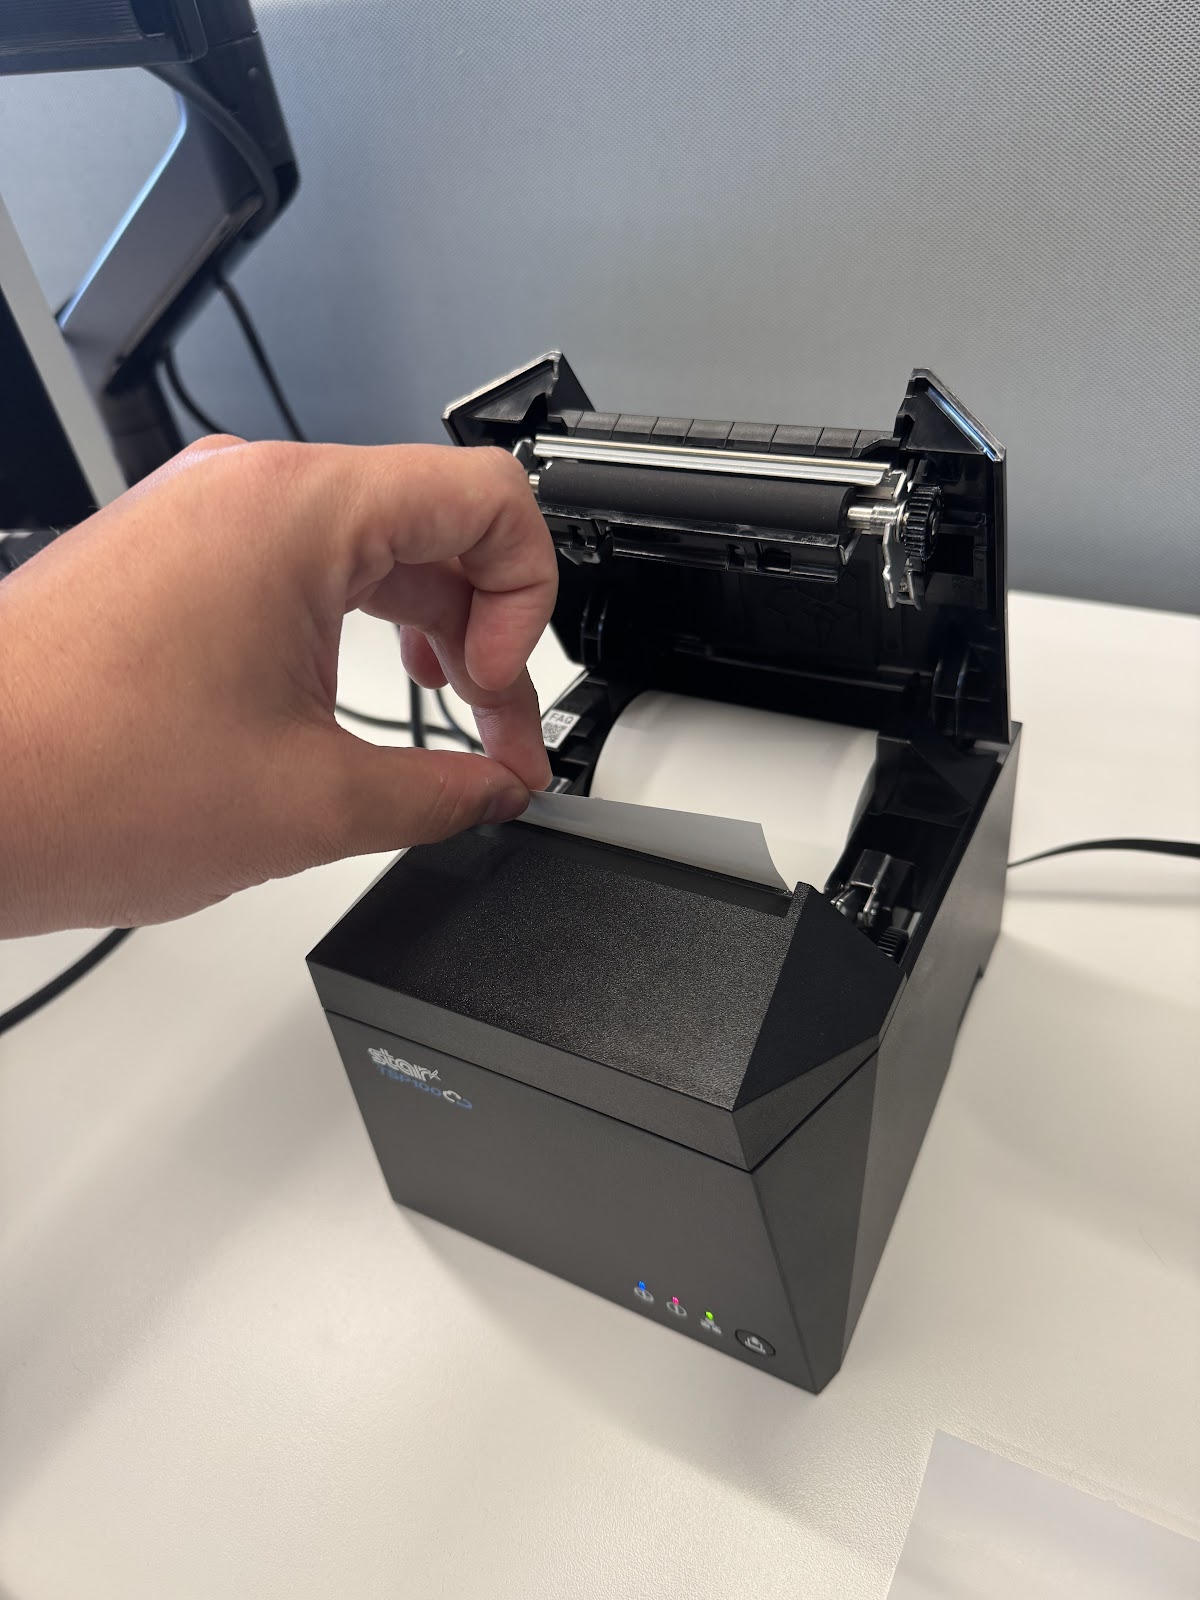
Open top of the printer (error light will turn red).
Hold the feed button (all the way to the right of the lights).
When the Power light flashes, release feed button and close lid of printer.
Test print should occur within a few seconds.
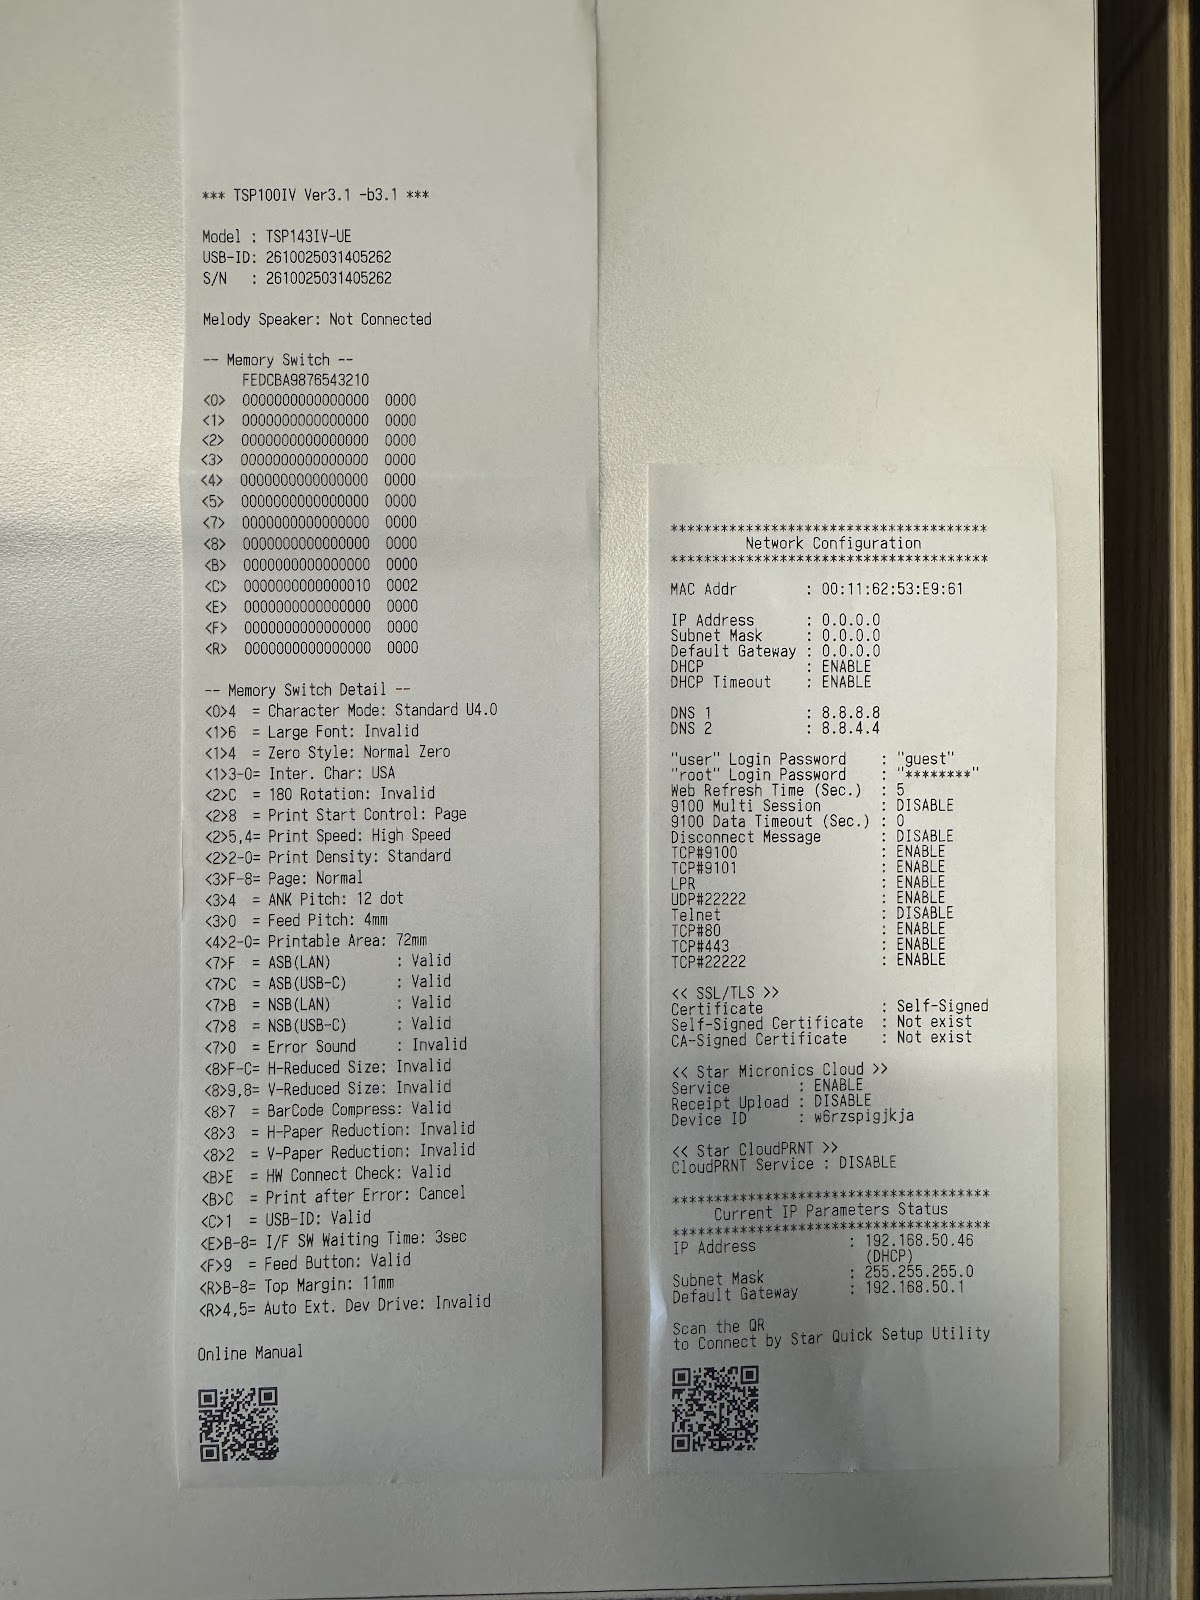
Test print will include a long spec print out, followed by a network connection ticket a few moments later (this is usually delayed).
At the bottom of the second ticket will be an IP address under "Current IP Parameters Status."
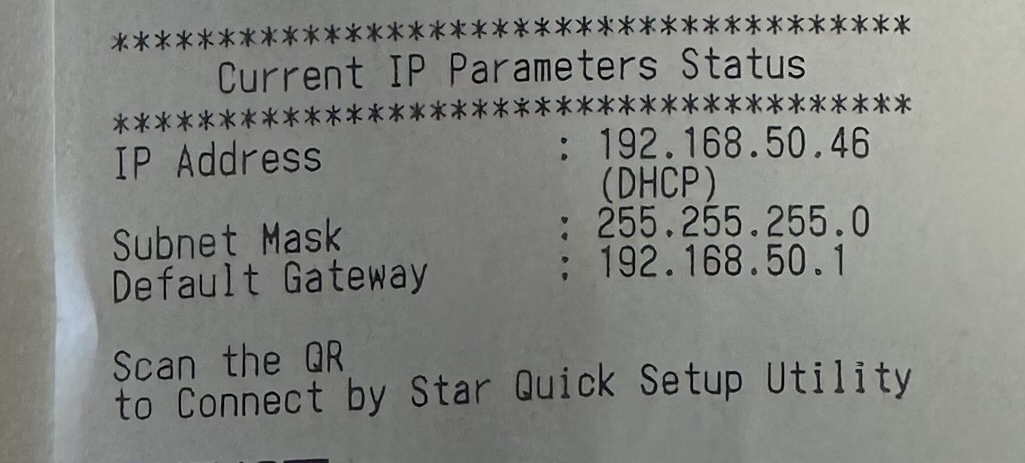
Copy the IP address from your ticket into your browser.
We recommend using an Incognito window to view (Usually under “File”).
Please note the device used to configure the printer must be connected to the same network as the printer. This is necessary to complete the setup.
Open Login Settings Screen
Enter the IP address (example: 192.168.1.113), which you confirmed in Step 3, in the address entry field of the Web browser such as Safari. This accesses the target printer and opens the Web Configuration screen of the printer.
NOTE: If the Web Configuration does not display correctly, entering "https://[Printer IP address]" in a web browser may cause the Web Configuration to display incorrectly. Use "http://[Printer IP address]" when opening the Web Configuration.
Log in to Star’s Web Configuration
Select “Login” from the menu displayed on the left side of the settings screen or from the menu button displayed on the upper-left side.
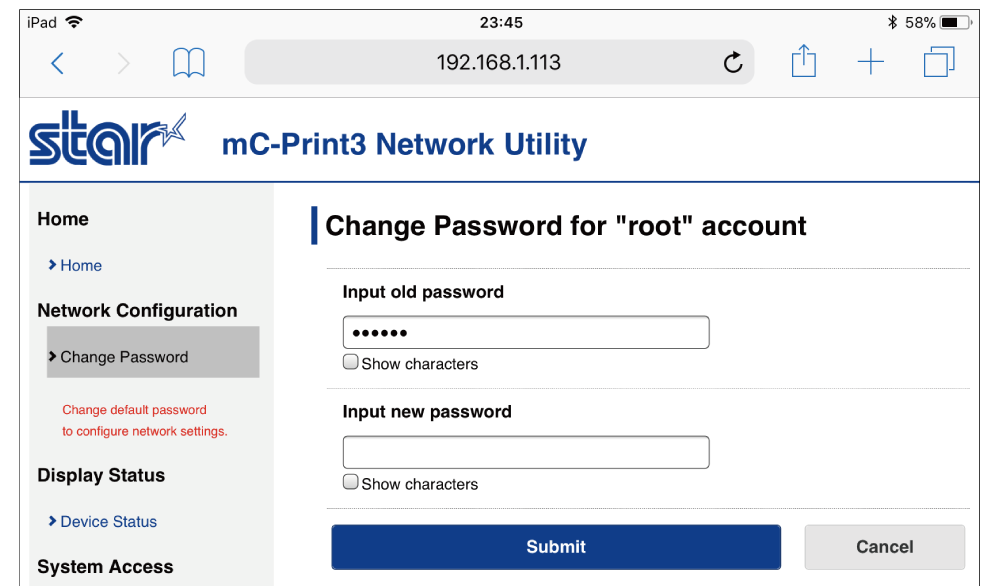
Login using the default login name and password here: Login name = root / Password = public
When logging in using the default password, a screen for changing the password opens. After changing the password, proceed to the next step.
Update Firmware
Follow these steps to update Star Micronics latest firmware version:
Click Firmware update
Click Check for Updates
It will say that Firmware version 1.9.3 is available
Scroll to the bottom
Click Download
Be patient and do not turn off device/printer or click the back button until firmware is completely installed (the printer will reboot on its own once you click download).
For Star Micronics Support: submit a ticket to the Star Micronics Technical Support team here or call them at (800) 782-7636 x995.
Enable cloudPRNT to print from Online Ordering
Enable the CloudPRNT setting
From the menu displayed at upper left, select “CloudPRNT” and set CloudPRNT Service to “ENABLE”
Paste the CloudPRNT Server URL you copied from the backend into the text box.
If you haven't copied the CloudPRNT Server URL yet, navigate to the Printers page (under Online Ordering >> Settings) in the backend, select the "Add New" button and copy the CloudPRNT Server URL from the popup.
Enter "20" for polling time. (Note: the example below shows 30 seconds, however, we now recommend entering in 20 seconds.)
Tap the submit button.
A screen where you can check and save the entered details will appear.
Save settings to the printer
From the menu in the upper left, select the “save” button, select [SaveRestart] device, and tap the “execute” button.
The settings are now saved to the printer.
Finalizing Your Printer's Connection
Return back to the printer screen in the backend and wait for the printer status tag to turn green (may take up to 10 seconds). Select “Add Printer” and a test print should automatically print from your printer. This confirms your printer is now connected.
