
How to add Resy reservations to your site
Follow the steps below to integrate Resy reservations on your site. Whether you are adding global reservations (if your business only has one location) or location based reservations (if your business has more than one location), you will first need your Resy venue ID and API key. Contact your Resy rep if you don’t have these handy.
Adding or updating global Resy reservations
If your business has only one location, you can add Resy reservations globally. Just follow the steps below.
Log in to the BentoBox backend and click on Integrations in the left hand sidebar.
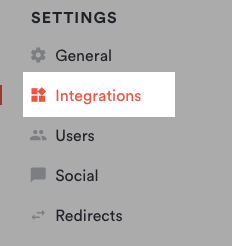
Under the reservations section, click the “Connect” button next to Resy.

On the next page, enter your Resy Venue ID and API Key and click the “Save” button.
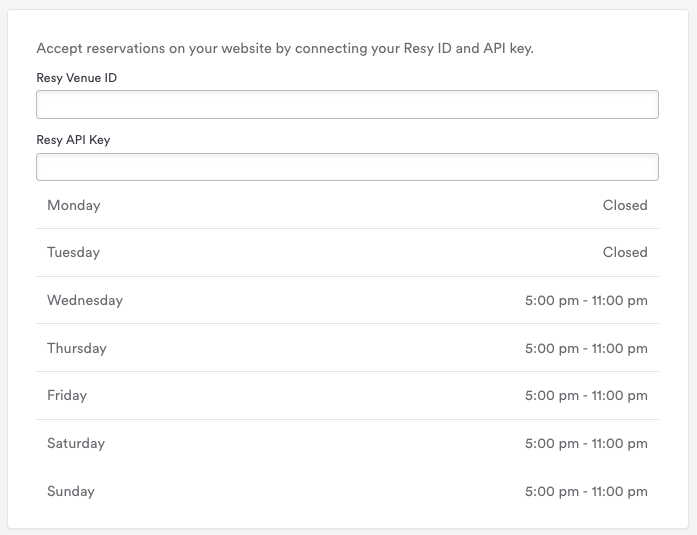
To update the global Resy settings, return to the Integrations page and click on Resy to reopen the settings.
Adding or updating Resy reservations per location
If your business has more than one location, you can add a Resy integration for each location by following the steps below.
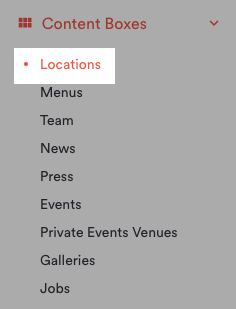
Log in to the BentoBox backend and click on Content Boxes in the left hand sidebar, then click Locations in the list that appears.
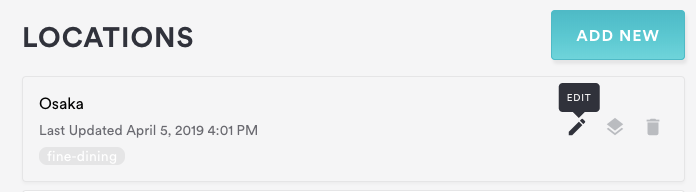
Hover over the location for which you want to add or edit Resy reservations to and click the edit icon that appears.
On the Edit Location page, scroll down to the Reservations section. Choose Resy from the Service dropdown and enter your Resy venue ID and API key.
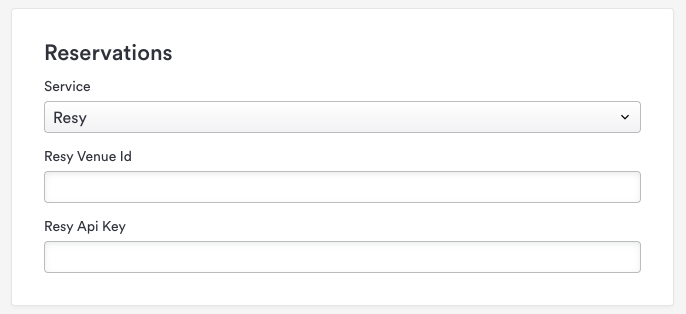
Click the “Save” button.