
How to add new store products
It’s easy to set up products in your store. Whether they are items that come in one size or variations like size and color, it can all be managed in the Products section of the backend.
To add a new product or edit an existing one, follow the steps below.
Log in to the back end and click on Products in the left hand sidebar under the Store heading.

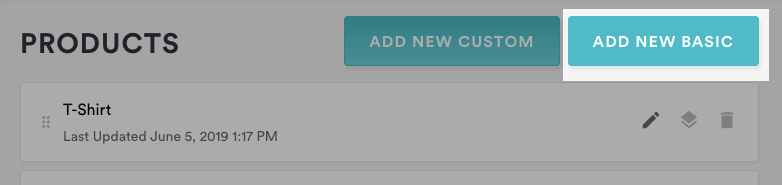
To add a new product, choose the "Add New Basic" button.
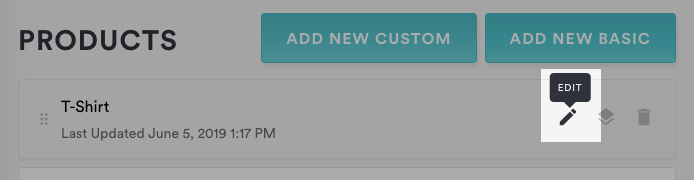
To edit an existing product, hover over the product and click the edit icon that appears.
On the Edit Product dialog that appears, fill in all of the relevant product Settings in the right-side navigation
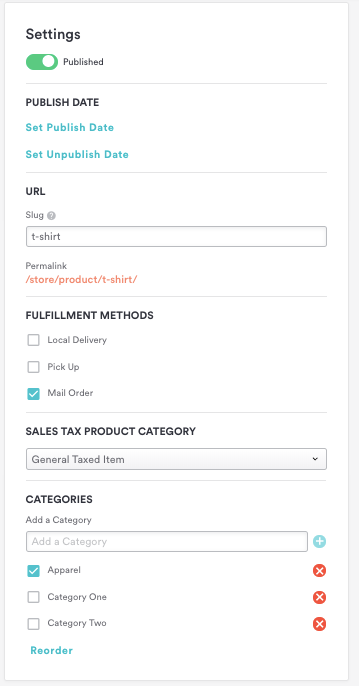
Published: This will default to published for your products to display in the frontend. (Turn this toggle off if you don't wish to feature a product temporarily).
Publish Date:(optional) if you wish to feature your product for a limited time (example: seasonal products).
URL: Use this field to change the URL of this specific product. The permalink will change after you save the new name of your product. If any other pages reference this new URL, it is recommended to use a redirect. Learn More
Fulfillment Methods: choose the fulfillment methods that apply to this product. This is mandatory in order to purchase a product. Learn More
Sales Tax Product Category: choose which sales tax category the product falls into.
Category: add or choose the categories that this product falls into.
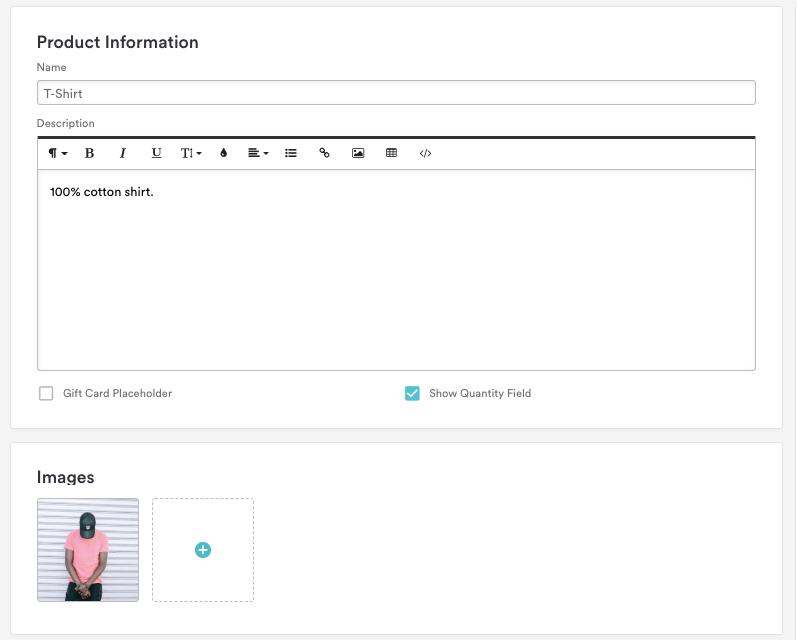
Product Information
Product Name: the name of the product.
Description: use this field to enter the item’s description.
Gift Card Placeholder: check this box if the product you are adding is a gift card. If selected, the product will use the gift card settings you’ve enabled. Click here for instructions on setting up gift cards.
Show Quantity Field: check this box if you want to allow users to enter the quantity they want to order. Otherwise, they’ll just be able to add one of this product to their cart at a time.
Images: upload any images of the product. The first image will serve as a thumbnail for this product throughout the store. Subsequent images will be viewable in a gallery on the product page.
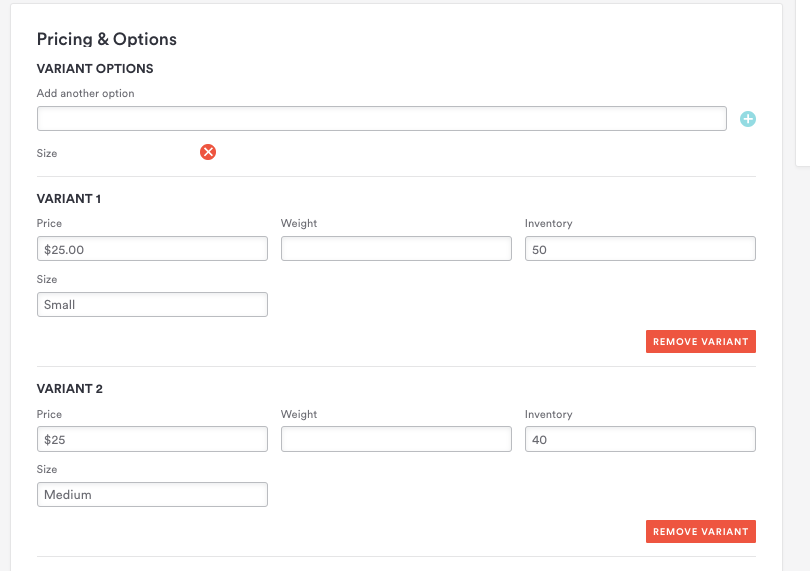
Pricing & Variants: if this product comes in different sizes, colors, or other variations, you can add those variants here. Users will be able to choose which version to add to their cart via a dropdown menu on the product page. Learn More
Click the "Save" button at the top to save your changes.