
Store settings
Once you’re ready to collect payments, a few more settings need to be set up and you’ll be ready to start selling gift cards, merch, tickets for events, and just about anything else. To get started, log in to the backend and click on Settings under the Store heading on the left hand sidebar. Choose “General” from the list that appears.
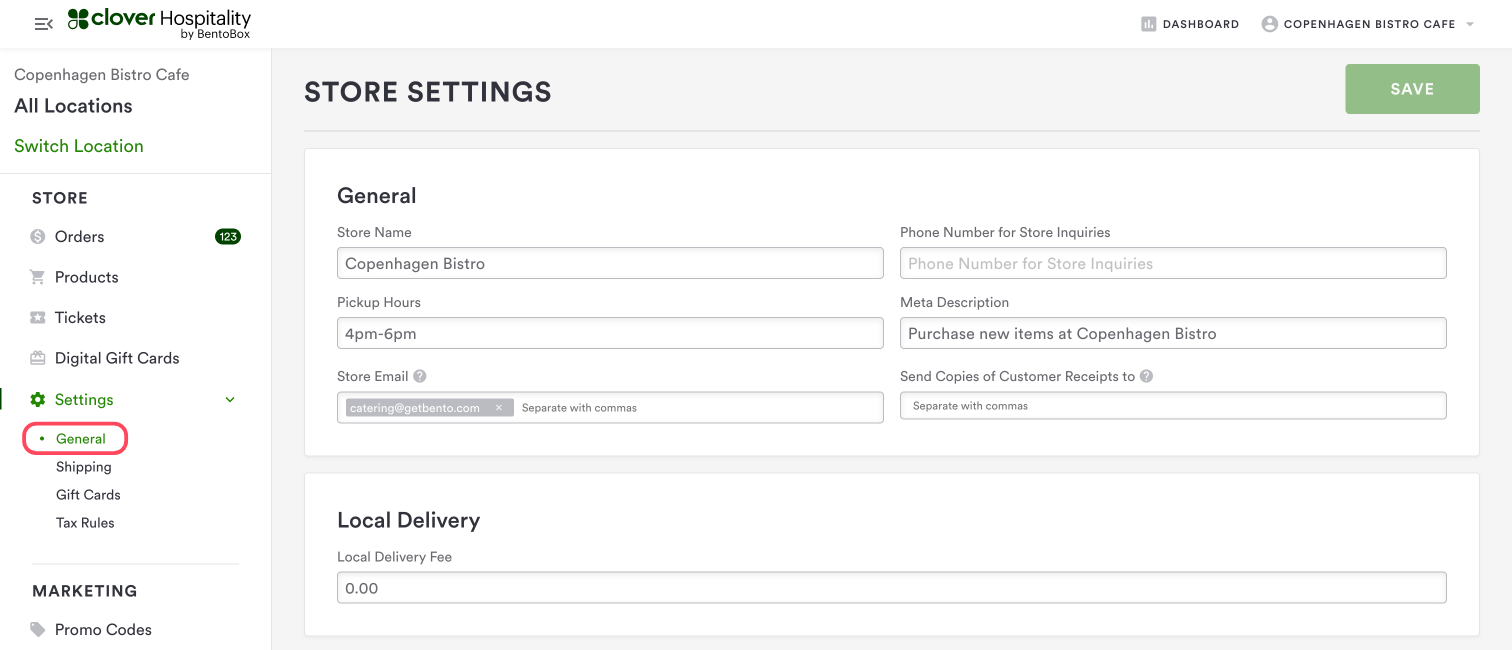
From there, fill in the fields listed below:
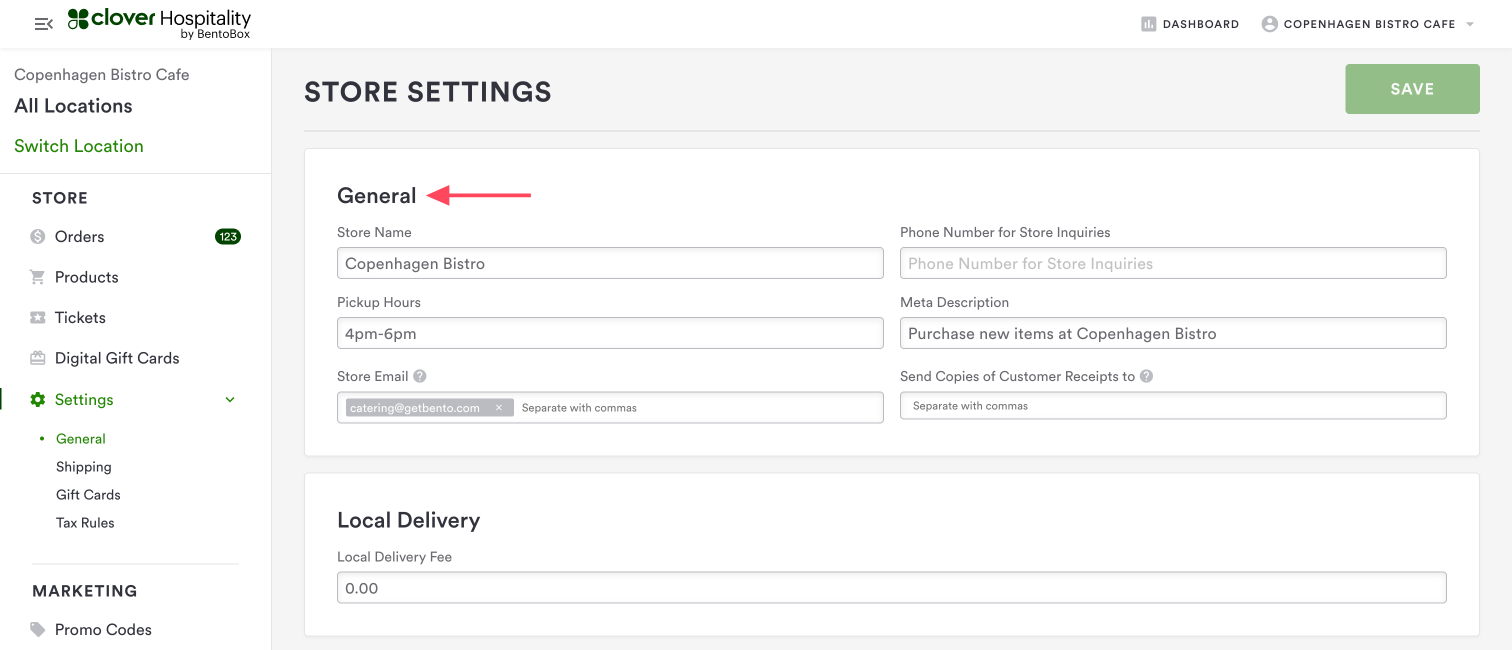
General Settings
Store Name: the name of your store--this could be the same as the name of your business. Customers will see this in email receipts.
Phone Number for Store Inquiries: the phone number where customers can reach you.
Pickup Hours: if your products can be picked up in person, you can enter the available times here.
Meta Description: this description displays in search results and will also appear when you share the link on Social Media. Filling this field in is optional but recommended for ideal SEO.
Example: “Purchase gift cards and more at Restaurant.”
Store Email (required): when customers make a purchase, a notification will be sent to this email address. You can include more than one email address by separating them with commas. We recommend using a general email address (something like info@restaurant.com) as well as a specific person's contact email.
Send Copies of Customer Receipts to: Enter an email address to receive a copy of all emails sent to your customers.
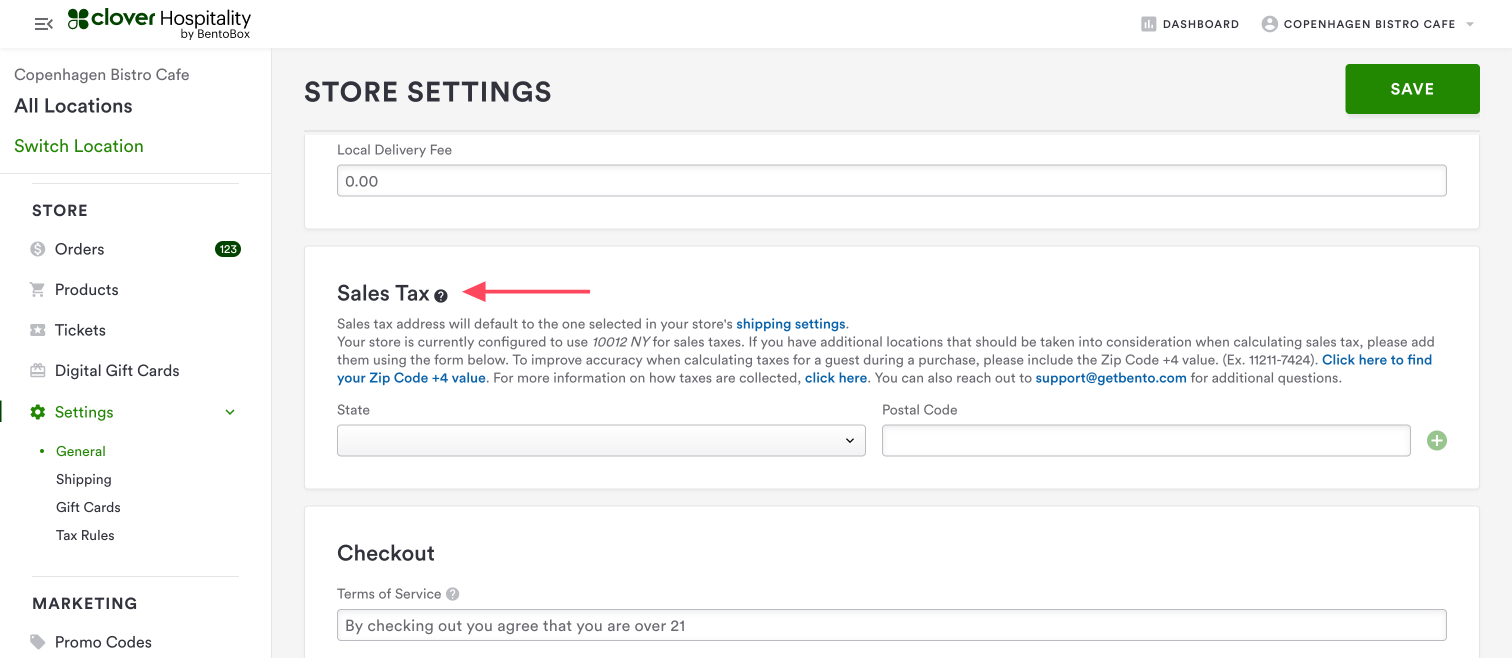
Payment Settings
Sales Tax: the Sales Tax address will default to the address selected in your store’s shipping settings (see below). If a different address should be taken into account, you can enter it here. You should update your Shipping Settings with your full address in order to ensure proper tax rates. Learn more about Shipping Settings here.
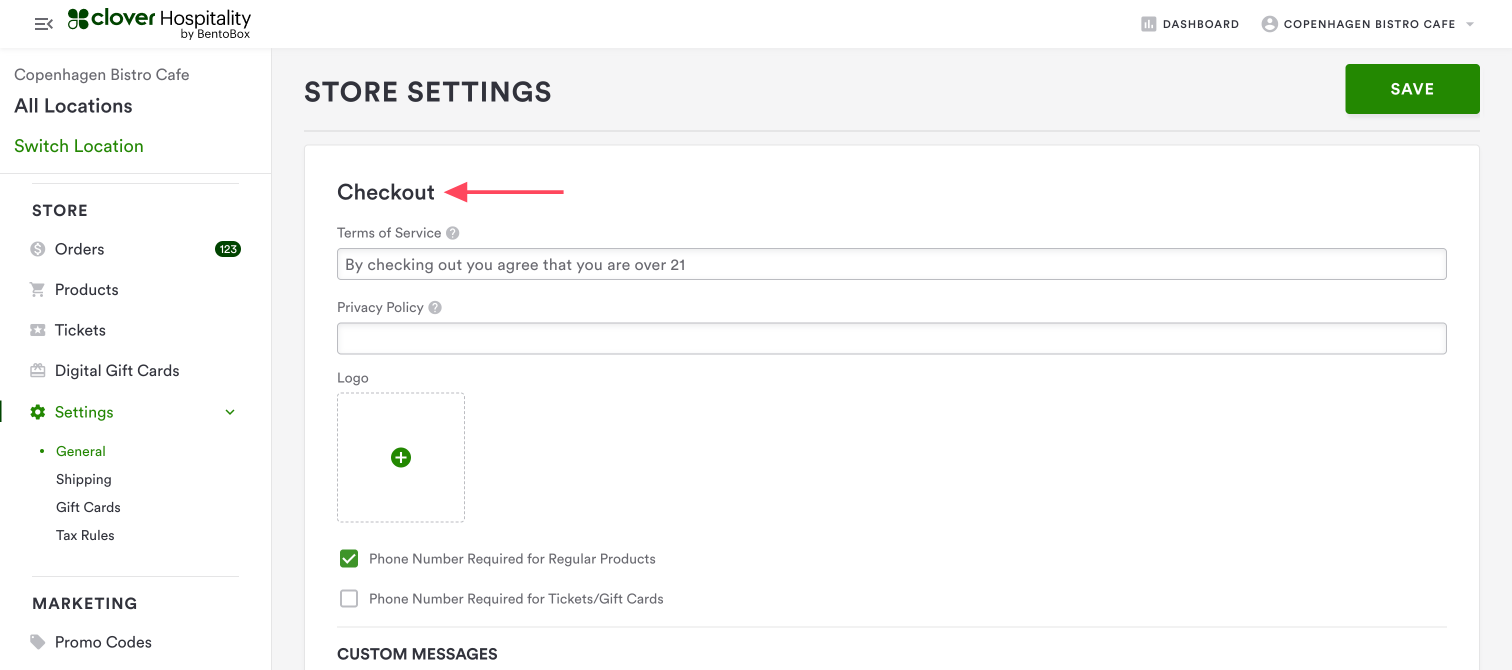
Checkout
Terms of Service: Add a URL to allow customers to view your Terms of Service during checkout. Leave this field blank if your business does not have its own Terms of Service.
Privacy Policy: Add a URL to allow customers to view your Privacy Policy during checkout. Leave this field blank if your business does not have its own Privacy Policy.
Checkout Logo: this logo will appear in your email correspondence. You can use the same logo file as on your regular site.
Control your phone form fields: this will allow you to add required fields to the check out page for specific items. This means that a guest cannot check out without putting in their phone number.
Custom Messages
Confirmation Message to Display on Checkout Page: this displays after a guest has purchased an item.
Example: “Thank you! You will receive an email confirmation momentarily.”
Refund Policy: if you have a refund policy, enter it here and it will display at the bottom of your checkout page.
Shipping Information: if your store offers shipping, you can include information here about shipping rates and timeframes.
Pickup Instructions: if products can be picked up in person, you can include information here on how that works. This will display on the checkout page.