
How to launch your site on Dreamhost
If your domain is registered with Dreamhost, you can follow the instructions below to launch your BentoBox site on your domain. If your site is hosted with a different registrar, find directions for launching your site here.
1. Sign in to the Web Hosting Control Panel
Click on “Sign in” at the top right corner of the Dreamhost homepage and a dropdown menu will appear.
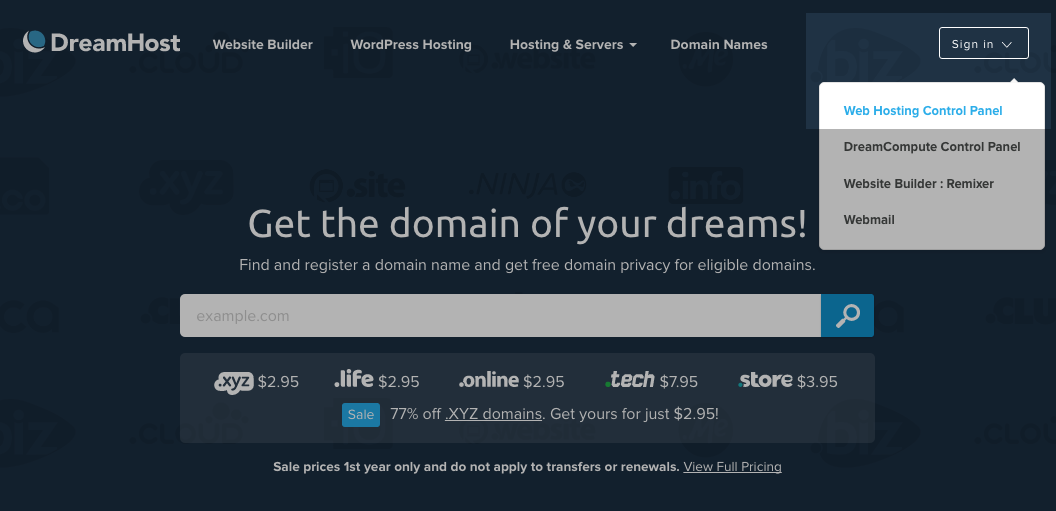
Click the “Web Hosting Control Panel” link and enter your username and password on the next screen.
2. Turn off Dreamhost hosting
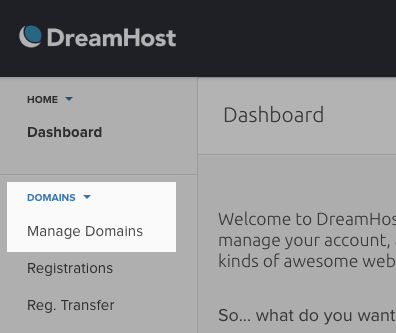
You will be taken to the Dreamhost control panel. Click on “Domains” in the left hand sidebar, and then click the “Manage Domains” link that appears.
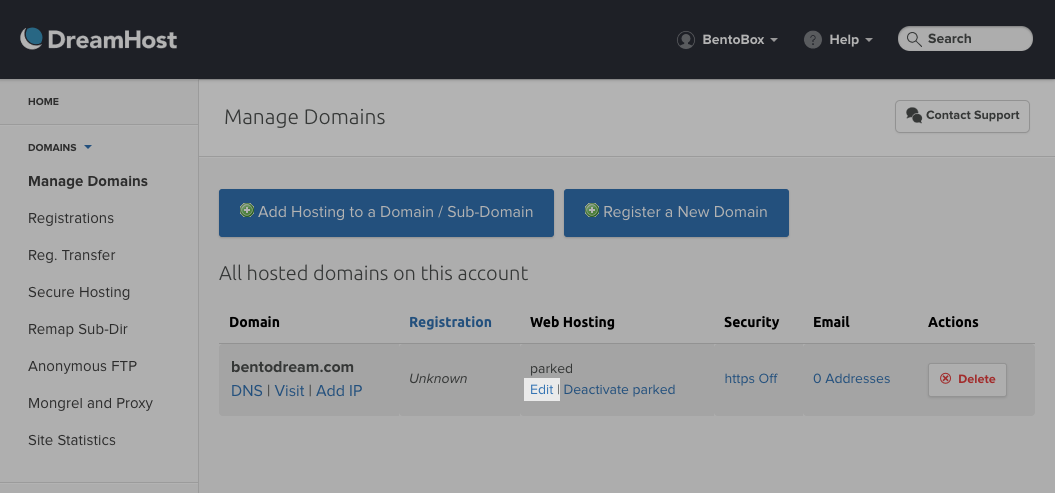
You will land on the Manage Domains page, where all of the domains owned under your Dreamhost account are listed. To point your Dreamhost domain to BentoBox’s servers, you first have to remove Dreamhost’s hosting service. Find the domain you will be pushing live and click the “Edit” link under the Web Hosting column.
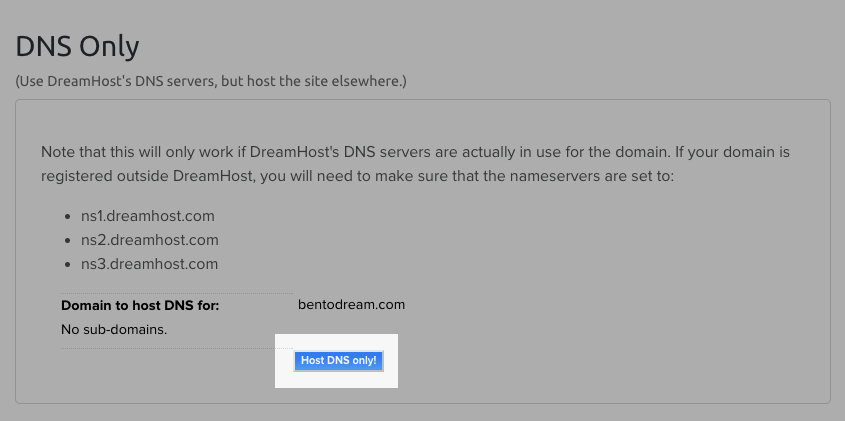
You will land on the Hosting settings page. Scroll down to the bottom of the page to find the “DNS Only” section. Confirm that the correct URL is displayed in the “Domain to host DNS for” field, and then click the blue “Host DNS only!” button. This unlocks the settings that we will change in the next steps—if you don’t do this, they are locked and can’t be edited.
You will be taken back to the Manage Domains page, and you will see a message that your changes will take effect in 5-10 minutes.
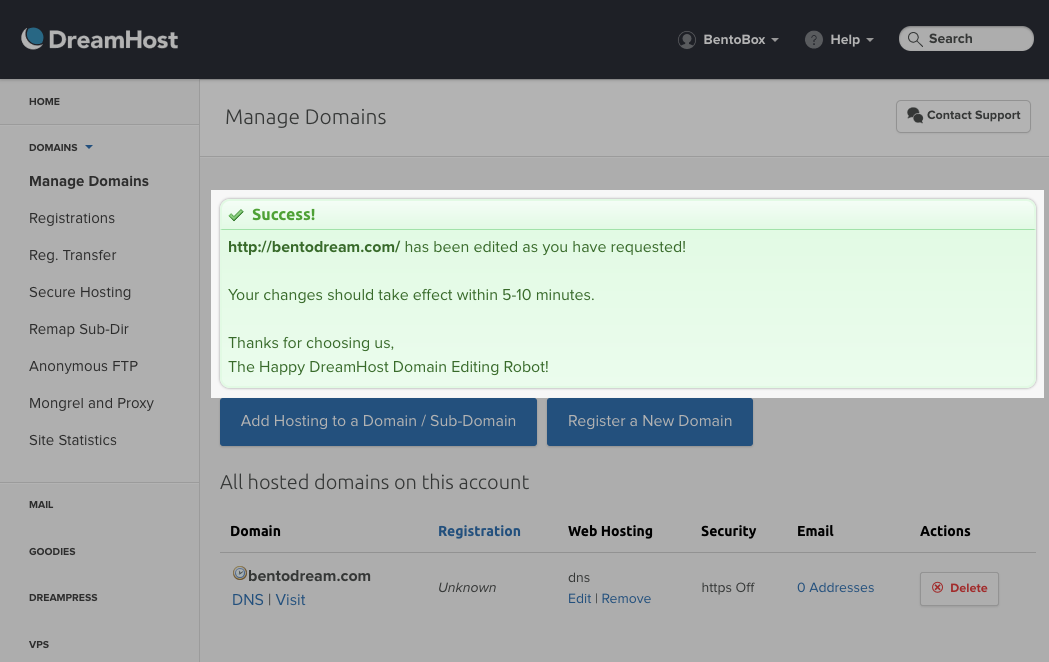
While you wait, continue on to the steps below to finish pushing your new site live.
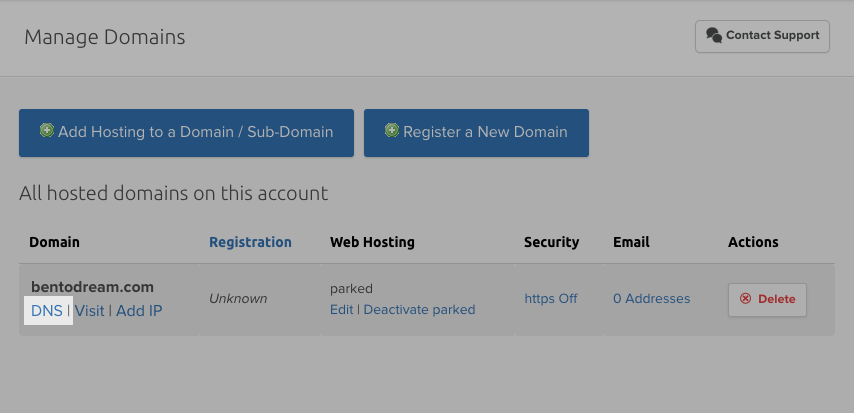
3. Open the DNS settings
Click on the “DNS” link below the name of the domain you will be pushing live.
4. Add the A Record
The first setting to add is the A (Host) file, or the “A record.” A records, also known as host records, point your domain name an IP address. We will set up the main A record to BentoBox’s IP address so that when users enter your URL they are pointed to the BentoBox site on our server. Don’t worry, visitors won’t see “getbento” in the URL.
Scroll down to the section marked “Add a custom DNS record to yourdomain.com” and fill in the following fields.
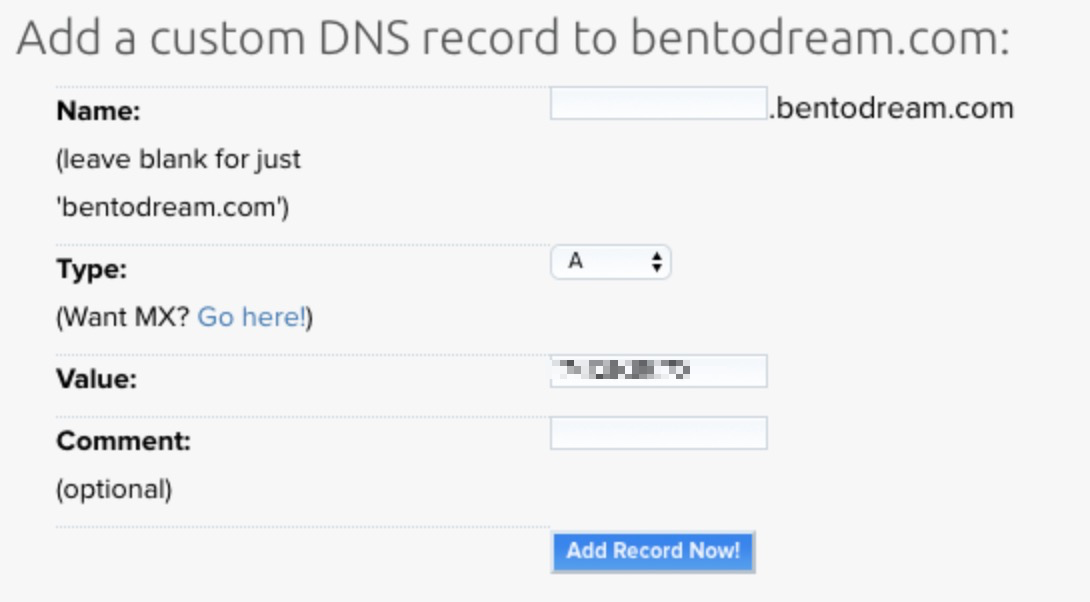
Name: (leave blank)
Type: A
Value: 151.101.1.75
Comment: (leave blank)
Click the blue “Add Record Now!” button.
5. Add the CNAME Record
The next record to update in the DNS settings is the CName (Alias) record. CName records point a subdomain to an existing A record so that visitors get pointed to the right place on your website.
Return to the section marked “Add a custom DNS record to yourdomain.com” and fill in the following fields.
Name: www
Type: CNAME
Value: fast.getbento.com
Comment: leave blank
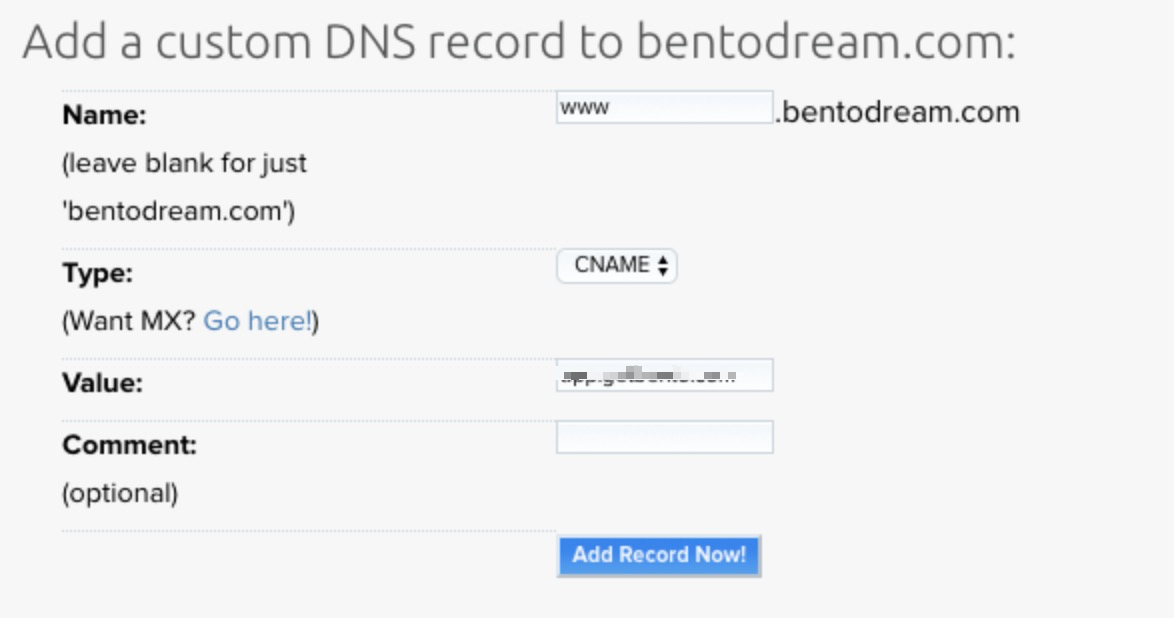
Click the blue “Add Record Now!” button.
6. You’re done!
Now you just need to wait. Once the changes propagate (usually within one hour), your BentoBox site will be live on your domain!
If you have any questions, submit a request.
