Epson TM-m30II-NT: Setting Up Your Printer
In this article, we’ll walk you through how to activate your Epson TM-m30II-NT printer. Graphics provided in these instructions may look different than the model you’re using, however the step by step instructions for connecting your printer remain the same.
Note: You should have your printer located near an ethernet hub with a cord available and ready.
Connect your printer to your network
Make sure that your printer is positioned near an ethernet hub/router at your restaurant to enable communication between the printer and online ordering via ethernet. If you don’t have an ethernet cord (category 5 or higher) ready, one can be purchased here.
1. Connect the LAN/Ethernet cable to the hub/router.
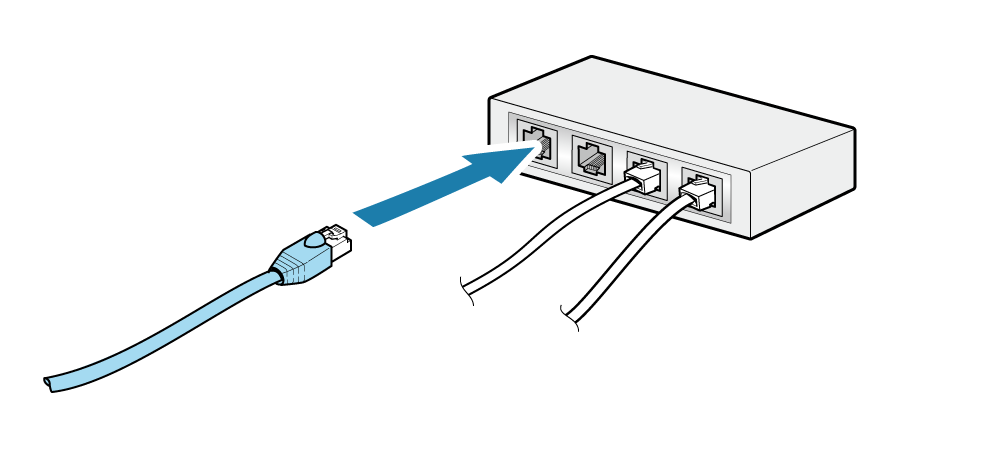
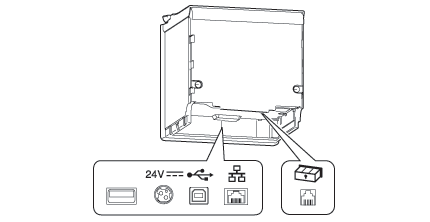
2. Remove the rear and bottom covers of the printer and connect the other side of the LAN/Ethernet cable to the printer's LAN/Ethernet connector.
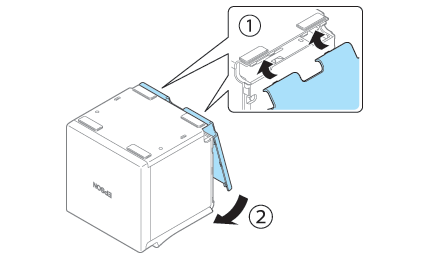
Attaching the top eject cover
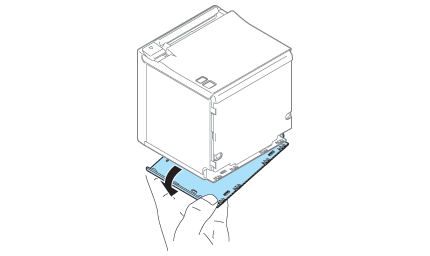
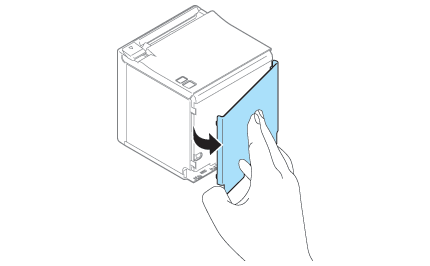
Use your finger to remove the rear cover as shown in the illustration.
Use your finger to remove the bottom cover as shown in the illustration.
Attaching the front eject cover
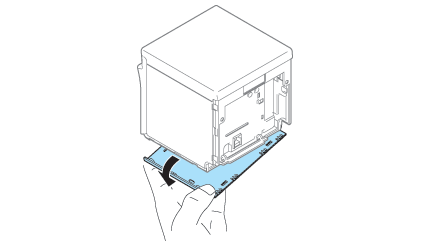
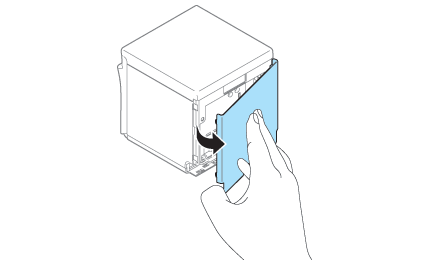
Use your finger to remove the rear cover as shown in the illustration
Use your finger to remove the bottom cover as shown in the illustration.
Power your printer
Before and after connecting the cable to the rear panel, remove and mount the rear cover respectively.
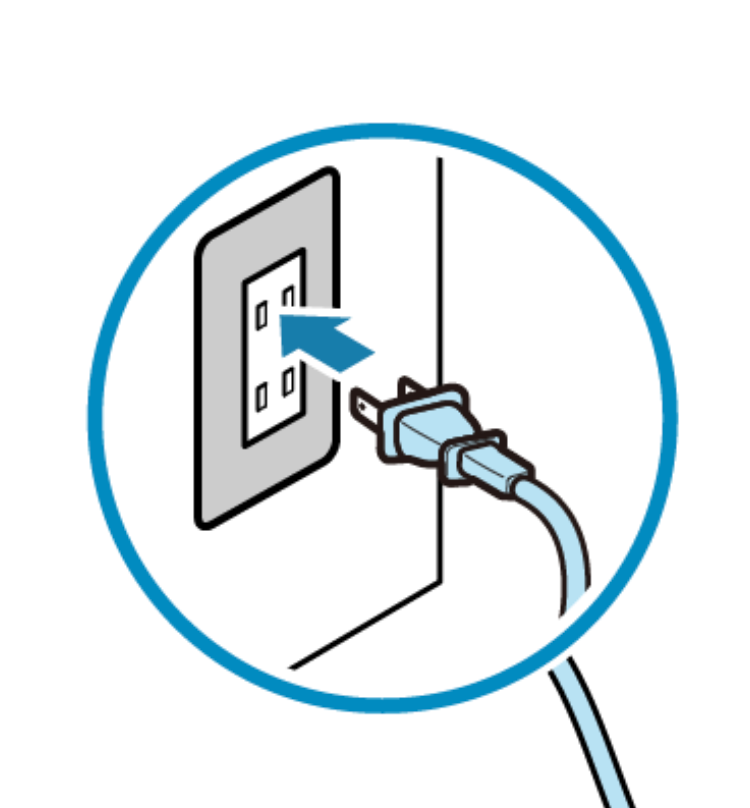
Before connecting or disconnecting the AC adapter, be sure to turn off the printer and all the devices connected to it, and unplug the power cord.
1. Connect AC Adapter included in the package
Plug the power cord (for the AC adapter) fully into the AC adapter inlet
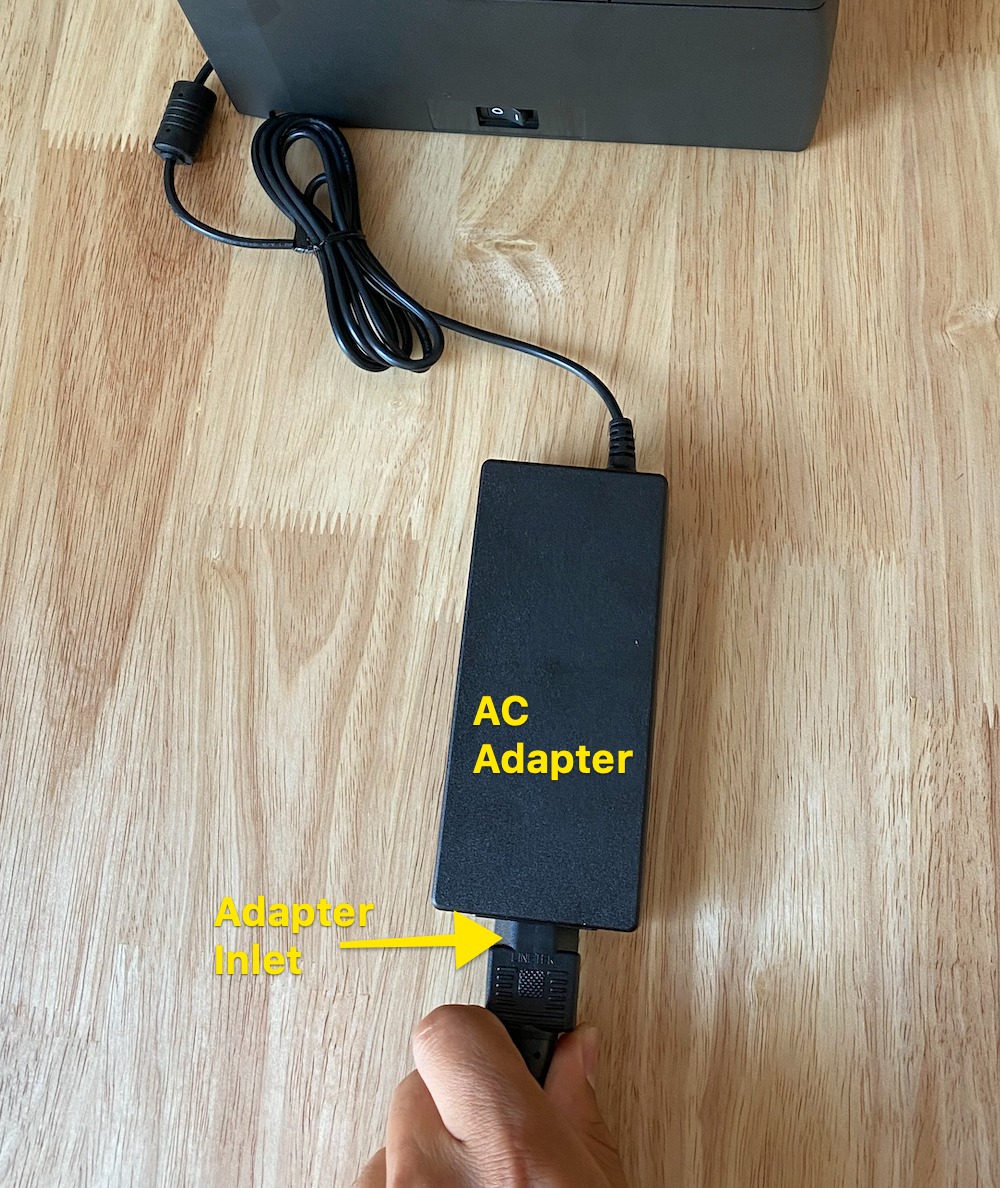
Plug the AC adapter into the power connector of the printer
2. Re-attach the top and front covers.
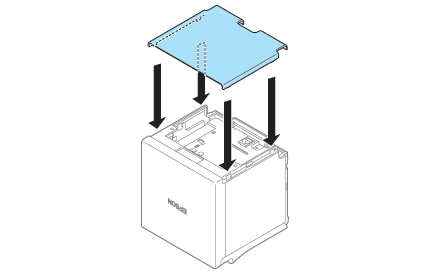
Reattaching the top eject cover
Align the catches and attach the bottom cover to the printer.

Hook the catches into the bottom cover and attach the rear cover to the printer.
3. Reattaching the front eject cover
Align the catches and attach the rear cover to the printer.

Hook the catches into the rear cover and attach the bottom cover to the printer.
4. Insert power cable plug into electrical outlet.