
If your restaurant has multiple locations, you can easily add a store locator page to your website. Once this page is created, you can customize it to include a Search Bar, Location Details, and an additional location button to add a button for your location’s reservation page, online ordering or an external URL.
Adding the page to your website
Within Pages, when you create a new page, the template to select is "Store Locator".
Within the page template, select "Store Locator Options" to determine the best interface for your store locator page

The options available to set are explained below:
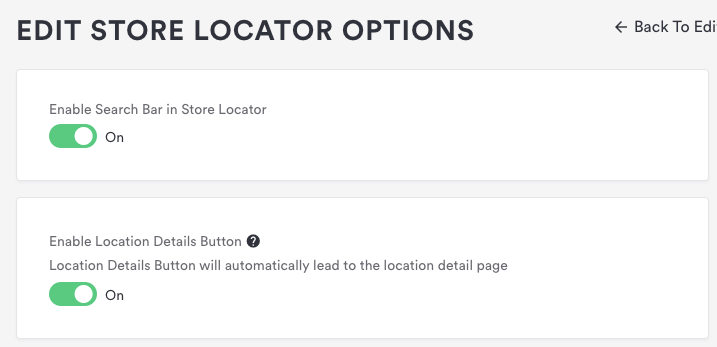
Enable Search Bar in Store Locator
Turning on this toggle will display the search bar and information on the Store Locator page on your website.
Enable Location Details Button
Enabling this toggle will display the "Location Details" button for each location under Location Boxes. The "Location Details" button leads the user to the hours and location information page of an individual location that may pertain more details about that restaurant location.
Enable Additional Location Button
Enabling this toggle will add to every location an additional CTA button to either make a reservation, order online, or link out to an external URL.
Default Map Position
Adjusting these settings will adjust the map view accordingly. The best recommended view is to be able to see all the map markers of all your locations on the default map view.
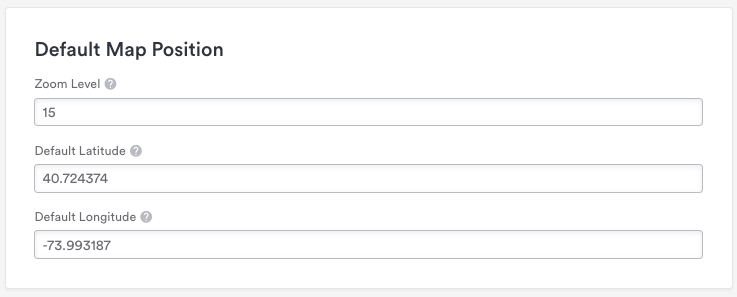
Zoom Level: The initial resolution at which to display the map is set. The higher the value, the more zoomed in the map will be.
Default Latitude / Default Longitude: The default focal point of the map display. The current best method of determining the focal point is:
On your computer, open Google Maps. If you're using Maps in Lite mode, you’ll see a lightning bolt at the bottom and you won't be able to get the coordinates of a place.
Right-click the place or area on the map.
Select What's here?
At the bottom, you’ll see a card with the coordinates.
The coordinates are inputted as (Latitude, Longitude)
Input these coordinates into the latitude and longitude field.
To make minor adjustments, you can adjust the values manually
Latitude - Lowering the value moves the point left, increasing the value moves the point right.
Longitude - Lowering the value moves the point down, increasing the value moves the point up.
Click Save and make sure to preview on the website to ensure the store locator is to your liking.
Custom Location Buttons
Input a custom location button label and the URL the button redirects to for the Store Locator Page Template.
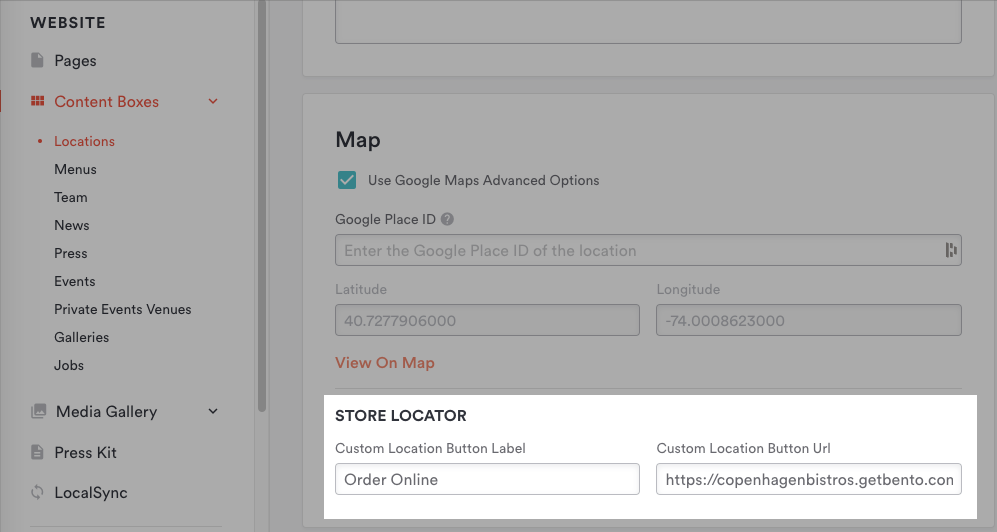
This last button option is set on the location level in the backend under the Store Locator box.
Click here to see what the guest experience looks like.