
How to Set Up and Promote Meal Kits and Specials On Your Website
Selling meal kits and specials has a number of use cases for restaurants. In this article, we’ll walk restaurants through how to set up a meal kit or special, and then promote the new item.
Step One: Create a meal kit or special as a new menu item.
Log in to the backend and go to Online Ordering > Manage Menus section > Items.
Select “Add New.” This is where you’ll name your item, add a picture, description, and set your URL (called the “slug,” this is the end of the URL for your menu item (ex: “family-meal-kit”).
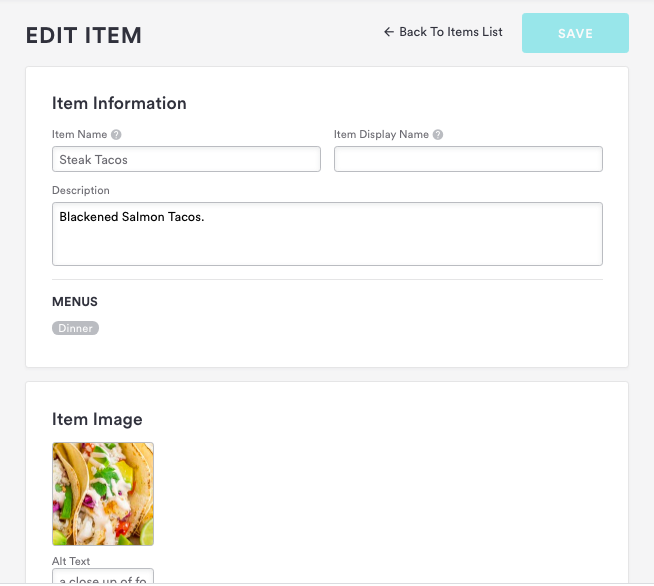
Pro Tip: Add an image that shows your item laid out and ready to be eaten by a family.
Step Two: Decide on whether you want to use modifiers.
Once you know what meal kit or special you plan to sell, you’ll name that as the item name with either a.) no ability to modify the item, or b.) required modifiers that guide a guest through tailoring their order:
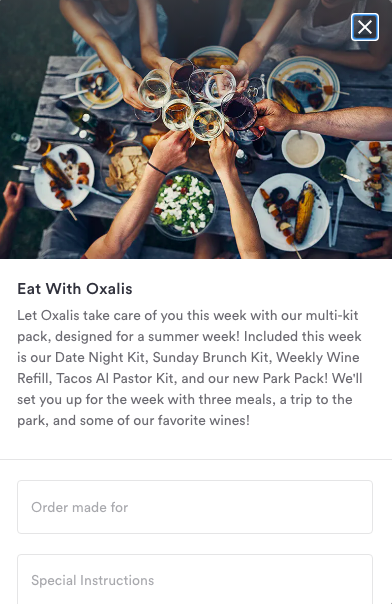
No modifiers (easy setup, easy checkout, easy operations):
With modifiers:
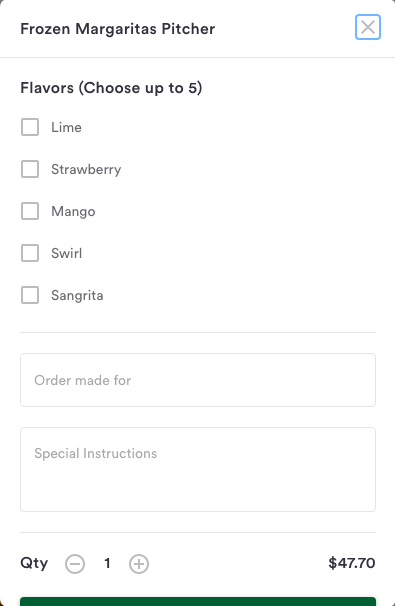
Here’s what it looks like to edit the item and add modifiers in the backend:
Note: You can choose $0 price variance for the modifiers, or add an extra charge on top of the base item price. If you want diners to select 1 of each modifier, set “At least X” and “at most X.”
Step Three: Add your special or meal kit to a menu.
You can begin pre-selling your item up to 6 days before the holiday or start date of your special.
Example: Let’s say you’re selling an item for Labor Day (September 7th, 2020). Because orders can be placed 7 days out, you can add your menu item on Tuesday, September 1st.
Click into Menus > Edit Menu and add a new section to your menu for “Meal Kits” or “Specials”. Reorder the section so it’s at the top.
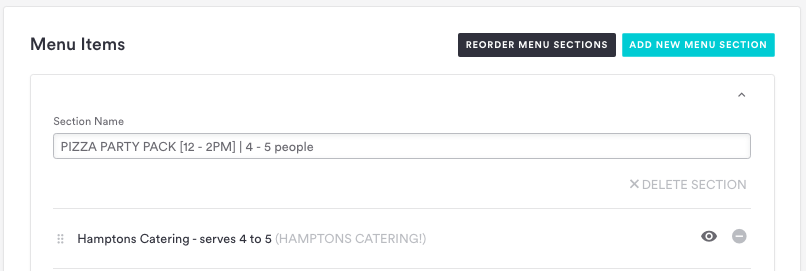
Then, go to Add Existing Item.
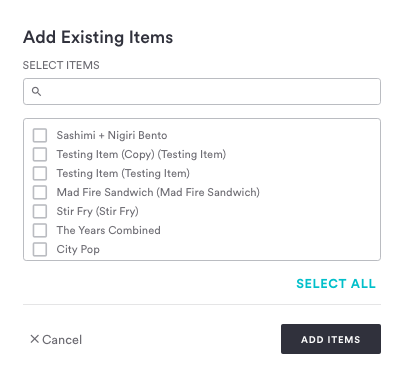
Once you add your item, a diner searching to place an order at a time that falls within your menu hours will be able to order that item.
If you need to edit your menu hours, go to Online Ordering > Locations > Edit Location and then click in the Pickup and/or Delivery tabs.
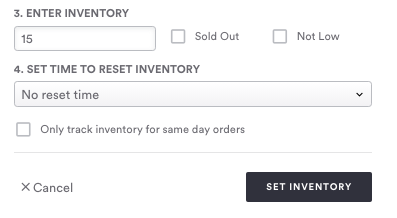
Step Four: Add your item to Low Inventory if quantity is limited.
If you only have, say, ten meal kits to sell, go to the Low Inventory tab and click “Add Item.” You’ll select the relevant location, and then set an inventory number.
Learn more about Low Inventory here.
Step Five: Copy your item URL.
To promote your meal kit or special online, you’ll need the URL to drive diners to it. This skips guesswork and reduces clicks, allowing diners to add the item directly to cart.
To find the URL of your menu item, go to Online Ordering > Items > Edit item in the backend. You’ll see a slug for your menu item.
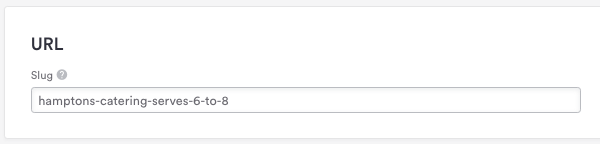
Copy this URL. Then, add it to the end of your menu URL.
Your menu item URL = your location menu URL + item slug.
For example, let’s say this is your location menu: https://www.emmysquaredpizza.com/online-ordering/hamptons/menu/
And you have this item slug: hamptons-catering-serves-6-to-8
Then you get this once you add the two together: https://www.emmysquaredpizza.com/online-ordering/hamptons/menu/hamptons-catering-serves-6-to-8
Note: Test the URL before you add it as a hyperlink to your email button.
Step Six: Add a homepage Alert.
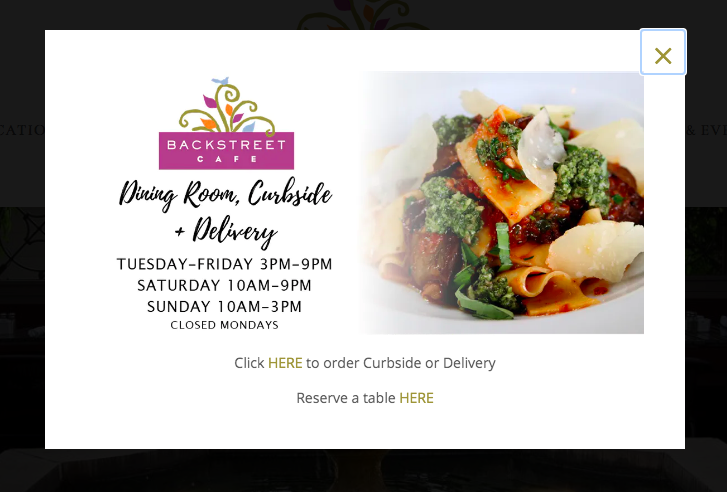
Add an Overlay Alert to your homepage with a button that links directly to your new item.
Here are some examples from other restaurants:
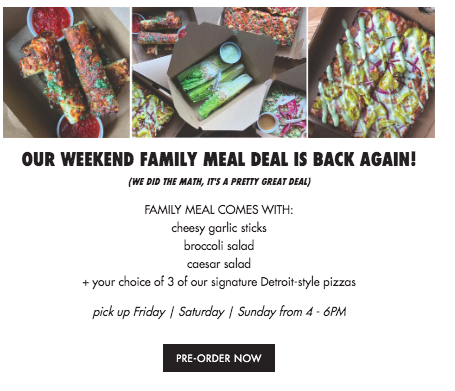

Note: Schedule your alert to deactivate the day after the holiday or dates you’re promoting, if this is a promotion or offer that will expire.
Learn more about Alerts.
Step Seven: Send an email to diners to drive sales.
Once your item has been added to your menu, make sure that you send an email to your database. Some quick notes:
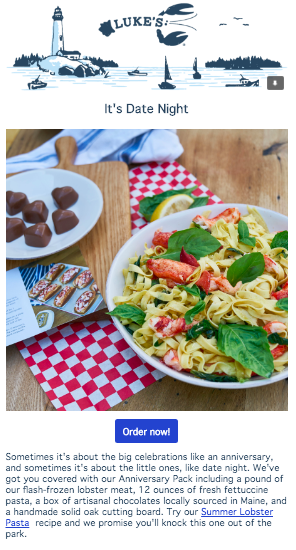
Your subject line should include your item name (i.e. “New family meals!”) or match the context of your meal (i.e. “It’s date night. Let’s order dinner”)
Make sure your item is linked to in the body of the email and as a call-to-action (CTA) button
Include an image of your menu item plated and a mouth-watering description to make it more appealing to diners
Here’s a great example from Luke’s Lobster:
Step Eight: When the special or holiday ends, remove your item.
You should make a note to yourself to remove the item from your menu after your special ends.
Need help adding meal kits or specials to your menu? Email us at support@getbento.com!