
Adding a New Event Inquiry in the Backend
In this article, we'll walk you through how to manually add a new event inquiry in the backend. This feature is part of Events Management, an add-on for website customers.
Want to get to where you want to go fast? Use these links to hop to different parts of the article:
Adding a new inquiry takes less than 3 minutes from start to finish and is slightly different for on-premise private dining events vs. off-premise catered events. To manually add a new event inquiry, log in to the backend and go to Events > Inquiries > Click the “Add New” button.
Add Guest Information
First, you'll fill out these details:
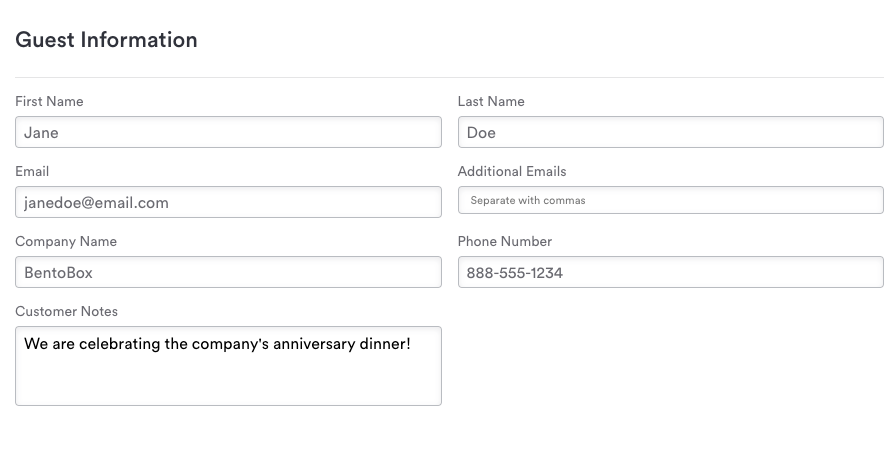
First and Last Name: The customer’s name.
Email: This is the customer's email that the contract and notification emails will be sent to.
Additional Emails: (Optional) Any extra emails to keep informed along with the primary contact
Company Name: If this is a business account, enter the company name here.
Phone Number: Customer’s contact number.
Notes: Use this space for any other notes that you're comfortable with the guest seeing. These notes will appear on the proposal.
Event Information
Choose between a private event on-site or a catered event
Private Event Details
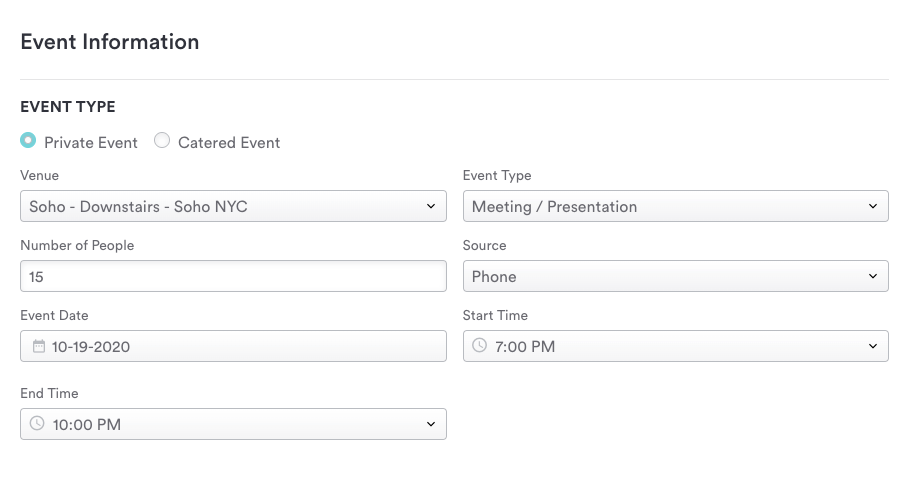
Venue: If you have more than one location, choose which venue this event will be held at.
Event Type: Use “Other” if you don't see what you need in the dropdown.
Number of People: Total number of attendees for the event.
Source: Where did this customer come from? (i.e. Phone, In Person, Email, Social, Other).
Event Date: The date the event will take place.
Start & End Time: The Event's start and end time, if applicable.
Catered Event Details
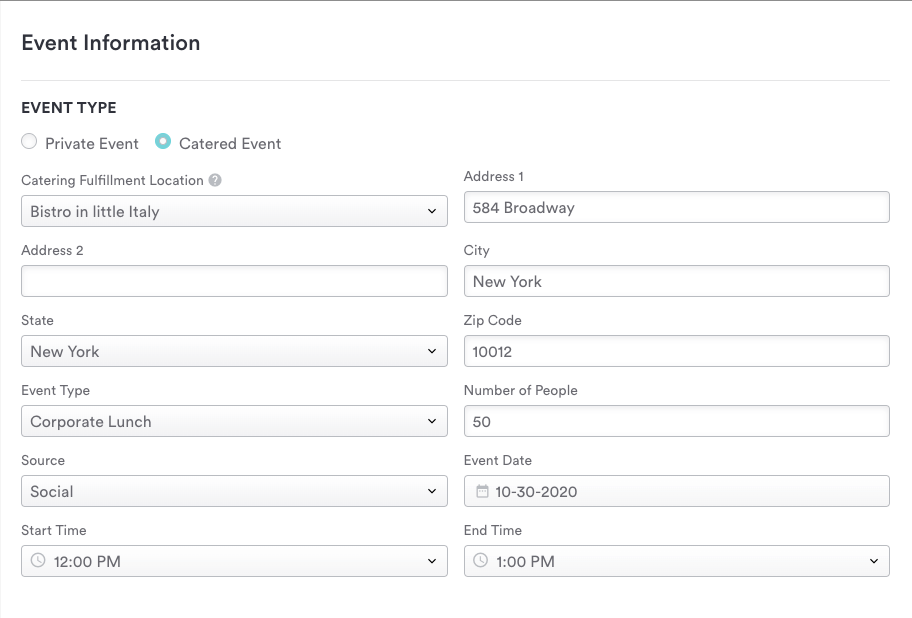
Catering Fulfillment Location: For multi-locations, select the location that will be preparing the catered meal. The inquiry will be routed to the selected location.
Address Fields: This is where the catered meal will be brought to and set up at.
Event Type: Type of event; use “Other” if you don't see what you need in the dropdown.
Number of People: Total number of attendees for the event.
Source: Choose the source of contact from these default options (Inquiry Form, Phone, In Person, Email, Social, Other).
Event Date: The date the event will take place.
Start & End Time: Events start and end time, if applicable.
When you are done adding a new event, click the "Save" button at the top of the screen to save your changes and return to the “All Inquiries” section of the events in the backend.
When you click on the inquiry, you will be taken to its Event detail page and its status will automatically update to “Open,” although you can always manually change an event’s status on the events detail page.