
How to create a ticketed event
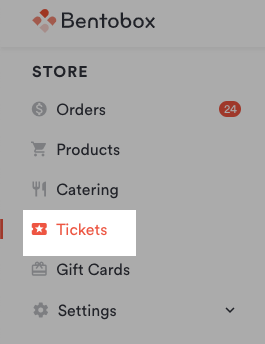
To create a new event, go to the left hand navigation of your back end click on Tickets under the Store section.
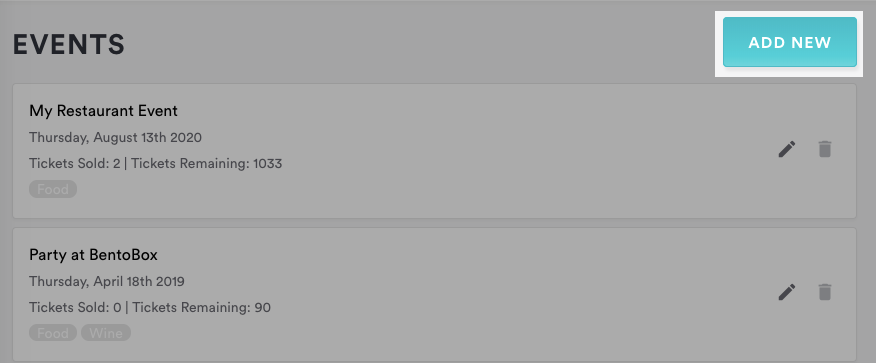
Click the “Add New” button. Fill out the fields with your event information.
General Ticket Information
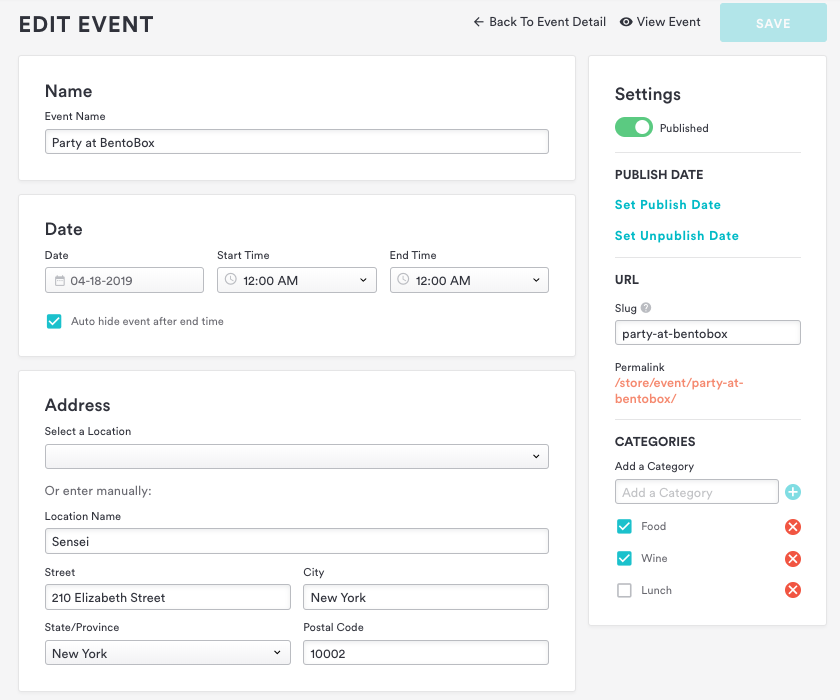
Event Name: This is the name of the event. Once you’ve saved the event name, this will also generate the URL of the event. You can get that url by clicking the "permalink" at the right-side settings column after the event has been saved.
Select Location: After you select your location, BentoBox will automatically populate the address. You can use any of your existing restaurant locations, or an external location.
Category: If your restaurant hosts different types of events you can categorize them in the right-side settings column.
Event Summary: Use this space to add a brief description on your main ticketed events landing page.
Description: This is where you can write additional information about your event.
(Optional) Images: This is where you can upload a flyer or image for the event.
Ticket Options
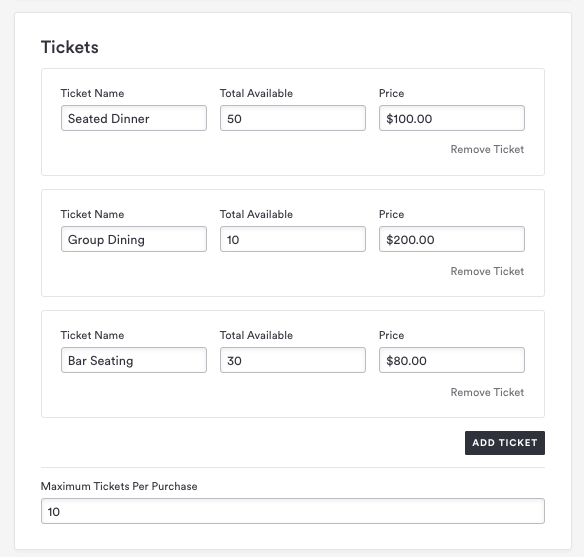
Ticket Name: Under “Ticket Name” you have the ability to add multiple tiers of tickets to your event. For example: if you wanted to offer different types of seating options.
Total Available: This is the inventory that you have per ticket type. Once the availability hits zero, this ticket will be sold out.
Price: This is the price per ticket. If you add multiple ticket types, you can also have different prices.
Maximum Tickets Per Purchase: This varies based on your template, but this function allows you to set a cap for the number of tickets one customer can purchase.
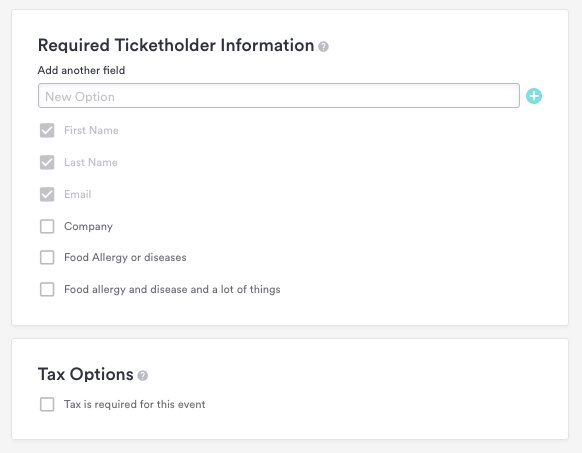
Required Ticketholder Information: Selecting these boxes will display an input field to collect this information from each ticket holder. To add additional fields like “dietary restrictions,” type your option in the New Option box and click the "add" icon.
Tax Options: You can check this box if you need to charge tax for this event. BentoBox will automatically pull the tax rate set by your shipping settings.
When you’re done filling out the fields, click the "Save" button in the top right corner.
All set? Now let's promote your event by adding it to your website...
How to add tickets to your website