
Location settings for Online Catering
Your location settings page lets you configure your Online Catering store.
Store business information
Each active location for Online Catering automatically pulls in business information from your location under Restaurant > Locations. This includes:
Name
Address
Phone Number
Your Name, Address, and Phone Number or (NAP) are displayed to guests viewing your store, and it is used in notifications to guests after they place an order.
Hours: This section allows you to visualize and edit the times that each of your menus tied to your location appear within your store and are available for guests to order from. Click here to learn more about menu hours.
Closures: Use this tab to manage planned closings — for both partial and full days for the location. Scheduling a closure ensures that your guests cannot submit an order for a time when you cannot fulfill it.
Scheduling closures
To schedule a closure, go to the ‘Closures’ tab, and click ‘Add Closure’. From there, choose the dates and times (or an all-day closure), and save your changes. Guests will not be able to choose that date for fulfillment in your store.
Turning fulfillment on and off
You can turn pickup and delivery fulfillment on and off:
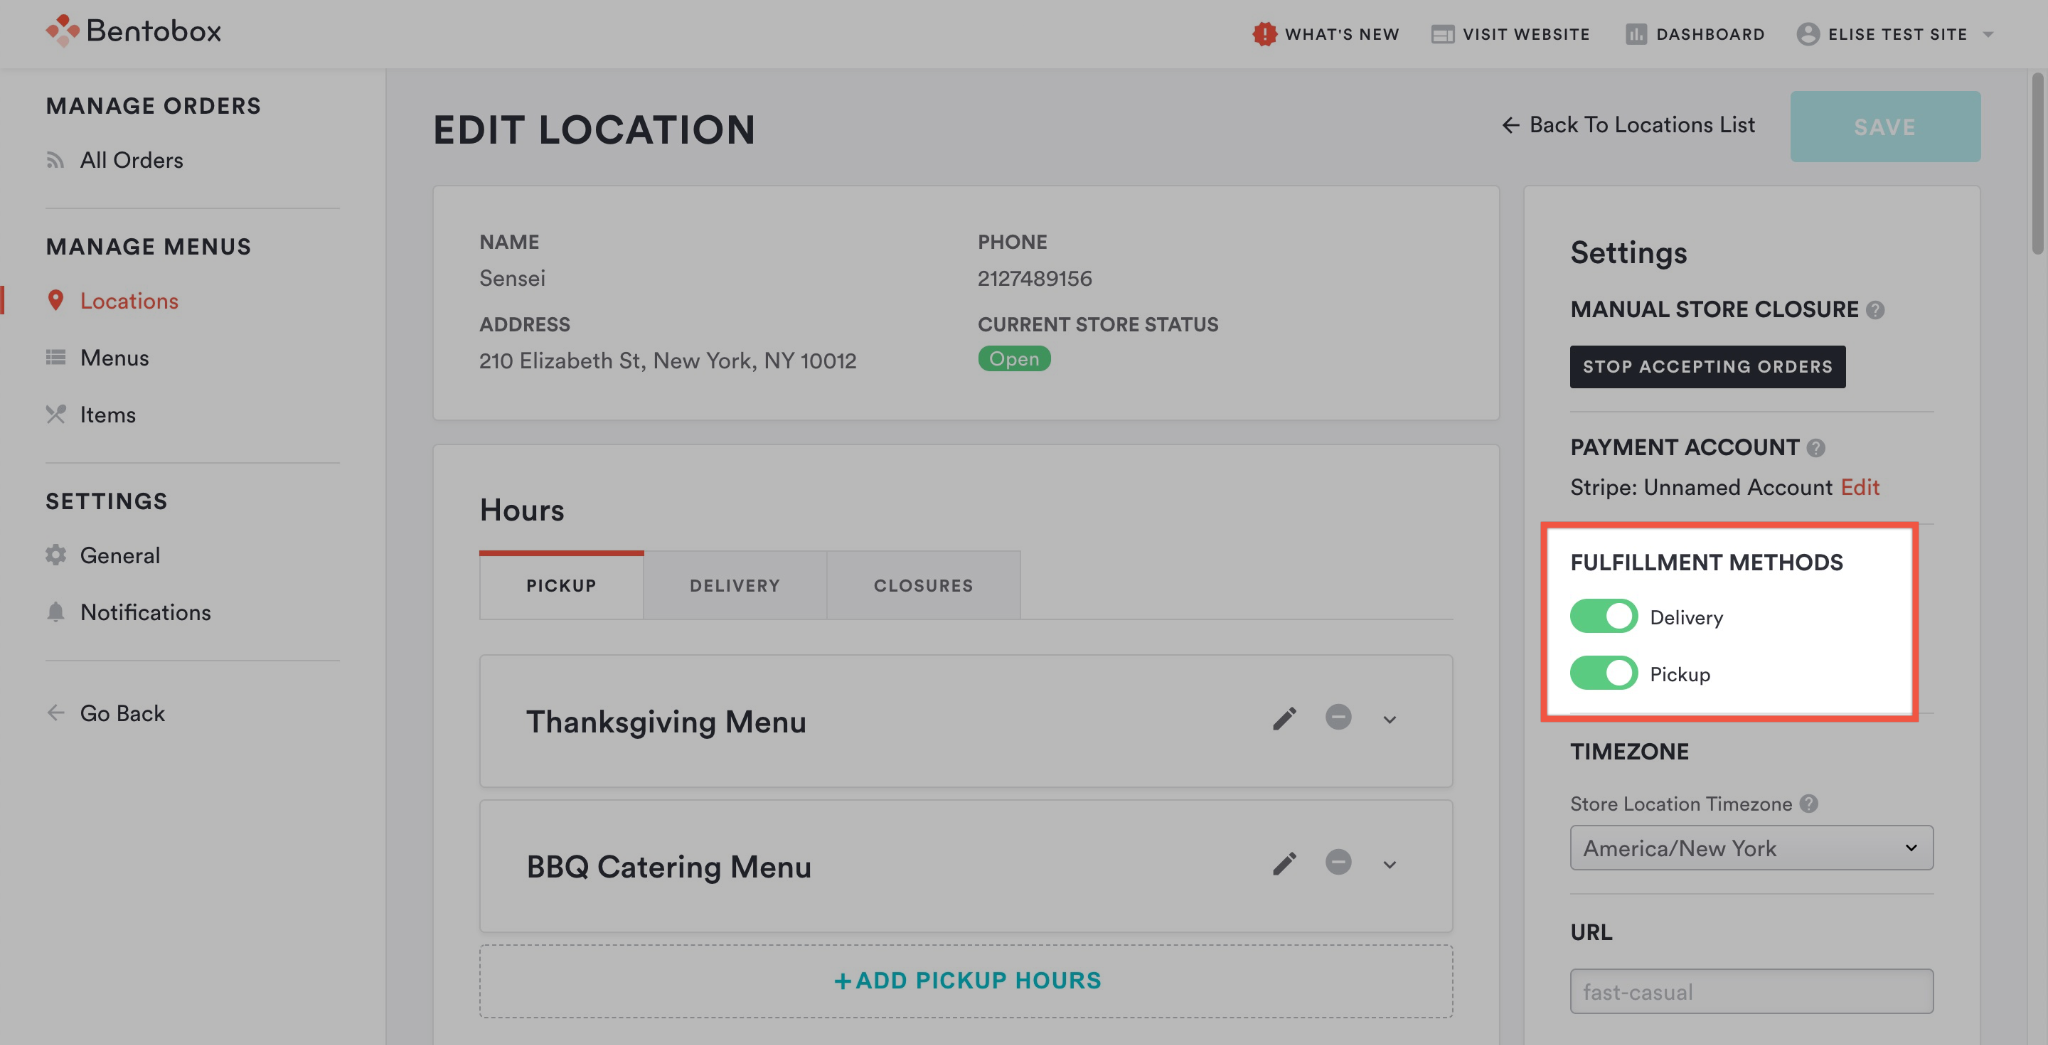
Once these toggles are activated, and menus are added, you will be able to accept orders.
You can disable ordering completely if you need to - or set closures for specific dates in the future.
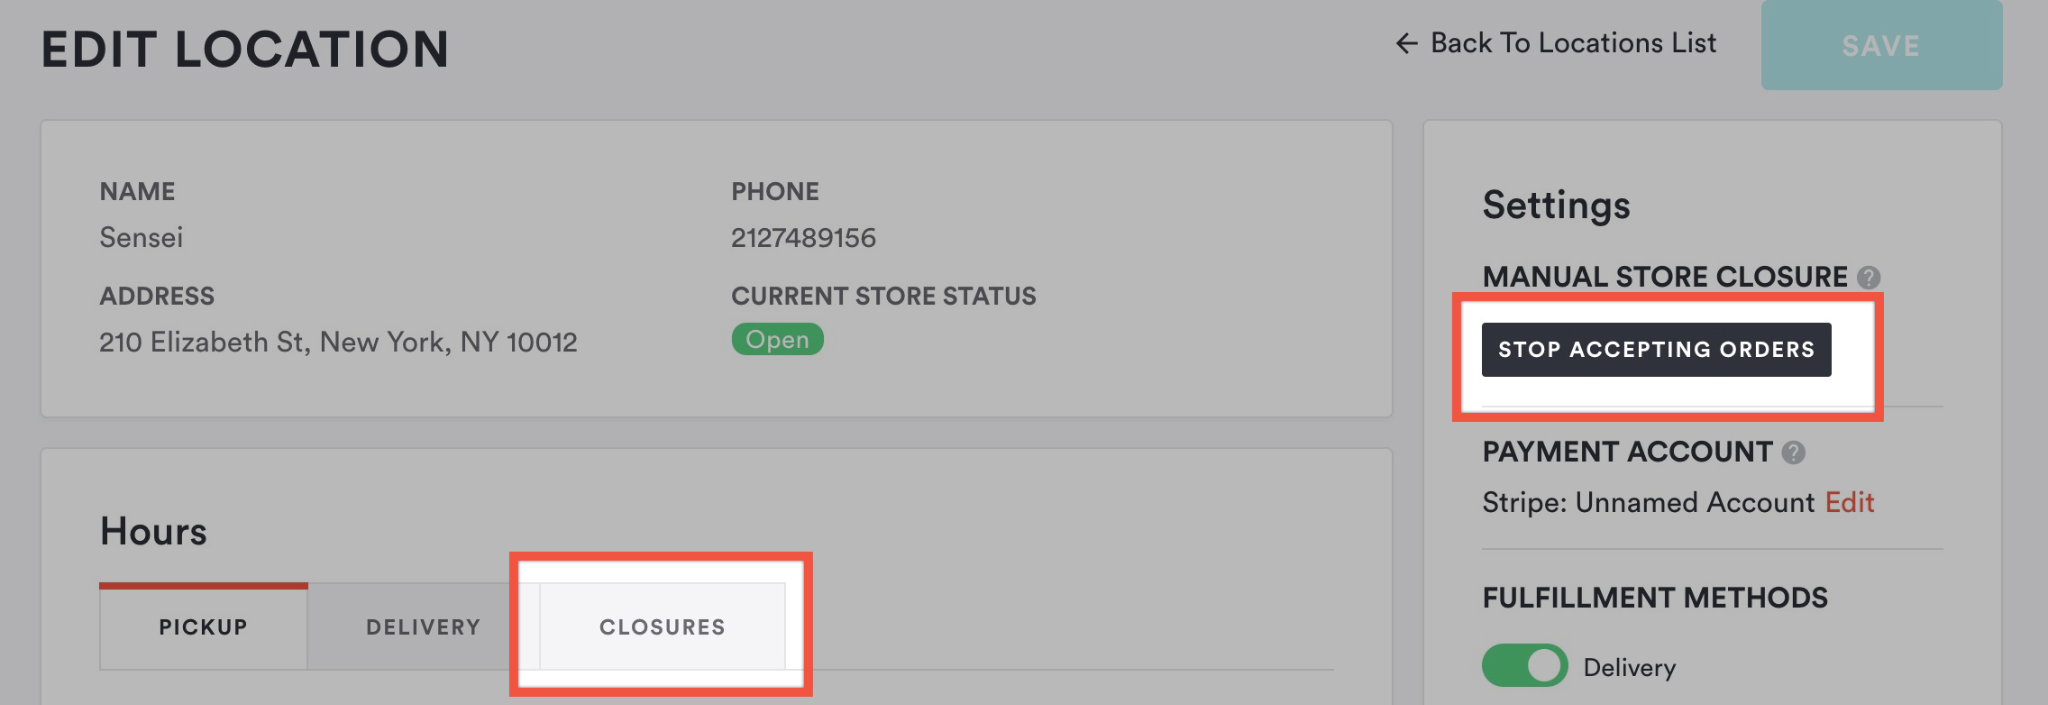
The store’s Current Store Status indicates if location is currently fulfilling any new orders. This is controlled by the button under the label “Manual Store Closure”. This can be turned off when an unexpected closure happens.
Custom Messaging
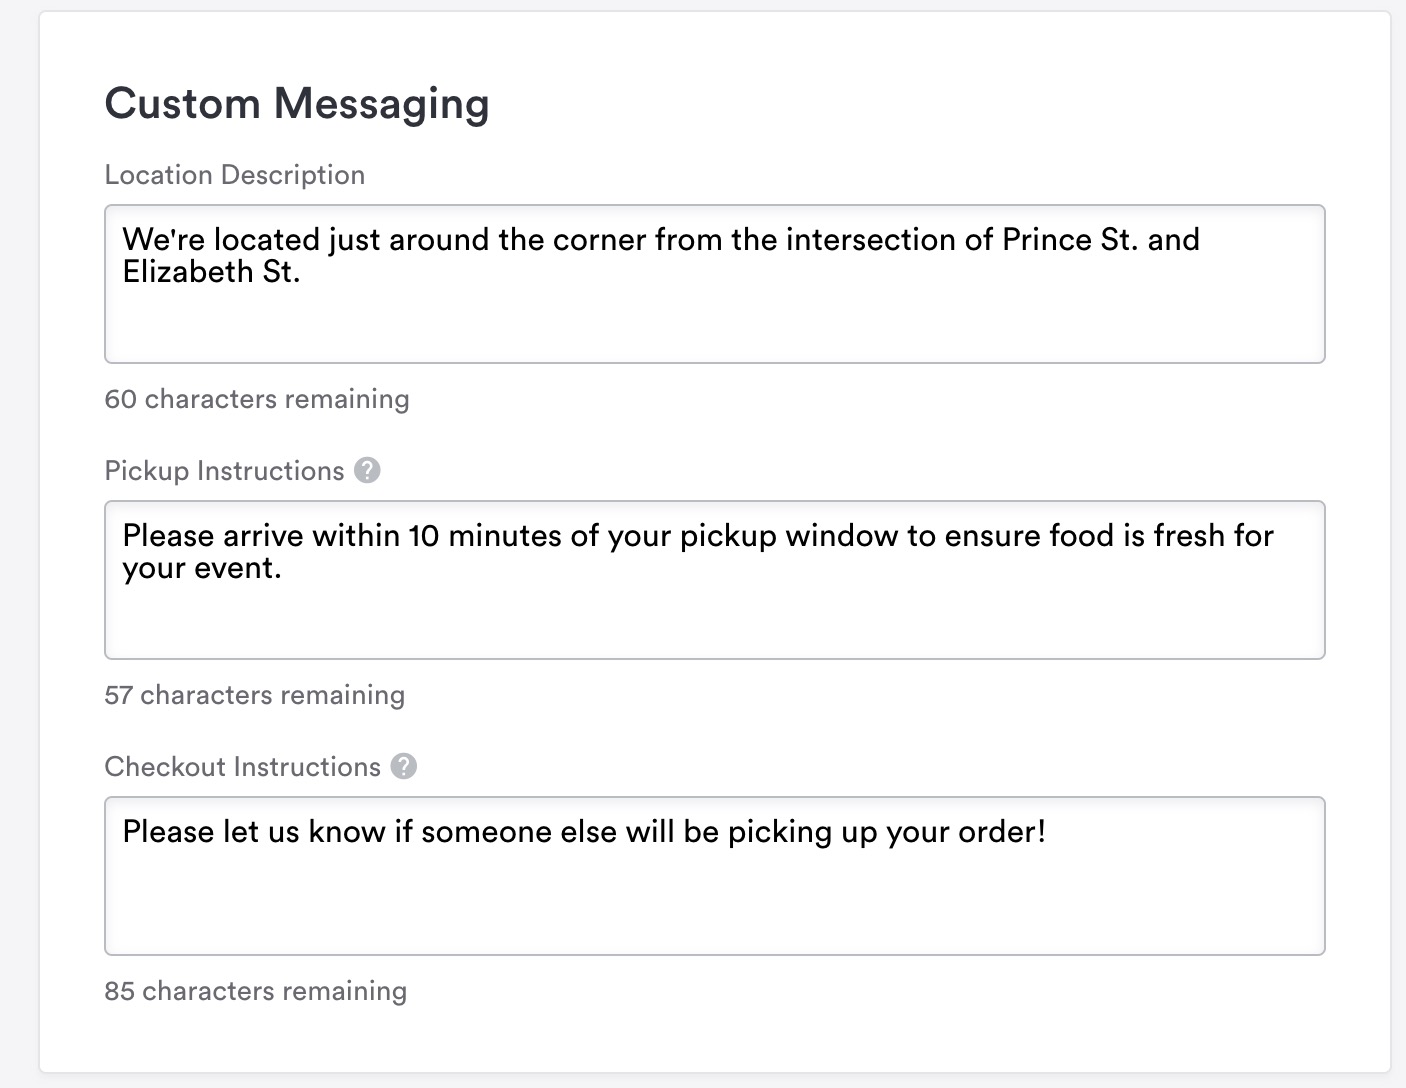
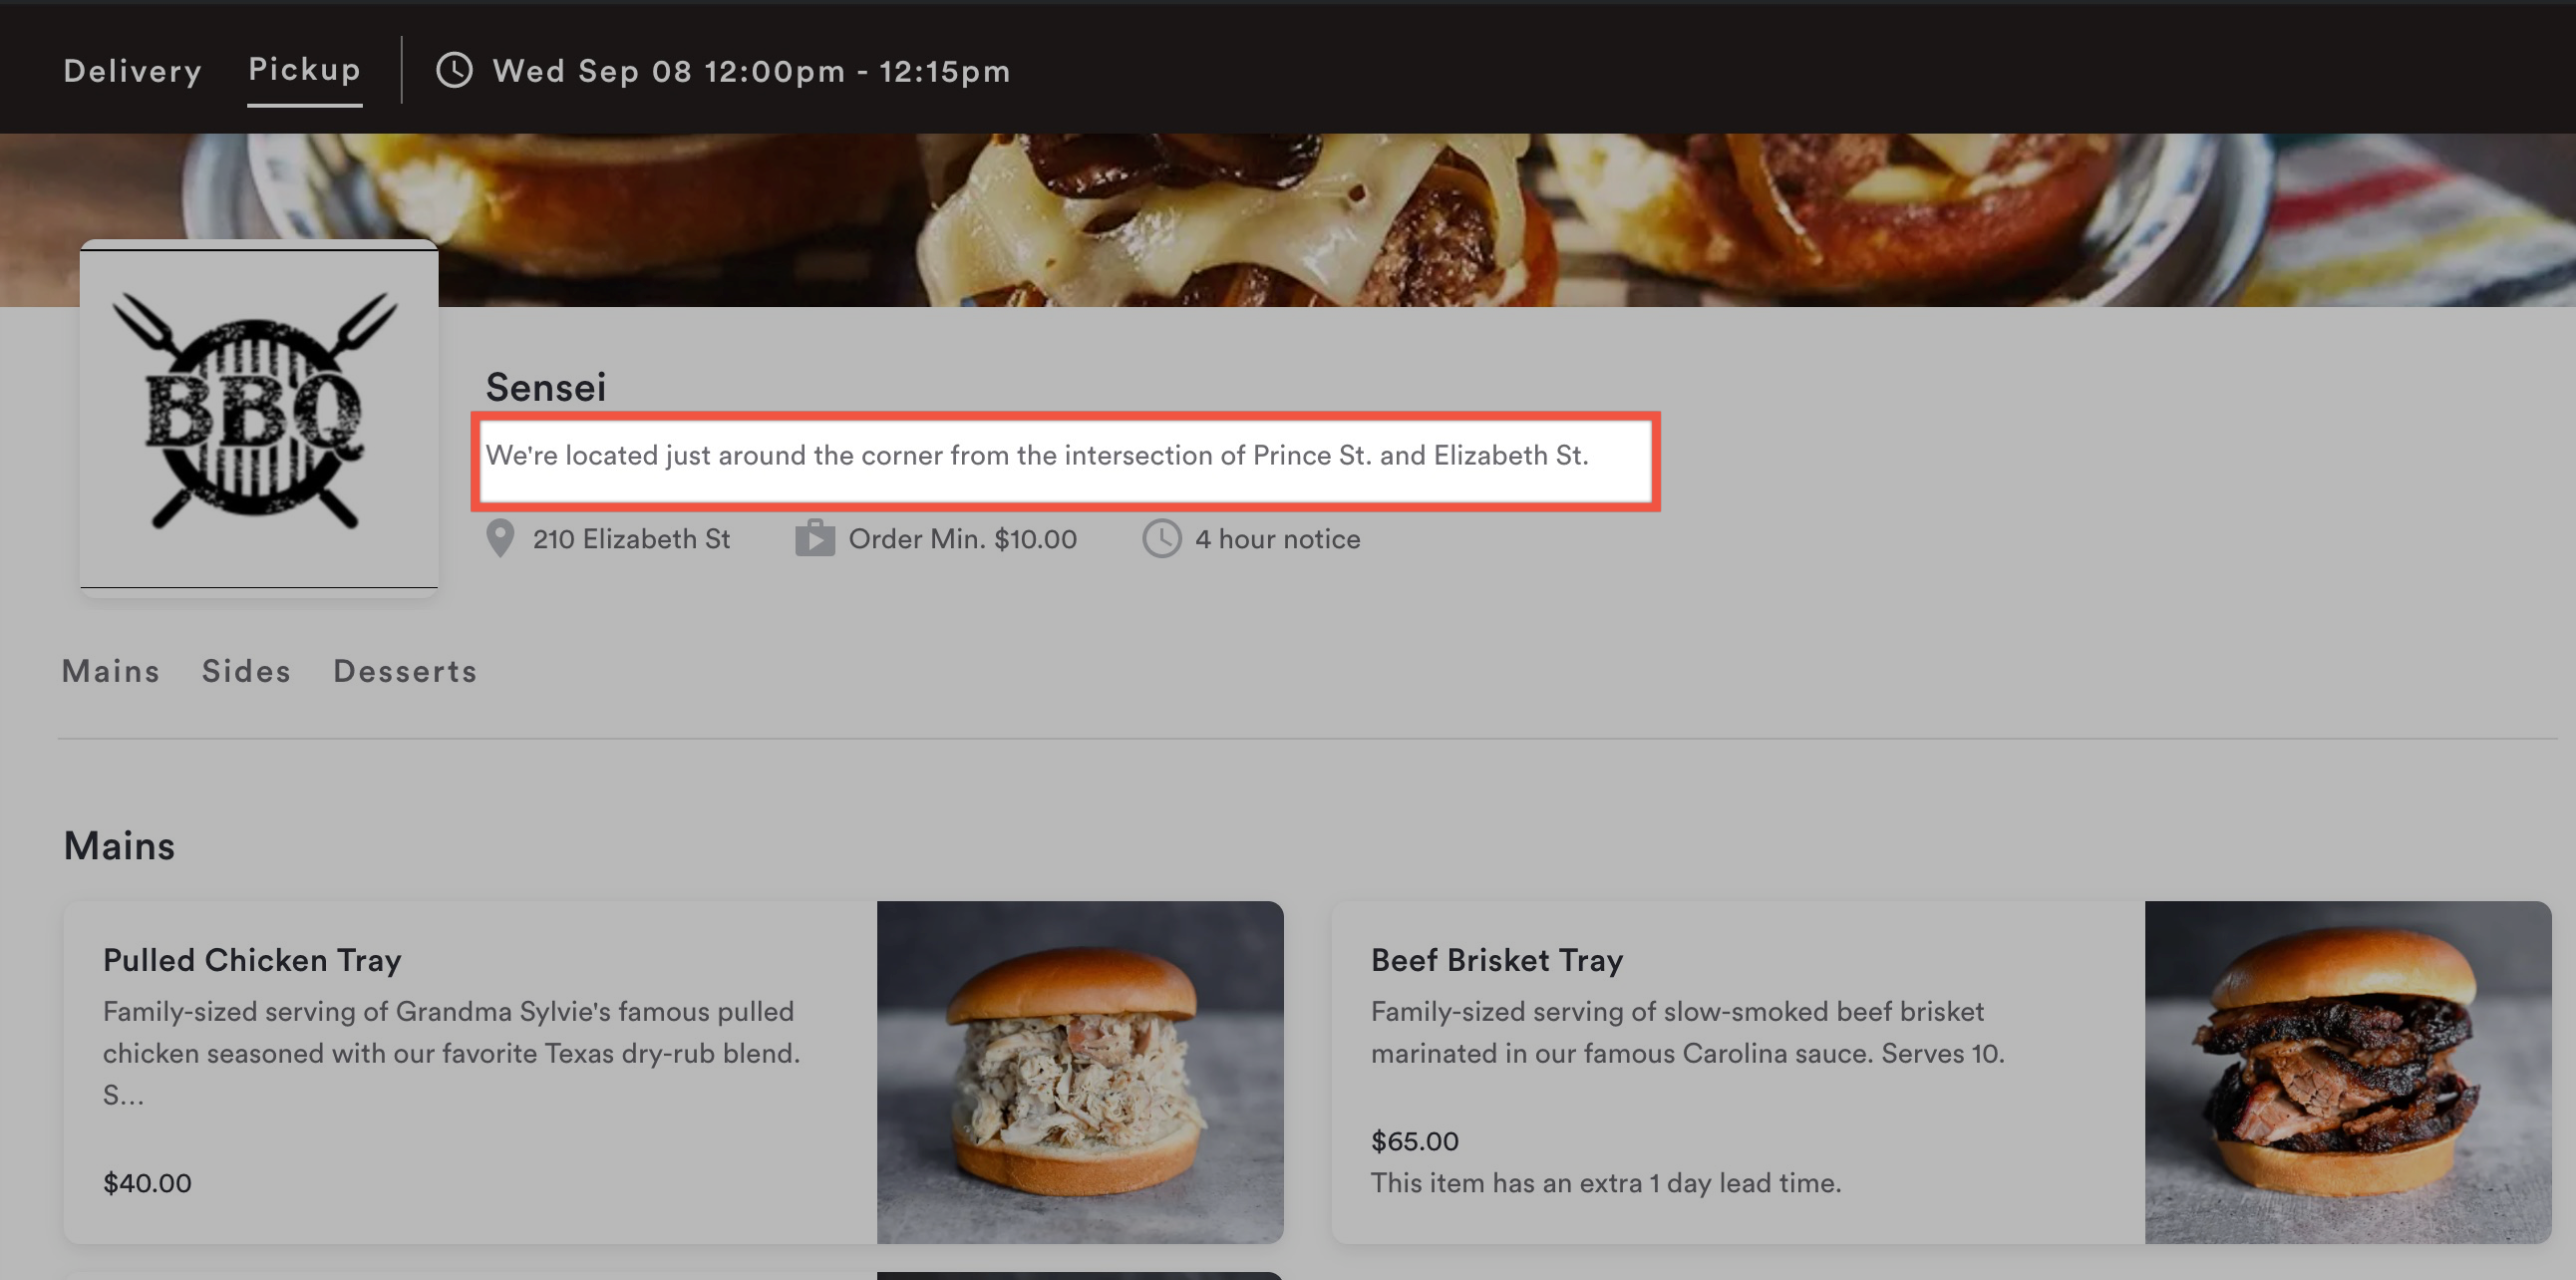
Location Description: Use this field to add additional text visible to guests when they are viewing this specific location.
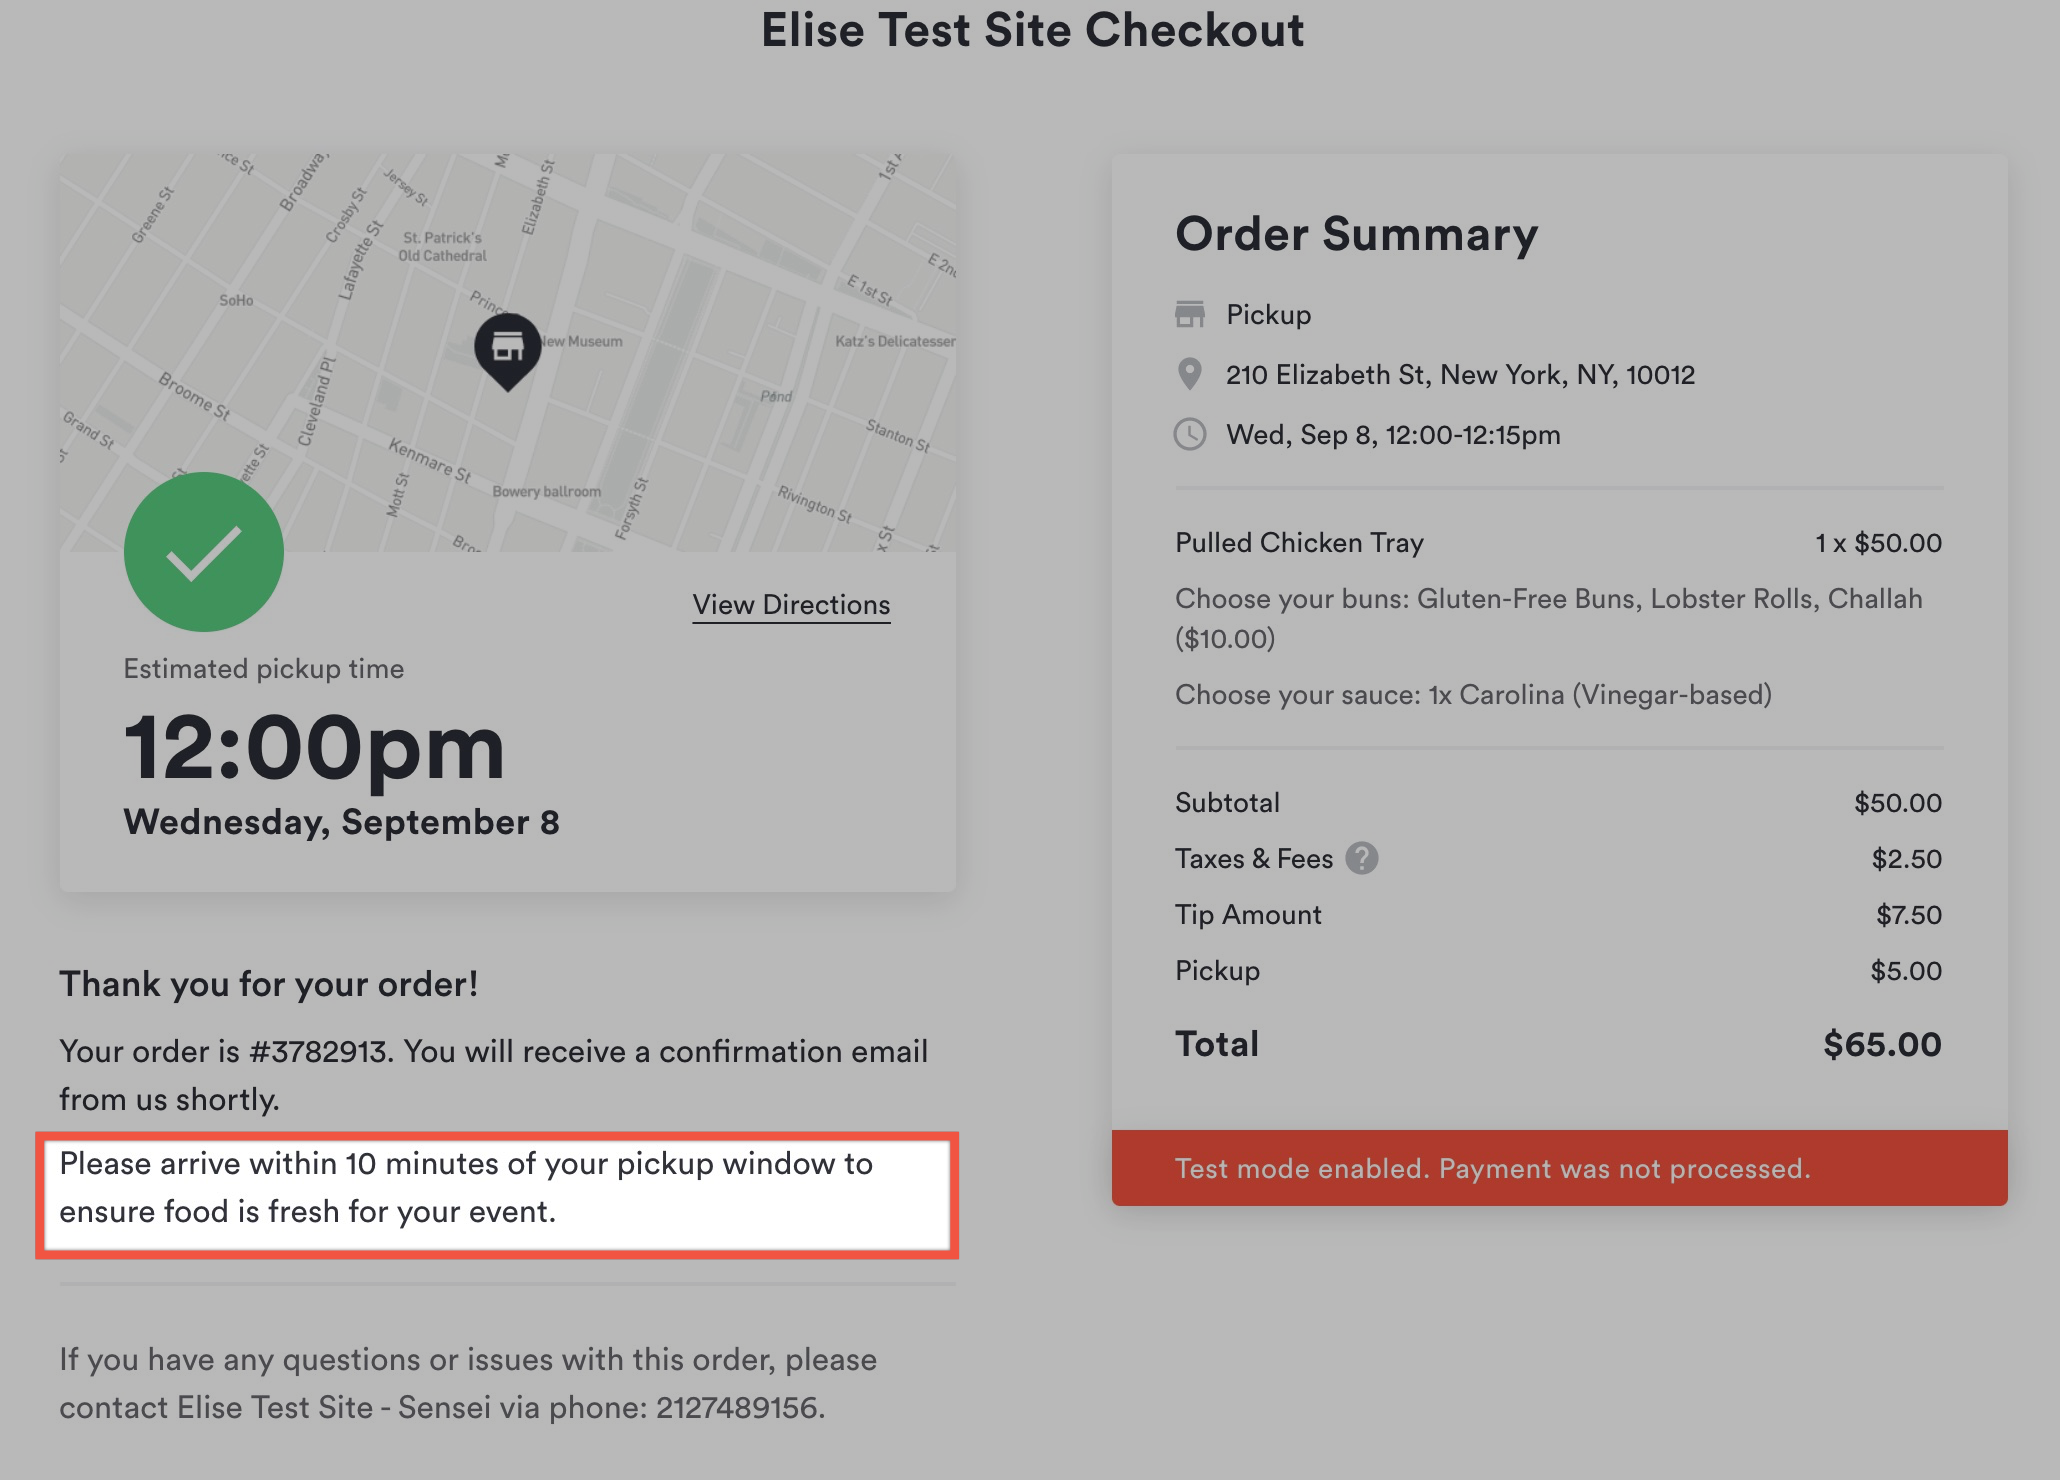
Pickup Instructions: if products can be picked up in person, you can include information here on how that works. This will display on the checkout page.
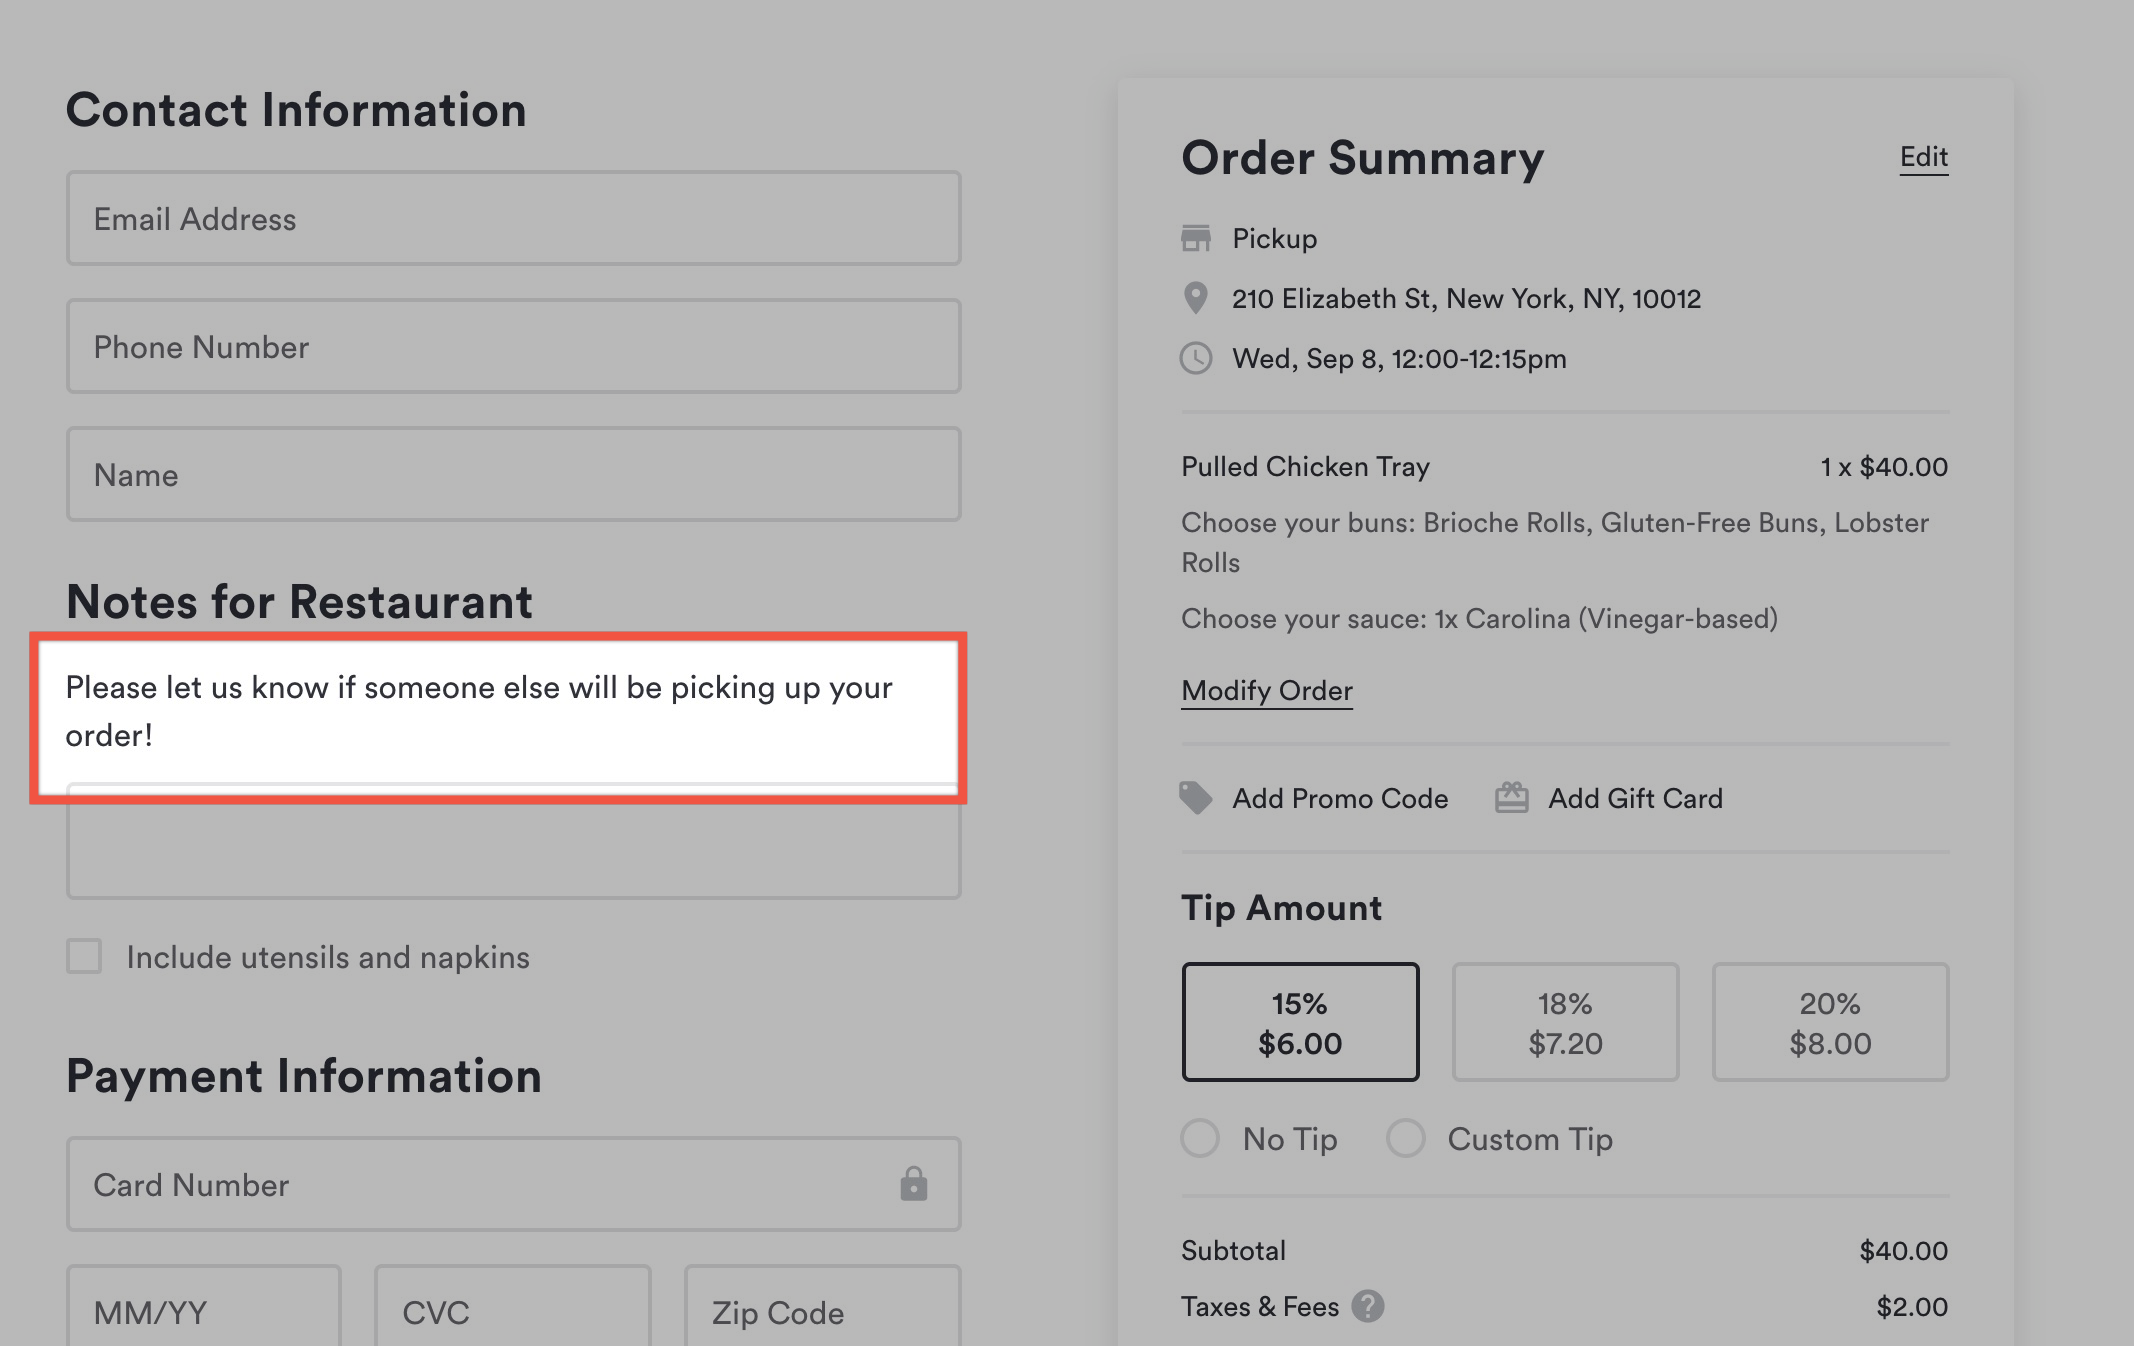
Checkout Instructions: This message appears on the Checkout Page under ‘Notes for Restaurant’ for Pickup and ‘Delivery Instructions’ for Delivery
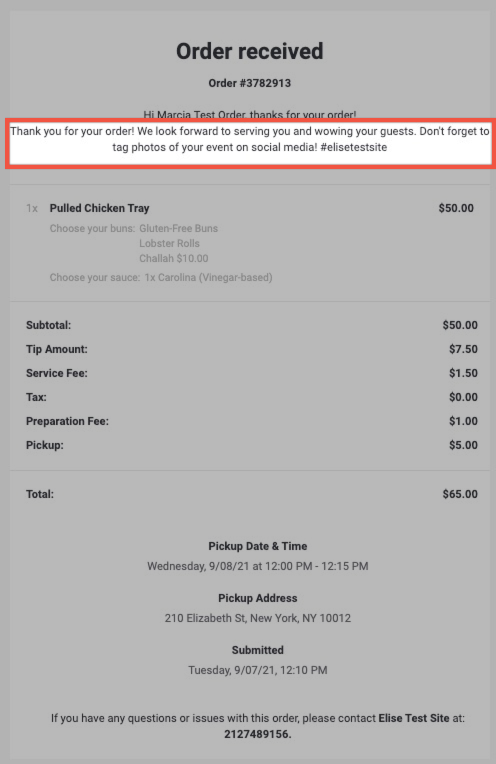
Order Receipts
For each location, you can edit the body text of the order confirmation email that customers receive when they place an order.
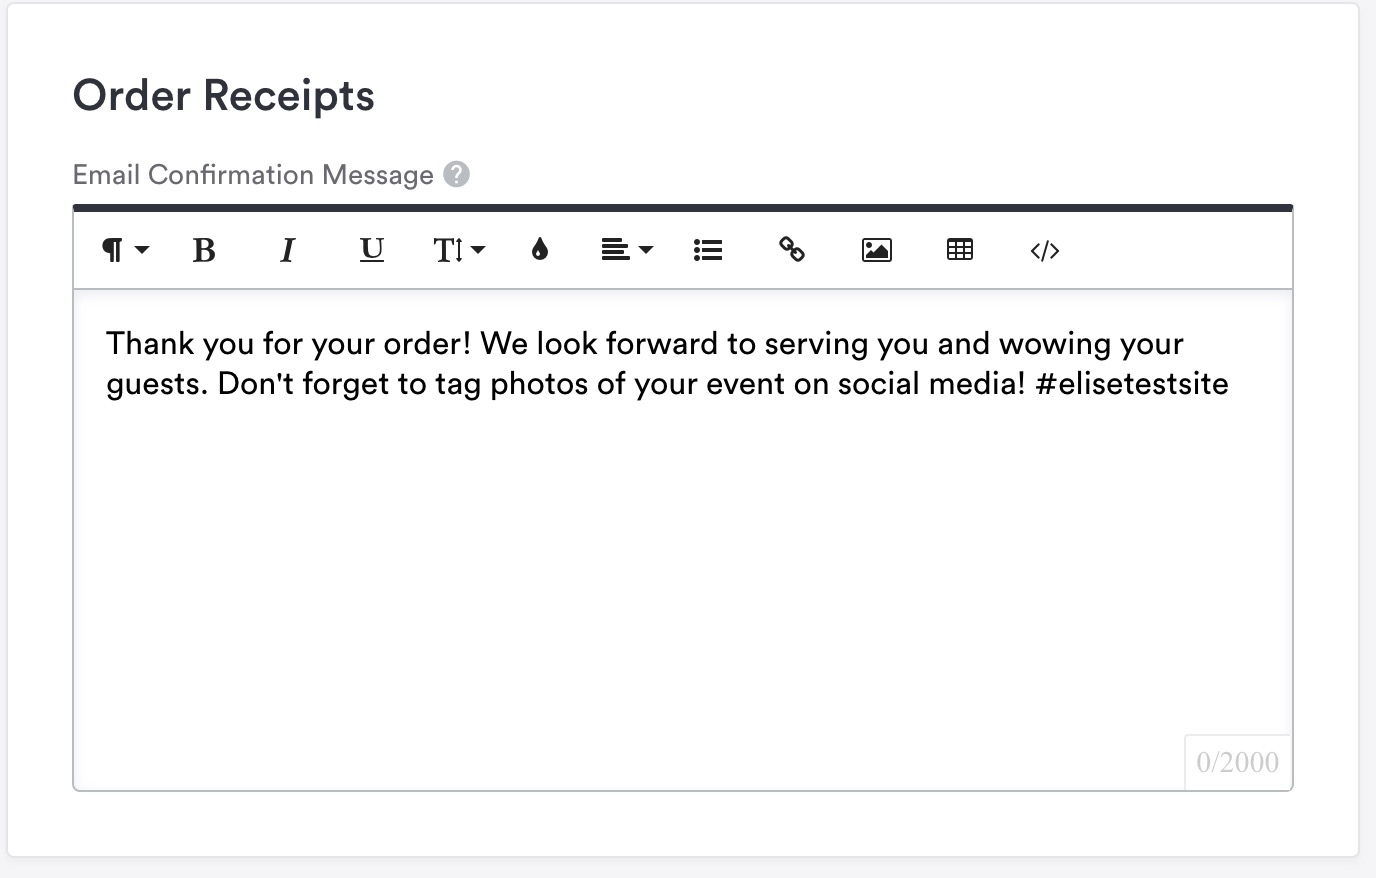
This text will be included on the email confirmation
Fulfillment Confirmation
If you choose to enable the ‘Fulfillment Confirmation’ email, you can also edit the text of the email that a customers receives when you mark an order as ‘done’.

SMS Order Notifications
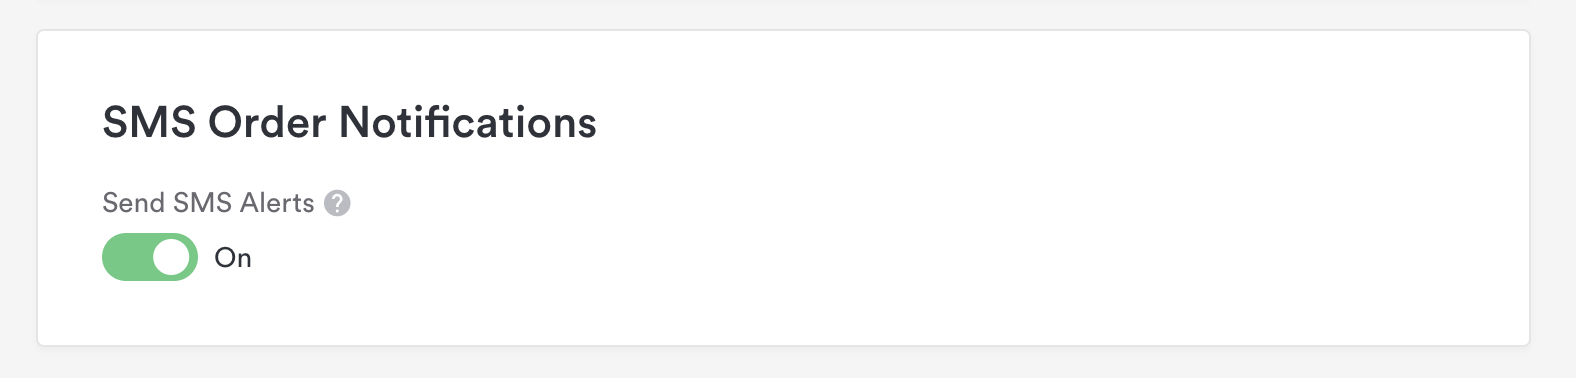
When an order is placed, guests will automatically receive a SMS Confirmation text, as well as follow up notifications about their order status. If you would prefer that your guests do not receive these texts for any reason, you may toggle those off here.
Order Settings
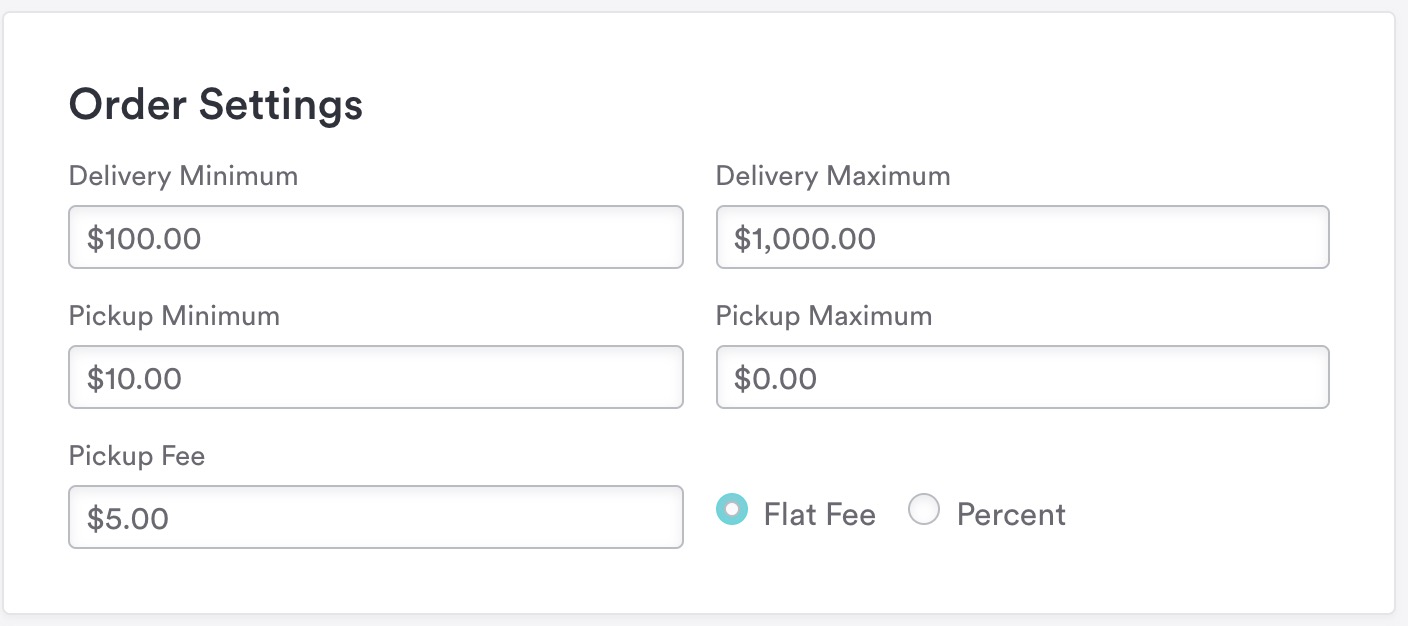
This is where you’ll set the minimum amounts necessary for a guest to check out. You can set a minimum for all orders, or specific minimums for delivery and/or pickup.
Setting up tips & fees
Turn on this toggle if you’d like to enable tipping options for this location at checkout.

Delivery zones
For catering delivery orders, you can set fees by specific zones.
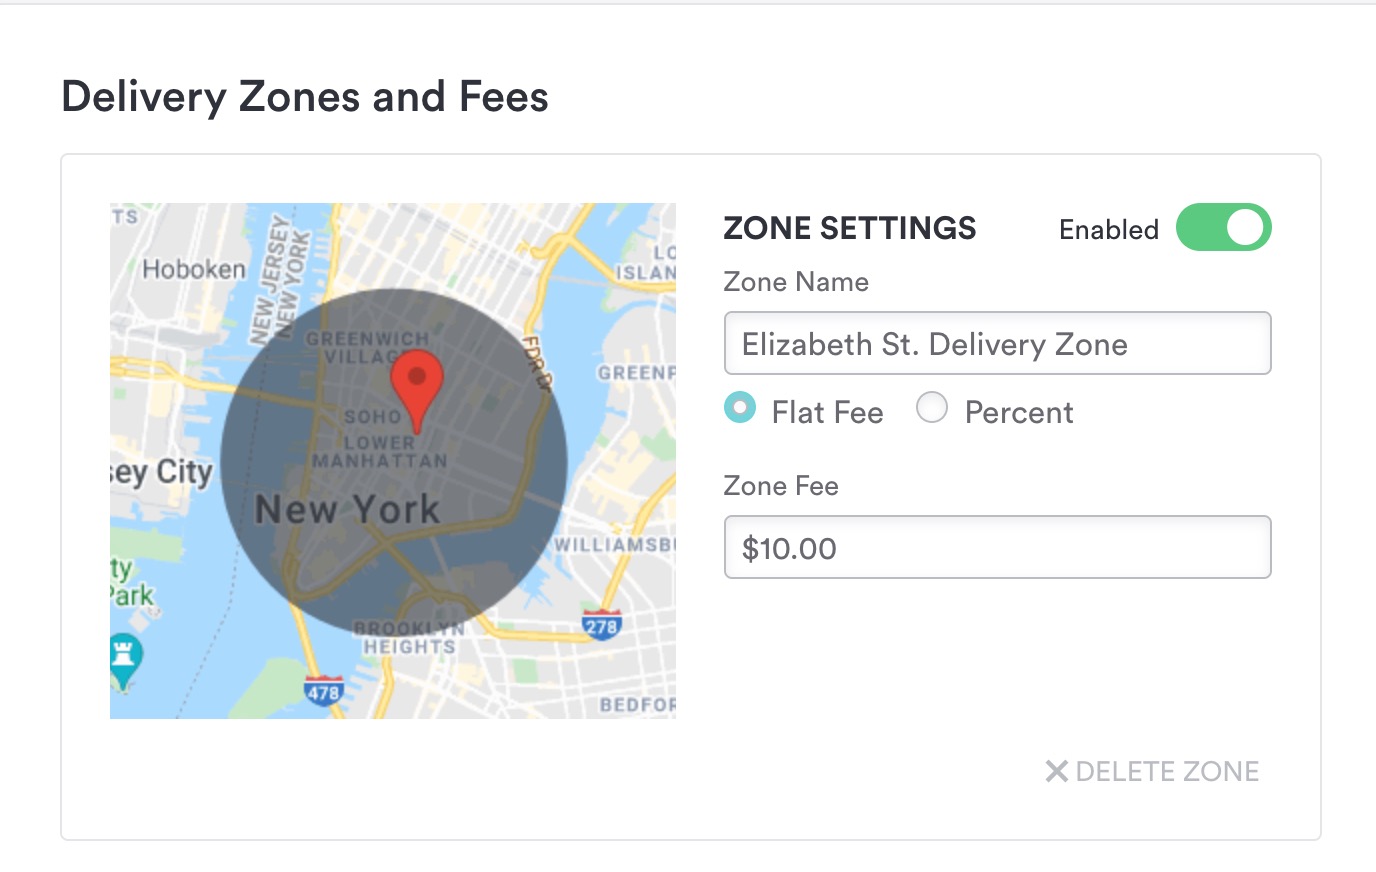
You can choose the exact area(s) that you’ll deliver to and set a flat dollar amount or percentage fee per zone. These zones apply at checkout based on the address that your guest types in.
With the map tool, you can draw zones using polygons, circles, or a radius.
The map has options to show you existing delivery zones and past deliveries. This can help you decide where to set new zones.
Click here to learn more about setting delivery zones and fees for Online Catering.
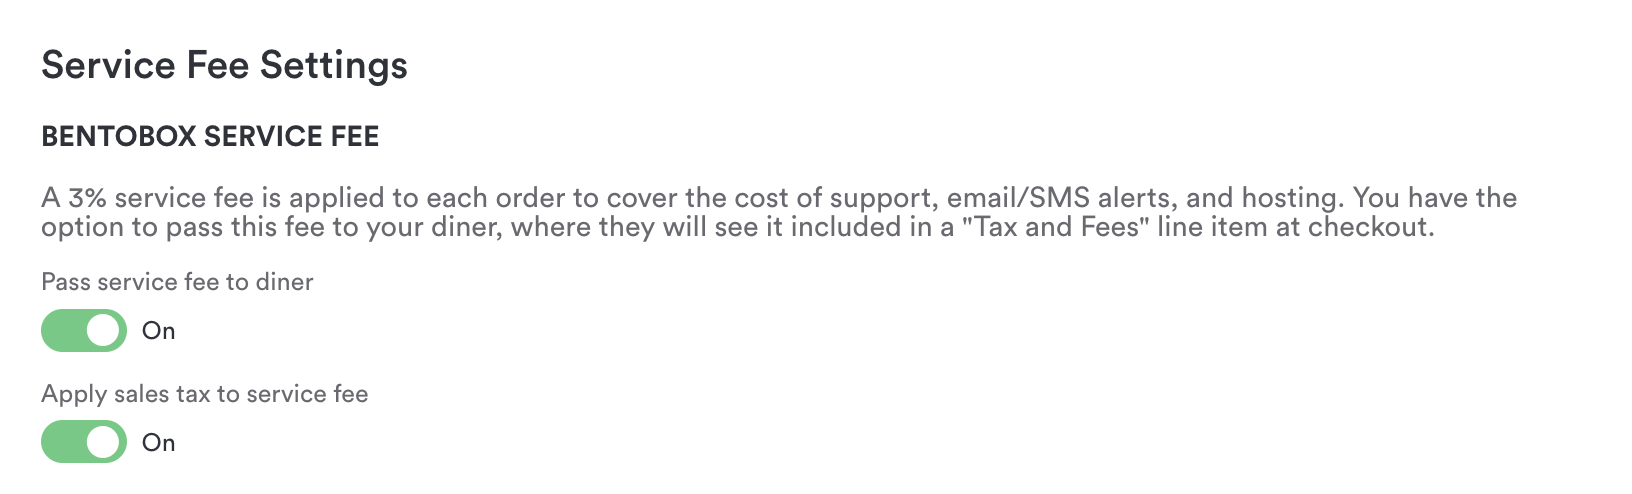
Service Fee Settings
Service Fee: A diner fee of 3% is applied to each order to cover the cost of platform ordering and email/SMS updates. Turn this toggle ON to pass this into a diner's order total as "Tax and Fees" upon checkout.
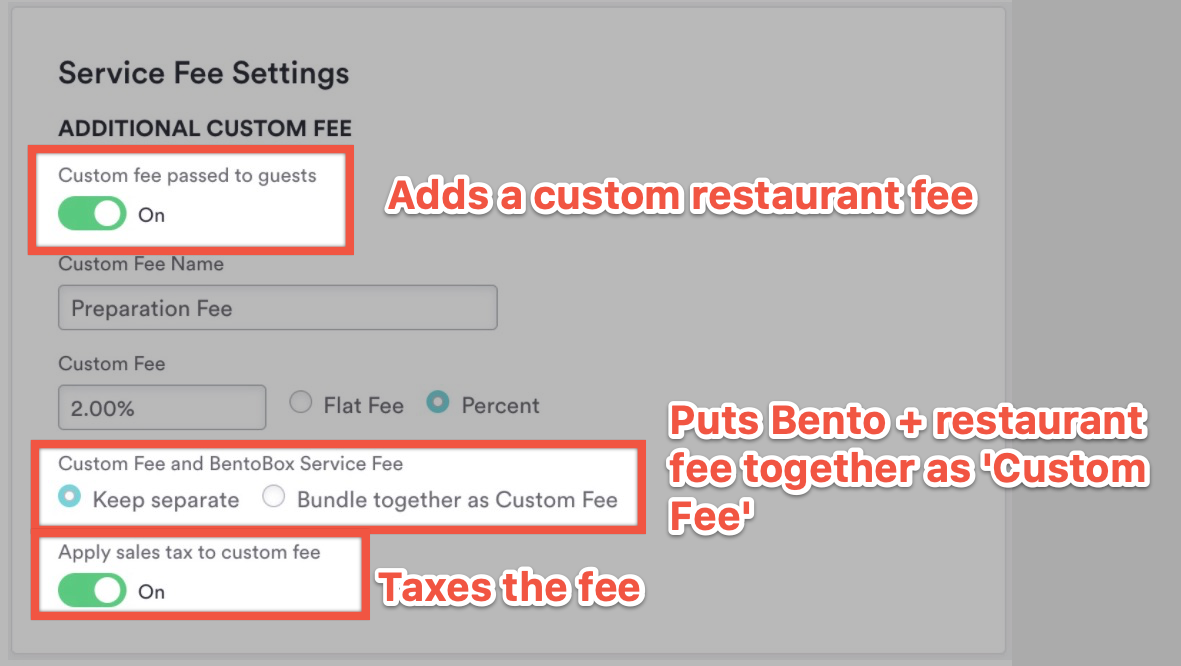
Additional Custom Fee: A custom restaurant fee can be applied to each order. Turn this toggle ON to pass this into a diner's order total as "Tax and Fees" upon checkout.
Choose a flat rate or percentage amount to cover additional costs for your Online Catering services.
Ordering Options
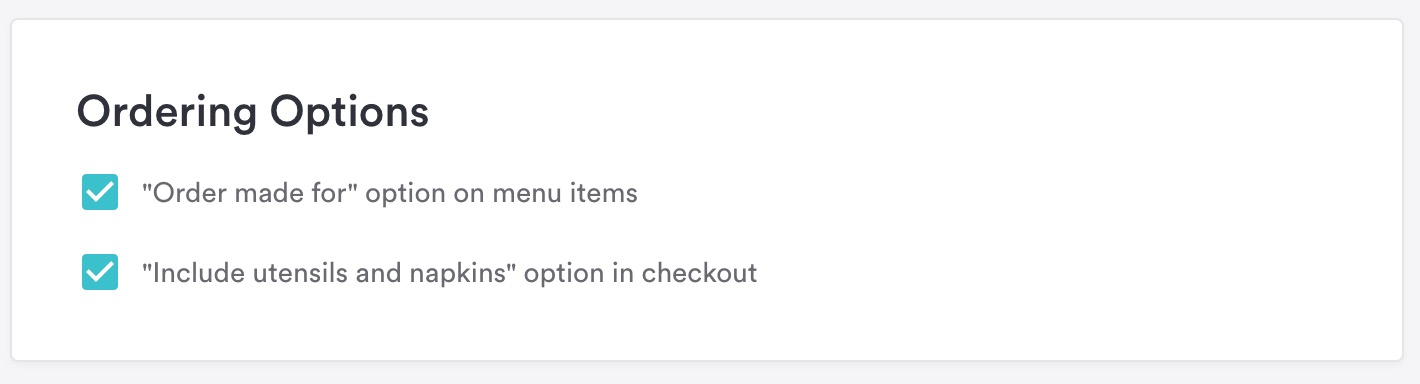
Here you can choose for your guests to include who the order is made for on menu items.
You can also optionally ask your guests if they would like utensils for their order.
Go Back: Guest experience - what guests will see
Next: Creating & editing items